
To solve our empty database and before we create our frontend interface, let's add some data with the Chrome extension Postman. By the way, it's a very useful browser interface to work with RESTful APIs.
As we already know that our database is empty, our first task is to insert a record. To do so, perform the following steps:
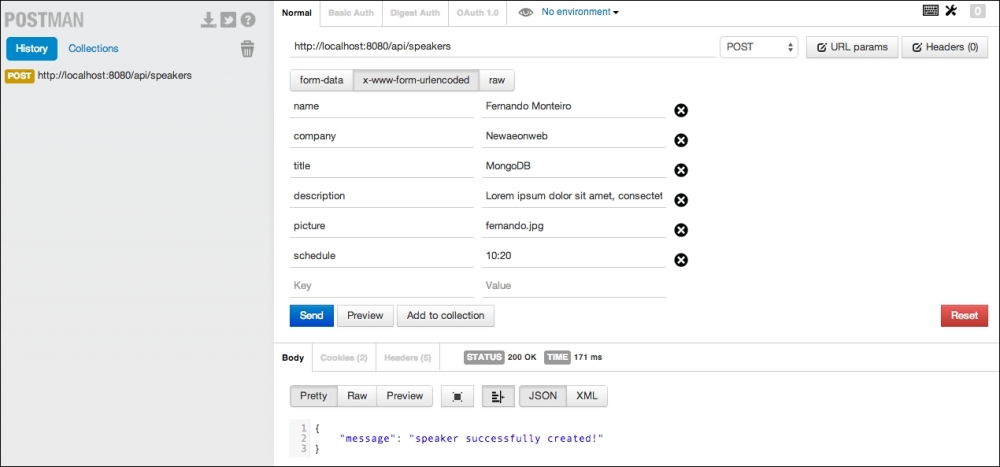
- Open Postman and enter
http://localhost:8080/api/speakers. Select the x-www-form-urlencoded option and add the properties of our model:var SpeakerSchema = new Schema({ name: { type: String, default: '' }, company: { type: String, default: '' }, title: { type: String, default: '' }, description: { type: String, default: '' }, picture: { type: String, default: '' }, schedule: { type: String, default: '' }, createdOn: { type: Date, default: Date.now} });
- Now, click on the blue button at the end to send the request.
- With everything going as expected, you should see message: speaker successfully created! at the bottom of the screen, as shown in the following screenshot:
- Now, let's try
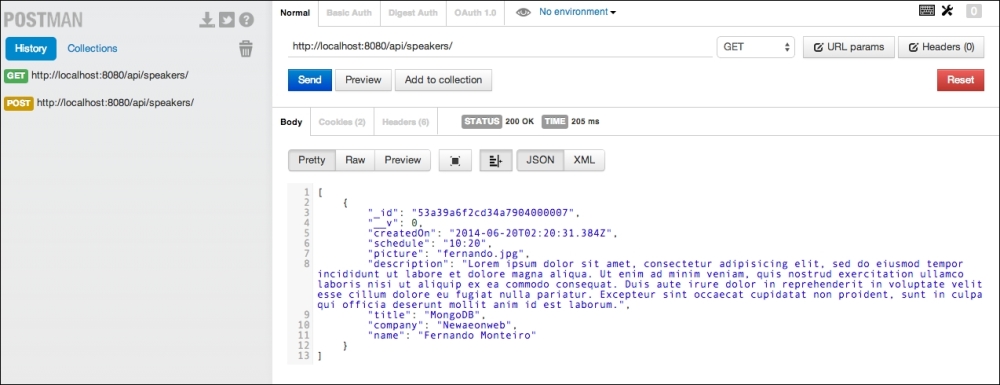
http://localhost:8080/api/speakersin the browser again. - Now, we have a JSON file like this, instead of an empty array:
{ "_id": "53a38ffd2cd34a7904000007", "__v": 0, "createdOn": "2014-06-20T02:20:31.384Z", "schedule": "10:20", "picture": "fernando.jpg", "description": "Lorem ipsum dolor sit amet, consectetur adipisicing elit, sed do eiusmod...", "title": "MongoDB", "company": "Newaeonweb", "name": "Fernando Monteiro" } - When performing the same action on Postman, we see the same result, as shown in the following screenshot:
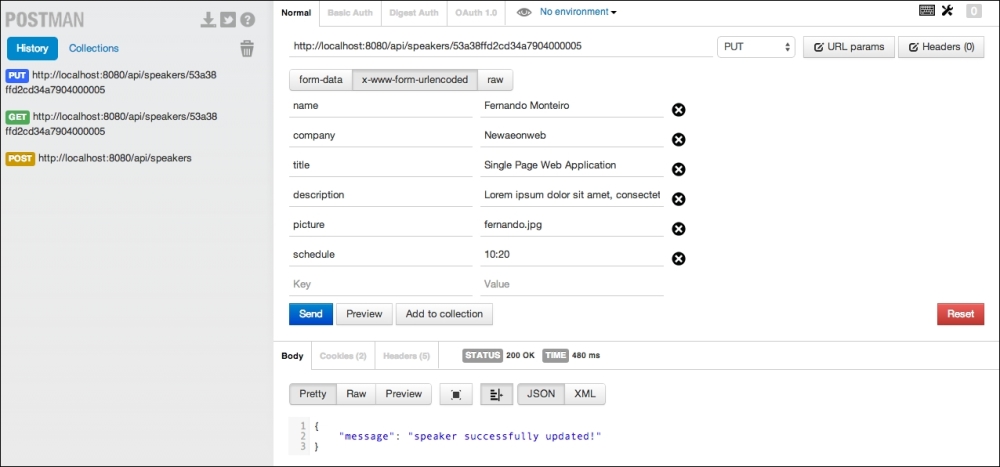
- Go back to Postman, copy
_idfrom the preceding JSON file and add to the end of thehttp://localhost:8080/api/speakers/53a38ffd2cd34a7904000005URL and click on Send. You will see the same object on the screen. - Now, let's test the method to update the object. In this case, change the method to PUT on Postman and click on Send. The output is shown in the following screenshot:
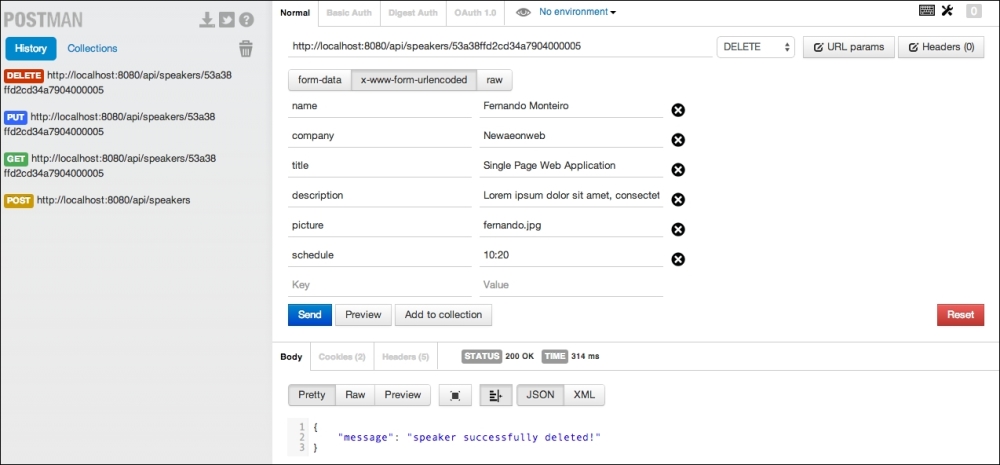
- Note that on the left-hand side, we have three methods under History; now, let's perform the last operation and delete the record. This is very simple to perform; just keep the same URL, change the method on Postman to DELETE, and click on Send. Finally, we have the last method executed successfully, as shown in the following screenshot:
Take a look at your terminal, you can see four messages that are the same: An action was performed by the server. We configured this message in the server.js file when we were dealing with all routes of our API.
router.use(function(req, res, next) {
// Give some message on the console
console.log('An action was performed by the server.'),
// Is very important using the next() function, without this the Route stops here.
next();
});
This way, we can monitor all interactions that take place at our API.
Now that we have our API properly tested and working, we can start the development of the interface that will handle all this data.
..................Content has been hidden....................
You can't read the all page of ebook, please click here login for view all page.