
As we have seen in the previous chapter, we use Pure CSS and Responsive Boilerplate in our frontend to style the appearance of our templates.
As we do not need any more introductions to these tools, we will directly perform the implementation of the layout. For this example application, we will use a readymade layout that can be downloaded for free from http://purecss.io/layouts/. We will use the Landing Page layout example with minor changes, just so that it fits exactly to our needs for the conference website. After downloading the layout, perform the following steps:
- First of all, copy the
marketing.cssfile from thelayoutfolder inside thecssfolder from your downloaded package. - Place the
marketing.cssstylesheet in thestylesheetsfolder inside thepublicdirectory.
In this section, we will add the necessary HTML content to format the style of the templates stored in the views folder in the server directory. Before we start, let's edit head.ejs and footer.ejs. We use the <% include %> functionality to keep the header and footer of all templates in one place. To create the index, profile, login, and signup pages perform the following steps:
- Add the following content to the
head.ejstemplate:<head> <title>Conference API</title> <link rel="stylesheet"href="//netdna.bootstrapcdn.com/font-awesome/4.0.3/css/font-awesome.min.css"> <link rel="stylesheet" href="/bower_components/responsiveboilerplate/css/responsiveboilerplate.min.css"> <link rel="stylesheet" href="/bower_components/purecss/src/base/css/base.css"> <link rel="stylesheet" href="/bower_components/purecss/src/buttons/css/buttons.css"> <link rel="stylesheet" href="/bower_components/purecss/src/buttons/css/buttons-core.css"> <link rel="stylesheet" href="/bower_components/purecss/src/forms/css/forms.css"> <link rel="stylesheet" href="/bower_components/purecss/src/menus/css/menus.css"> <link rel="stylesheet" href="/bower_components/purecss/src/menus/css/menus-core.css"> <link rel="stylesheet" href="/stylesheets/marketing.css"> <style> .container { width: 60%; margin: 0 auto; padding-top: 80px; } .alert { color: #fff; padding: 10px; background-color: #ff0000; } </style> </head> - Add the following content to the
footer.ejstemplate:<div class="content-wrapper"> <div class="footer l-box is-center"> Conference-API @ 2014 </div> </div> - Open the
index.jsfile and place the following code:<!doctype html> <html> <% include common/head %> <body> <div class="header"> <div class="home-menu pure-menu pure-menu-open pure-menu-horizontal pure-menu-fixed"> <a class="pure-menu-heading" href="">Conference API</a> <ul> <li class="pure-menu-selected"><a href="/"> Home</a></li> <li><a href="/login"> Login</a></li> <li><a href="/signup"> Signup</a></li> </ul> </div> </div> <div class="splash-container"> <div class="splash"> <h1 class="splash-head">Conference</h1> <p class="splash-subhead"> Lorem ipsum dolor sit amet, consectetur adipisicingelit. </p> <p> <a href="/login" class="pure-button pure-button-primary">View Speakers</a> </p> </div> </div> <% include common/footer %> </body> </html>We made some changes in the original index file from the Pure CSS layout template just to fit our needs:
- Removed some unnecessary blocks of code from our example.
- Removed some style rules for IE 8.
- Added the Responsive Boilerplate grid system.
- Added Pure CSS as separate styles form base, buttons, forms, and menus.
- At this stage, when you run the command,
node server, you will see the home page athttp://localhost:3000/, as shown in the following screenshot: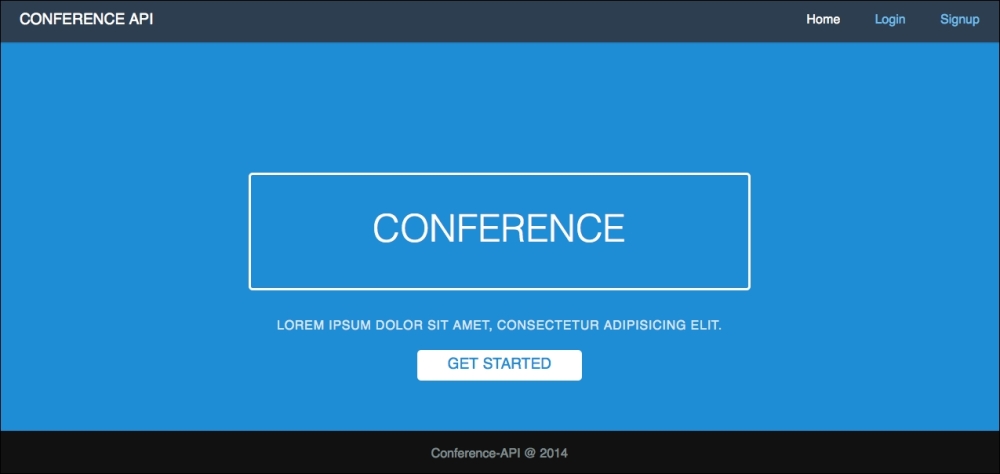
- Open the
login.ejsfile and place the following content:<!doctype html> <html> <% include common/head %> <body> <div class="header"> <div class="home-menu pure-menu pure-menu-open pure-menu-horizontal pure-menu-fixed"> <a class="pure-menu-heading" href="">Conference API</a> <ul> <li><a href="/"> Home</a></li> <li class="pure-menu-selected"><a href="/login">Login</a></li> <li><a href="/signup"> Signup</a></li> </ul> </div> </div> <div class="container"> <h1> Login</h1> <% if (message.length > 0) { %> <div class="alert"><%= message %></div> <% } %> <form action="/login" method="post" class="pure-form"> <fieldset> <input id="email" class="pure-input-1" type="email"placeholder="Email Address" name="email" required> <input id="password" class="pure-input-1"type="password" placeholder="Password"name="password" required> <button type="submit" class="pure-button pure-button-primary">Submit</button> <p>Don't have an account? <a href="/signup">Signup</a> or go back to <a href="/">home</a>.</p> </fieldset> </form> </div> <% include common/footer %> </body> </html>Note that here we use the logic of our EJS template engine with
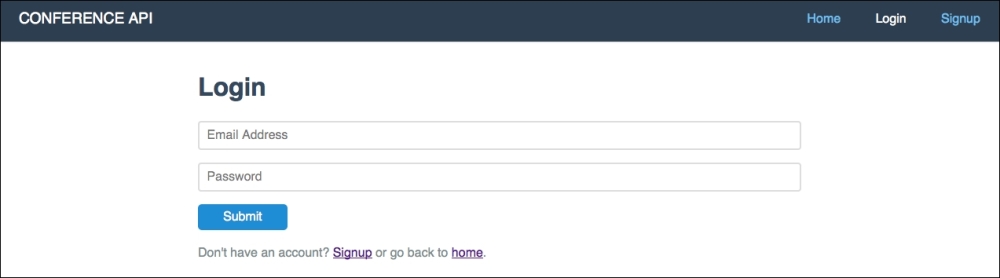
<% if() %>to show a warning message if our login credentials fail. Also, thestyletag in the documentheadis used to style the messages.Here is the result of our login page:
- Open the
signup.ejsfile and place the following content:<!doctype html> <html> <% include common/head %> <body> <div class="header"> <div class="home-menu pure-menu pure-menu-open pure-menu-horizontal pure-menu-fixed"> <a class="pure-menu-heading" href="">Conference API</a> <ul> <li><a href="/">Home</a></li> <li><a href="/login"> Login</a></li> <li class="pure-menu-selected"><a href="/signup">Signup</a></li> </ul> </div> </div> <div class="container"> <h1> Signup</h1> <% if (message.length > 0) { %> <div class="alert"><%= message %></div> <% } %> <form action="/signup" method="post" class="pure-form"> <fieldset> <input id="email" class="pure-input-1" type="email"placeholder="Email Address" name="email" required> <input id="password" class="pure-input-1"type="password" placeholder="Password"name="password" required> <button type="submit" class="pure-button pure-button-primary">Submit</button> <p>Have an account? <a href="/login">Login</a> or goback to <a href="/">home</a>.</p> </fieldset> </form> </div> <% include common/footer %> </body> </html> - Check the browser at
http://localhost:3000/signupand you will see the following: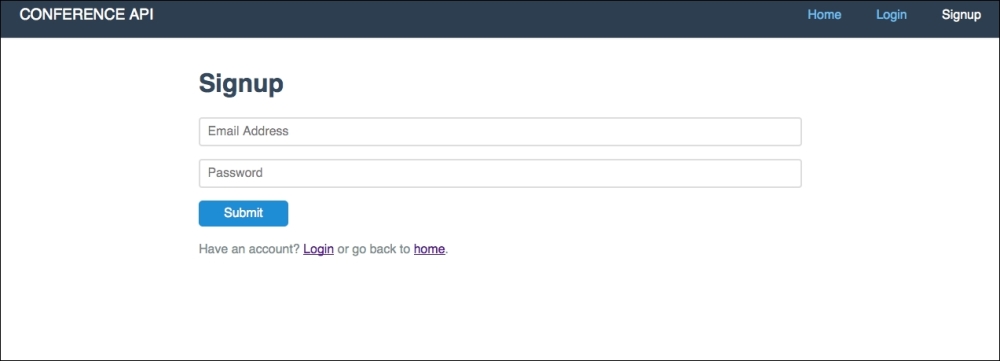
- Now the final step for our templates; let's perform the same process to create the profile page. Open
profile.ejsand place the following content:<!doctype html> <html> <% include common/head %> <body> <div class="header"> <div class="home-menu pure-menu pure-menu-open pure-menu-horizontal pure-menu-fixed"> <a class="pure-menu-heading" href="">Conference API</a> <ul> <li><a href="/profile"><span class="fa fa-user"></span> <%= user.local.email %></a></li> <li><a href="/logout" class="btn btn-default"><span class="fa fa-power-off"></span>Logout</a></li> </ul> </div> </div> <div class="container"> <div class="datails"> <h3><span class="fa fa-user"></span> User Details</h3> <p> Welcome - <strong>email</strong>: <%= user.local.email %><br> </p> </div> </div> <% include common/footer %> </body> </html>
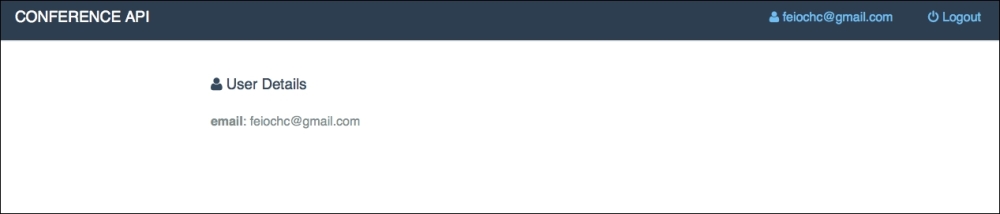
We added the user e-mail address link and the logout link, so when you click on Logout, our /logout route will redirect us to the index page.
Here, we again use the EJS template language to show the user info, which in this case is only the e-mail address, as shown in the following screenshot:
Finally our building process is finished. Now let's commit our work to Git and prepare for the next chapters.
Tip
Git is an open source tool to source control; you can find more information at http://git-scm.com/.