

13
CHAPTER 13
THE GEOMETRY
MUSEUM
Make: Geometry 255
254 Chapter 13: The Geometry Museum
Geometry_Chapter10_v15.indd 254Geometry_Chapter10_v15.indd 254 6/23/2021 9:11:26 AM6/23/2021 9:11:26 AM
We will wind up the book with projects that explore
a few corners of the geometrical universe that we
just think are cool. We call it the Geometry Museum,
since we will walk you through a mix of history,
architecture, and some pieces that are interesting
for their own sake.
Architects have to know how to make buildings both
strong and beautiful. Although today's architects
have sophisticated CAD tools, medieval architects
created spectacular buildings with bigger equiva-
lents of the basic compass we used in Chapter 4.
In this chapter, we will look at how some ideas we
learned in earlier chapters have been applied his-
torically to architectural problems, and how you can
launch some projects of your own.
First, we will explore an OpenSCAD model that
allows you to build arches that are circular, as
well as ones that are based on Reuleaux triangles
(Chapter 4). Then we’ll add arched windows and
a door to the castle we did way back in Chapter
3. Finally, we introduce an OpenSCAD model of a
Gothic arch window that you can add to and modify.
In Chapter 5, we started to explore why triangular
structures appear so often in large-scale construc-
tion. In this chapter we learn that they are called
trusses and will suggest projects you can do to explore structures, using straws and elastic cord.
Finally, (as with all museum visits) we will end in the “gift shop”. We will show you a few ideas that we
think of as geometry puzzles—relationships that are just simply intriguing for their own sake. We hope
that a little walk through our imaginary geometry museum will give you a lot of ideas for projects of
your own that you can take to the next level.
ARCHES
Let’s start our tour through our geometry museum by thinking about buildings that have stood for hun-
dreds or thousands of years. Classical Roman buildings like the Coliseum (constructed over 2000 years
ago) or medieval cathedrals like Notre Dame (which took about 100 years to build, finishing about 760
years ago) feature graceful arches, openings with curved tops, in their structure. Figure 13-1 shows
an ancient ruined arch near Llangollen in Denbighshire, Wales. It is part of what remains of a fortress
FIGURE 131: Stone arch at the ruins of Castell Dinas Brân in
Wales. (Photo by Stephen Unwin)
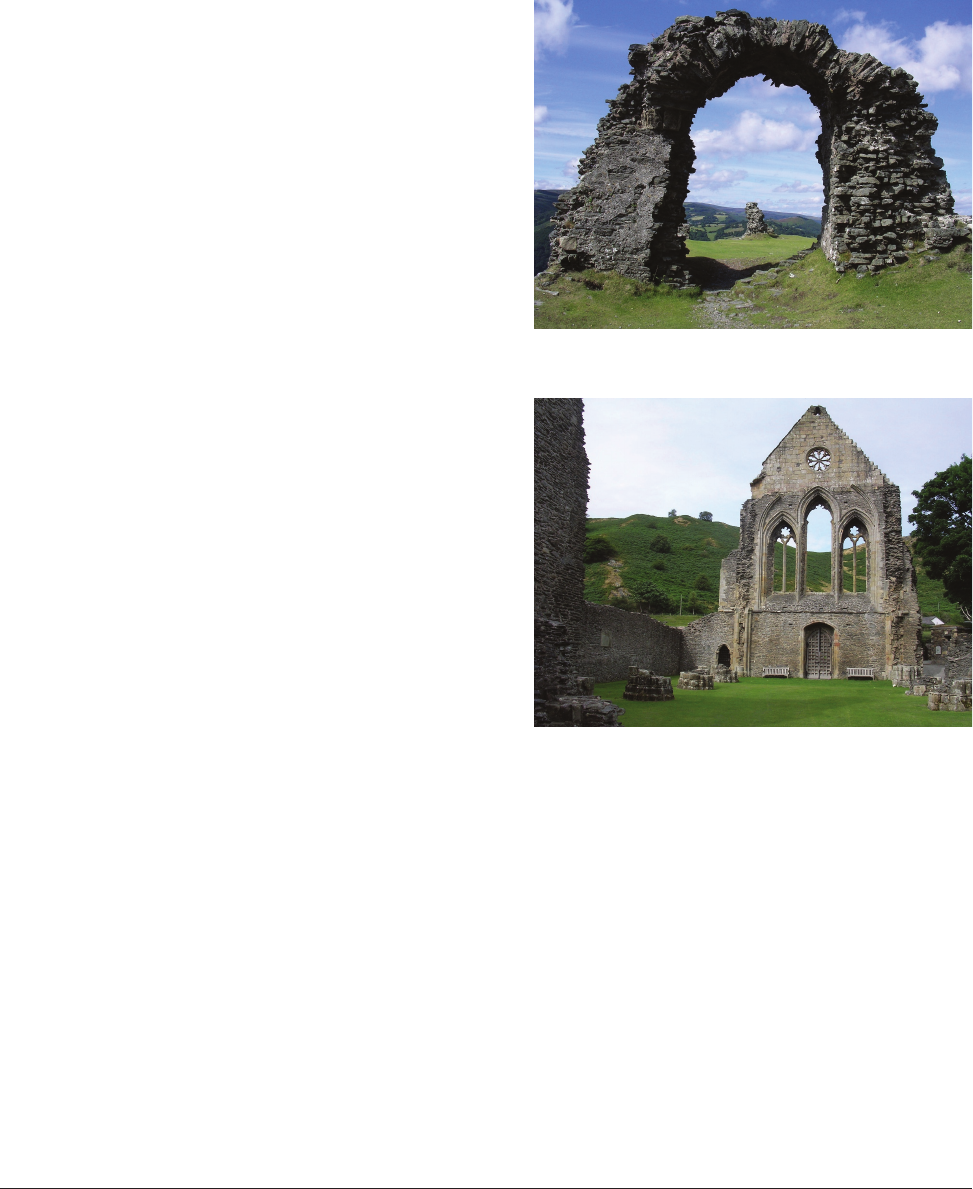
FIGURE 132: Ruins of Valle Crucis Abbey, Wales. (Photo by
Stephen Unwin)
Make: Geometry 255
Geometry_Chapter10_v15.indd 255Geometry_Chapter10_v15.indd 255 6/23/2021 9:11:26 AM6/23/2021 9:11:26 AM

3D Printable Models Used in this Chapter
See Chapter 2 for directions on where and how to download these models.
arches.scad
Creates two kinds of freestanding arches
tracery.scad
Creates a shape like a medieval church window
castle_advanced.scad
Adds arched windows and a door to the castle from Chapter 3
puzzlebox.scad and puzzletetrahedron.scad
These make a cube and its inscribed tetrahedron (scaled so the tetrahedron fits in the cube). More gen-
erally, puzzlebox.scad makes a hollow box missing one side which we will use for a couple of purposes.
edge_platonic_solids.scad
Prints one or more Platonic solids, scaled by the user input length of one edge (introduced in Chapter 3).
golden_ratio.scad
Creates a series of boxes with sides in a ratio called the golden ratio.
meissner.scad
Creates Meissner objects of constant width
revolved_reuleuax.scad
Creates surfaces of revolution from Reuleaux polyhedrons
Other supplies for this chapter
• Removable glue putty (e.g. UHU Tac, Blue Tack)
• 18 plastic drinking straws
• Ruler
• Elastic cord. We used 0.8 mm elastic cord, also called beading thread or crafting cord. You’ll need
about 5m total.
Make: Geometry 257
256 Chapter 13: The Geometry Museum
Geometry_Chapter10_v15.indd 256Geometry_Chapter10_v15.indd 256 6/23/2021 9:11:26 AM6/23/2021 9:11:26 AM

called Castell Dinas Brân (also known as Crow
Castle, thought to be built in the 1260s). Figure 13-2
is what's left of an ancient abbey near the fortress
dating to around the year 1201, called Valle Crucis
Abbey.
How can a massive stone structure last for 1800
years while supporting the huge weight bearing
down on these openings? We are going to explore
arches mechanically and then artistically in this
section, ending with a little renovation of our
Chapter 3 castle to add some arched windows and
a door. After that, we will learn about the stonework
inside windows like those in Figure 13-2, called
tracery, and try creating some of our own.
CIRCULAR AND GOTHIC ARCHES
In medieval times, building site instrumentation
was limited. They did, however, have various ways of
drawing circles. A circular arch can always be made
by pinning one end of a rope and swinging it around
that pivot. Shapes that can be made with just a rope
or large drawing compass are practical to lay out,
and if they are also strong, so much the better.
To help us think about a simplified version of stone arches, we’ve created the
model arches.scad. It allows you to make a 3D printed model of two types of
arch: a circular arch, and a Gothic arch. A circular arch is what it sounds like:
an opening in a structure that is half a circle. To understand a Gothic arch,
though, we need to go back to Chapter 4 and look at the construction of a
Reuleaux triangle.
To make a circular arch, one just needs to draw a half-circle (Figure 13-3). To
make a Gothic arch, one draws two circles of the same radius as each other.
Each circle is centered at the base of the other arc (Figure 13-4). If we go back to
Chapter 4, we’ll see that to draw our Gothic arch we used part of the construction
of an equilateral triangle. The arch is a Reuleaux triangle with one side flattened.
If you want examples in real buildings, Figure 13-1 shows a circular arch, and
Figure 13-2, several Gothic ones. If you walk down any street in a modern
city, you are likely to see many examples of each.
FIGURE 133: A circular arch
FIGURE 134: A Gothic arch
Make: Geometry 257
Geometry_Chapter10_v15.indd 257Geometry_Chapter10_v15.indd 257 6/23/2021 9:11:27 AM6/23/2021 9:11:27 AM
If a Gothic and circular arch have the same size opening at their respective bases, can you figure out the
difference in their heights? (Ignore the thickness of the stones.) What about the perimeter of each arch,
again ignoring the thickness of the stones? The answers are at the end of the chapter.
MAKING THE MODEL
The model arches.scad allows you to create arches (and a base for them) with various parameters. It
makes individual “stones” appropriate to the arch. For the circular arch, all the bricks are the same.
For the Gothic arch, all the stones are the same except for the one at the very top. That is called the key-
stone, and the geometry of the arch requires that it be different from the rest. Variables you can change,
and their defaults, are:
• size = 80;
• diameter of the arch opening at the base, in mm
• w = 10;
• width of the bricks that make the arch, in mm
• thick = w;
• height of the print, set to 0 for 2D printing on paper
• segments = 11;
• Number of stones; use 10.01 for a small keystone (stone on top of a Gothic arch)
• gap = 0.1;
• The gap between stones (to leave space for mortar, for example), in mm
• separate = 0;
• The extra spacing between the stones for printing (to ensure that they don’t stick
together).
• gothic = false;
• Make this true to print a Gothic arch, false for a circular one
The values we show as defaults worked well for us, but feel free to explore and play with them. The
overall longest dimension of the model will be size + 4 * w, since the base is wide enough for the
arch plus one stone’s worth of extra base on either side. You will notice the base has a notch in it so that
it can exert a little side force. To assemble your 3D printed arch, lay out the pieces flat on a table. Set
aside the keystone if it is a Gothic arch.
Start at the bottom (on the base). Put a tiny dab of putty as mortar between the pieces as you go (Figure
13-5). We used UHU Tac removable putty, sometimes called “museum tack” and sold to hold down
vases in an earthquake. Use something that will stay soft since you are not making a permanent attach-
ment. In the next section, we will want to take it apart and put it back together.
For our build, we used a “marble” PLA so that it would even look like stone. This material has little
flecks of darker-colored material mixed in to give it a stone-like appearance. This specific type of addi-
Make: Geometry 259
258 Chapter 13: The Geometry Museum
Geometry_Chapter10_v15.indd 258Geometry_Chapter10_v15.indd 258 6/23/2021 9:11:27 AM6/23/2021 9:11:27 AM
..................Content has been hidden....................
You can't read the all page of ebook, please click here login for view all page.