
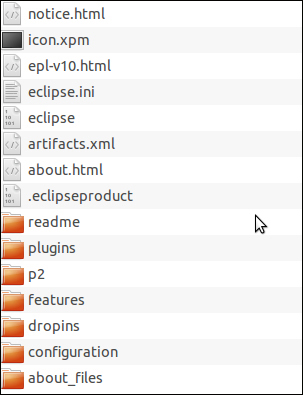
Go to the location of the downloaded file, as shown in the preceding screenshot, and extract it to a desired location of your choice. The extraction will result in a folder named eclipse. The contents of the eclipse folder are shown in the following screenshot:
We can see there is an application or executable file named eclipse, which on double-clicking, launches the Eclipse IDE. When Eclipse is launched, it will prompt you for a workspace location. Provide an appropriate location where the projects are to be stored and click on OK. Now, we are right in the Eclipse space and ready for action. You see something similar to the following screenshot:

Installing m2eclipse is fairly simple. Primarily, there are two ways to install the m2eclipse plugin in Eclipse:
The installation of m2eclipse using Eclipse Marketplace involves the following steps:
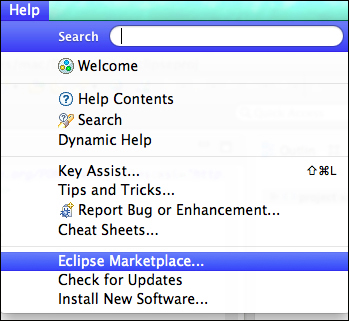
- Navigate to Help | Eclipse Marketplace as shown in the following screenshot:
- Then, search for
m2eclipsein the search box, and click on the Install button for Maven integration for the Eclipse package, as shown in the following screenshot: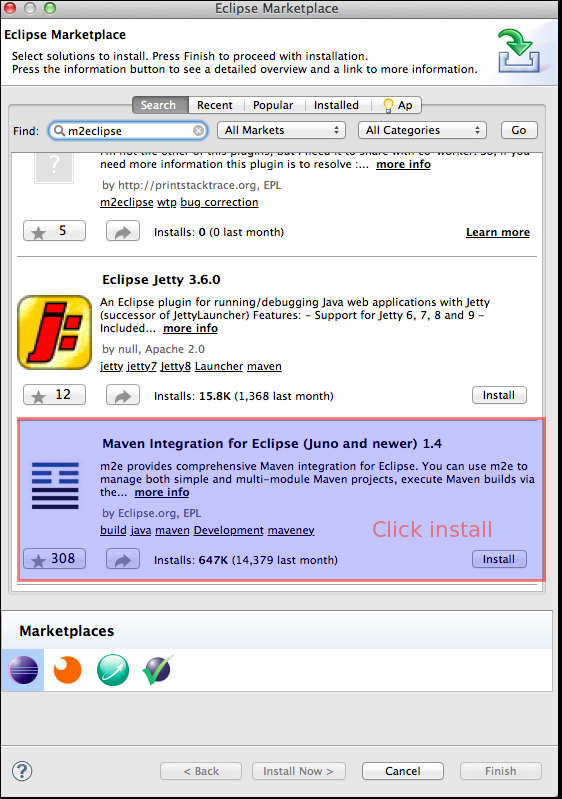
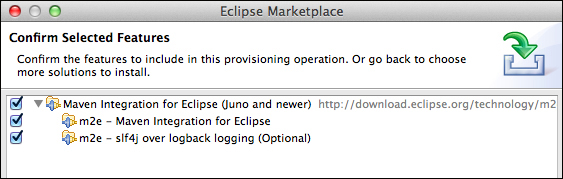
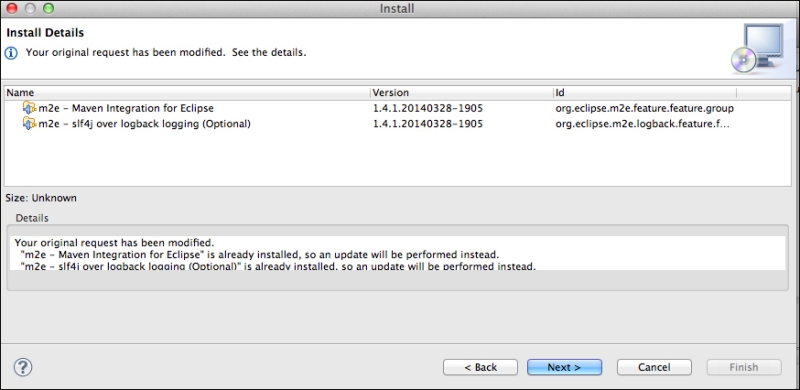
- On the next window, confirm the package to be installed as follows:
- Accept the terms and conditions and click on Finish. After the installation is done, the following prompt appears:
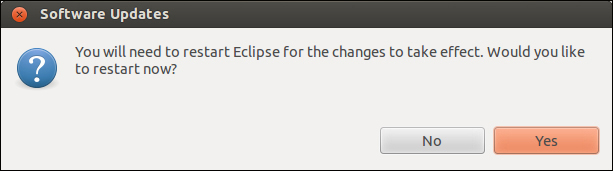
- Click on Yes to restart Eclipse and to have the changes reflected.
- For Mac users, choose the Restart Now option, and for other OSes, choose Yes.
The installation of m2eclipse using update site involves the following steps:
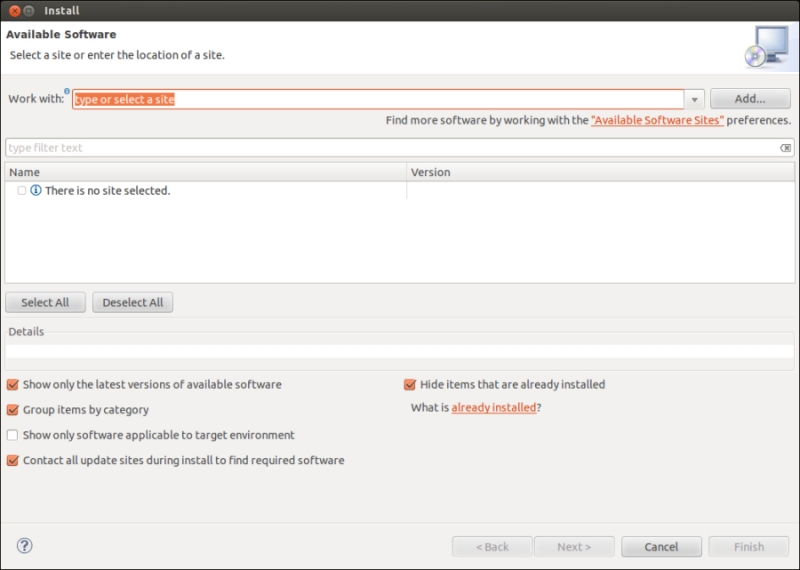
- Navigate to Help | Install New Software and your screen will look similar to the following screenshot:
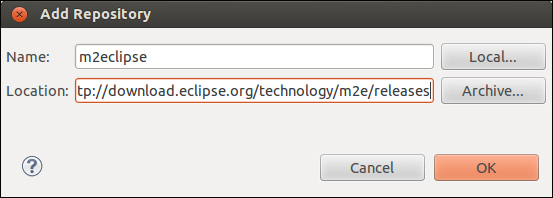
- Click on the Add... button. Add the http://download.eclipse.org/technology/m2e/releases site as the m2eclipse update site, as shown in the following screenshot and click on OK:
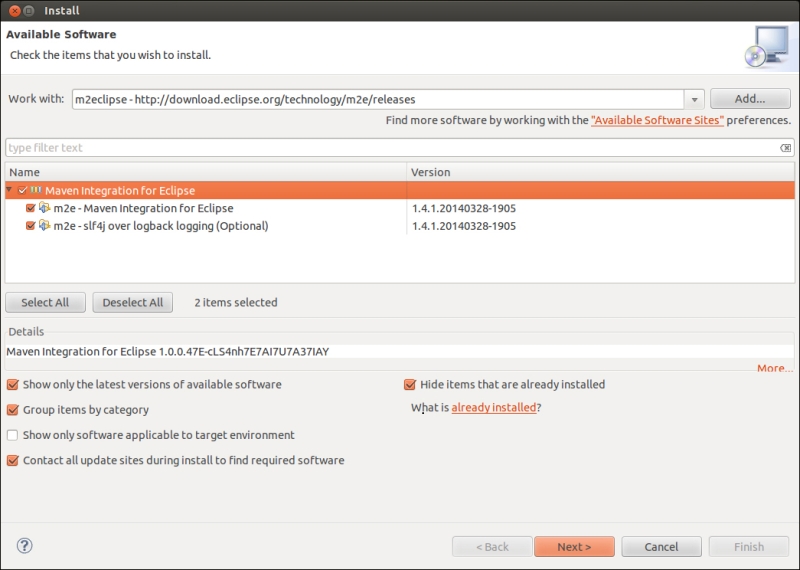
- Choose the packages as shown in the following screenshot:
- Click on Next, agree to the terms, and finally click on Finish to start installing. Once the installation is done, the following prompt appears:
- Click on Yes to restart Eclipse and to have the changes reflected. For Mac users, choose the Restart Now option and for users with other OSes, choose Yes.
So, midway, you will see something similar to the following screen:
- Click on Next and accept the terms, click on Finish to start the installation, and you will have to restart to have the changes reflected.