
The core module of MyDistance will contain a class that can be converted across different units, that is, from km/meter to yard/miles. Let's name this core module distance-core. To create a core module, perform the following steps:
- Navigate to File | New and click on Other…. In the Select a wizard screen, search for
mavenvia the search box, select Maven Module, and click on the Next button, as shown in the following screenshot: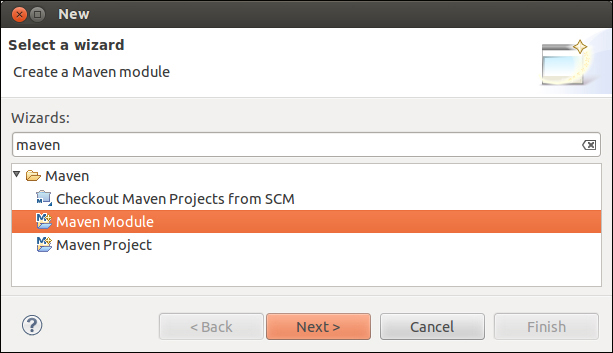
- The New Maven Module wizard appears; make sure to tick the checkbox Create a simple project (skip archetype selection), provide the module name as
distance-core, and browse to select the parent asDistance-main, as shown in the following screenshot:
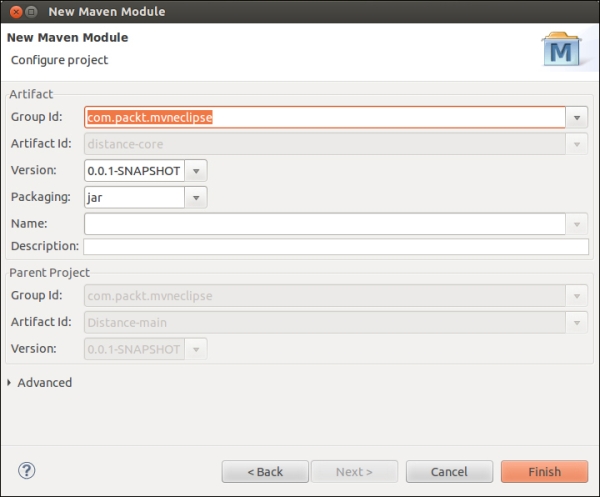
- In the Configure project Maven module wizard, fill in the details provided in the table after the following screenshot and click on Finish:
Field
Value
Group Id
com.packt.mvneclipseVersion
0.0.1-SNAPSHOTPackaging
jarSince the core module just contains a Java class and is available to be used as a library for a web module of an application, the packaging type is
jar. - The
distance-coremodule gets created and the contents of the POM will look as follows:<project xmlns="http://maven.apache.org/POM/4.0.0" xmlns:xsi="http://www.w3.org/2001/XMLSchema-instance" xsi:schemaLocation="http://maven.apache.org/POM/4.0.0 http://maven.apache.org/xsd/maven-4.0.0.xsd"> <modelVersion>4.0.0</modelVersion> <parent> <groupId>com.packt.mvneclipse</groupId> <artifactId>Distance-main</artifactId> <version>0.0.1-SNAPSHOT</version> </parent> <artifactId>distance-core</artifactId> </project>Note
Please note that the parent of the module is enclosed in the
<parent></parent>tag. Also, thegroupIdandversiontags will not be present for a module since we specified the samegroupIdandversionas the parent in the Configure Maven Module wizard. We did this in the preceding code while creating a module.At any point, if we wish to change or add
groupId/version/artifactId, we can always edit thepom.xmlfile since it's an XML file. - The core module consists of a class file that performs the conversion across distance units. Now let's add a class; right-click on the project, navigate to New, select Package, and specify the package name as
com.packt.chpt6.mydistance.util. - Create a class named
ConversionUtilin the preceding package. If you remember, we created this class in Chapter 5, Spicing Up a Maven Project. So, copy the contents of this class and save it. - Now let's put a unit test class in place. Create a package,
com.packt.chpt6.mydistance.util, insrc/test/java. Add the classConversionUtilTestto the corresponding package. Refer to Chapter 5, Spicing Up a Maven Project, where we created this test class; copy the contents of this class and save it. The resultingsrcstructure will look as follows: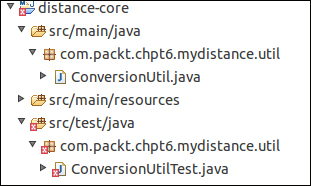
You might notice that we have some errors, and the errors are due to the TestCase class not being resolved. To solve this error, add jUnit as a dependency to the parent module, the pom.xml file, as shown in the following code:
    <dependency>
      <groupId>junit</groupId>
      <artifactId>junit</artifactId>
      <version>3.8.1</version>
      <scope>test</scope>
    </dependency>