
Now that you have had a chance to explore master pages and site-navigation controls, you will learn about another control from the Standard group in the Toolbox task pane: the AdRotator control. This control uses the information in an XML file to display advertising banners in a page.
In this case, you will add the banner to the master page in order to ensure that the banner is displayed in all the pages in your site that are attached to it. You will put the banner inside of the ContentPlaceHolder control of the master page so that a user can change it on a page-by-page basis.
In this exercise, you will insert an ASP.NET AdRotator control and modify the XML file that provides the information to display the ads.
Note
USE the CH11 sample site you modified in the previous exercise.
OPEN the CH11 site if it isn’t already open, and then display the my.master page.
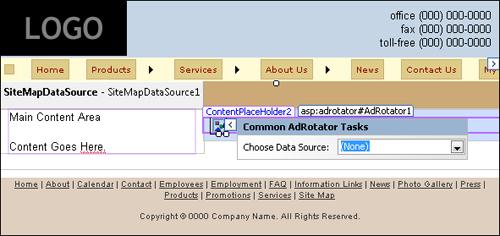
In the Design pane, click ContentPlaceHolder2 on the right side of the page, click the <asp:ContentPlaceH...#ContentPlaceH...> arrow on the quick tag selector bar, and then click Select Tag Contents.
In the Toolbox task pane, expand ASP.NET Controls, expand Standard, and then double-click AdRotator to insert that control where your ContentPlaceHolder control’s content was.
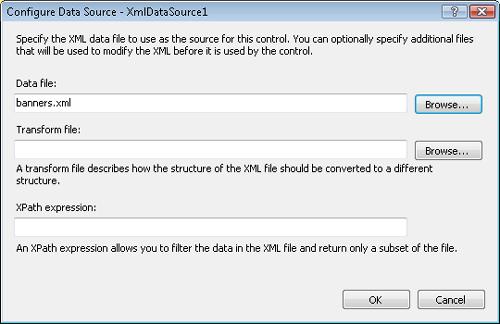
In the Common AdRotator Tasks pop-up window, click New data source in the Choose Data Source box. In the Data Source Configuration Wizard, click XML File, and then click OK. In the Configure Data Source dialog box, click Browse next to the Data file box, click banners.xml, click Open, and then click OK.
On the toolbar, click Save to save the change you made to the master page, click text.aspx in the Folder List, and then click Preview to start the ASP.NET Development Server and preview text.aspx in a browser.
Click some links on the site-navigation control in your browser view.
Notice that the banner image will change randomly with each page load. Also notice that the area that contains the AdRotator control doesn’t look exactly as it should. You’ll address that issue in the next few steps.
Close your browser window, and switch to Expression Web and the master page. In order to fix the presentation of the template, click the AdRotator control in the Design pane. In the Tag Properties task pane, set the height to 300px and the width to 150px.
Click <div#column_r> on the quick tag selector bar to select the right column. On the CSS Properties tab of the Tag Properties task pane, set the height to 300px and the width to 150px.
Click ContentPlaceHolder1 in the Design pane, and then click <div#column_l> on the quick tag selector bar. In the CSS Properties task pane, type 100% in the width box, and remove the values from the margin box.
On the quick tag selector bar, click <div#page_content>. In the CSS Properties task pane, type 500px in the min-height box.
Click Save to save your changes to the master page. When prompted, save the changes to the style sheet, accepting the default action of Overwrite.
Click text.aspx in the Folder List task pane, and then click Preview to preview your changes in a browser.
Close your browser window, and switch to Expression Web. In the Folder List, double-click banners.xml to open it.
You will add another node to the file in order to display the final unused banner image.
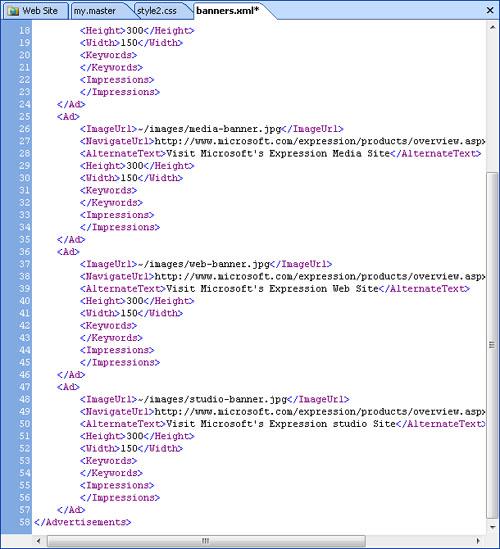
Insert the following code just before the closing </Advertisements> tag.
Note
You don’t actually have to type the code. Just copy the last node in the file from the start <Ad> tag to the end </Ad> tag (Expression Web), paste it above the closing </Advertisements> tag, and then replace the instances of "Web" with "Studio". If the nodes become out of alignment from working on the XML file, just right-click the page and click Reformat XML.
<Ad>
   <ImageUrl>~/images/studio-banner.jpg</ImageUrl>
   <NavigateUrl>http://www.microsoft.com/expression/products/overview.
aspx?key=studio</NavigateUrl>
   <AlternateText>Visit Microsoft’s Expression Studio Site</AlternateText>
   <Height>300</Height>
   <Width>150</Width>
   <Keywords>
   </Keywords>
   <Impressions>
   </Impressions>
</Ad>
On the toolbar, click Save to save the changes to the XML file.
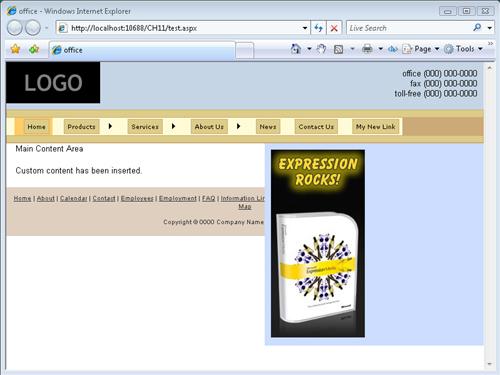
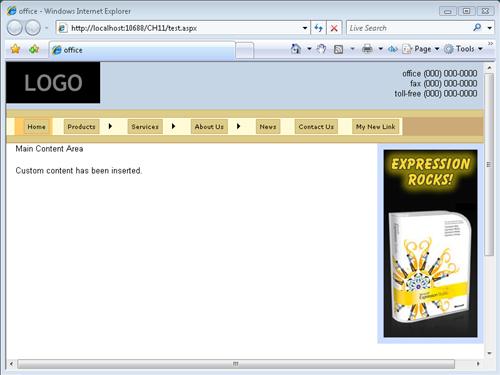
Click test.aspx in the Folder List, and then click Preview to view the file in a browser. Click Refresh on the browser several times to make sure that you see the Expression Studio image.

Note
CLOSE any open Internet Explorer windows.
BE SURE TO leave the CH11 site open for use in the next exercise.
In the preceding exercise, you were able to insert a dynamic banner rotator into your master page that gets its content data from an XML file. You formatted the control and added a new banner to the XML file by directly editing its contents. The impressive thing is that you were able to insert a control such as this without writing one single line of programming code.