You are now able to create reports that have value to others in your organization. Although you learned that you can store dynamic Excel reports in a "shared" network location, this might be cumbersome and difficult to find. Microsoft Dynamics CRM allows you to also upload reports to the Reports area and share the reports to provide users with access to all of their reports within the application.
In this exercise, you will upload a report to the Reports area of Microsoft Dynamics CRM.
Note
USE your own Microsoft Dynamics CRM installation in place of the Adventure Works Cycle site shown in this exercise.
BE SURE TO use the Internet Explorer Web browser to navigate to your Microsoft Dynamics CRM Web site, if necessary, before beginning this exercise.
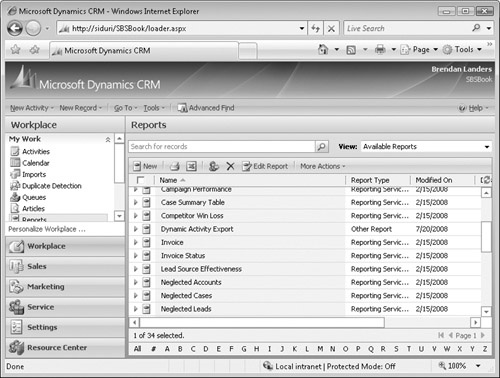
In the Workplace area, click Reports.
The default Report view, Available Reports, appears.
Click the New button.
The New Report page opens.
In the Report Type field, select Existing File.
In the Source section of the page, click the Browse button.
The Choose File dialog box opens.
Navigate to the Dynamic Activity Export file created earlier in the chapter, and click the Open button.
The file path is returned to the Report screen.
Click the Save and Close button to save your report in Microsoft Dynamics CRM.
The report appears in the available reports list.
Double-click the Dynamic Activity Export report to launch your report.
You have successfully uploaded your report to Microsoft Dynamics CRM.
See Also
The Reports area, Report Categorization, and Report Sharing were discussed earlier in this book. If you need a refresher on these subjects, see Chapter 16.


