Chapter 7
The Rhombus Weave
Form simple shapes with one key pattern.
Now that you’ve had an overview of the math in basketry here in Timor, let’s weave something. We can make simple shapes and even letters with the rhombus weave on just two strips. It’s only for decoration, but you’ll get the gist of the sort of weave used in the lafatik and mamafatin, among many others.
Gather stuff
- Several long strips of paper with uniform width
Tinker
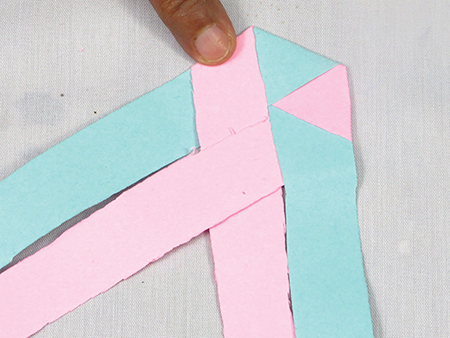
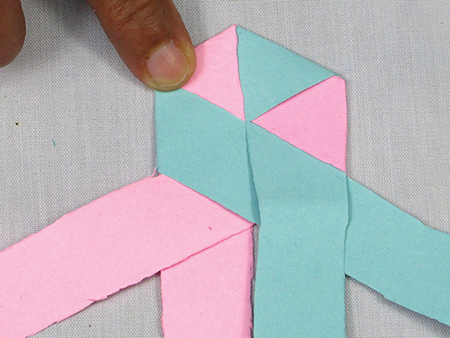
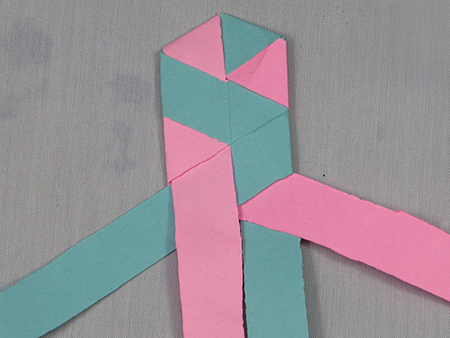
Start with two strips, one (horizontal) on top of the other (diagonal). Here is the key to this type of weaving: the 60-degree fold. You can see the angle made by the pink strip going up in front and back down in back, with three edges meeting at the point. Getting all three surfaces to come together at a single point ensures the correct angle.

Now fold one end of the blue horizontal strip over to run parallel to the pink strip.

And finally, you can weave the pink one on one side over the blue and under the other pink.

Now turn the whole thing over.
Wow, it looks exactly the same! But don’t be thrown off. The one you want is the blue on the far left in this photo. Weave it up over the pink and under the other blue.
Now you can see again the two parallel strips in the center. These are the ones that will be stationary—the base strips—and the two angling off to either side will be woven in and out of the two base strips. Continue with that blue strip you just used and go back up over the blue base strip, then under the pink one. Always leave the strip perfectly parallel to another one when you lay it down.
Flip it over again and grab the pink. Do two moves: over and then back.

You get the picture: over-under-over-under and flip, alternating strips. Always try for tight folds, parallel placement, and no space between the strips. Keep on going until you come to the end of your strips.
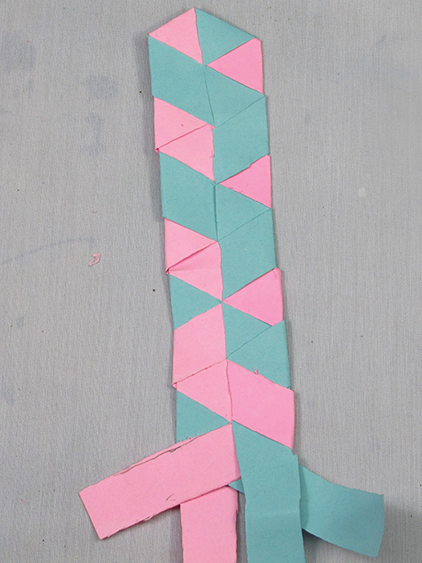
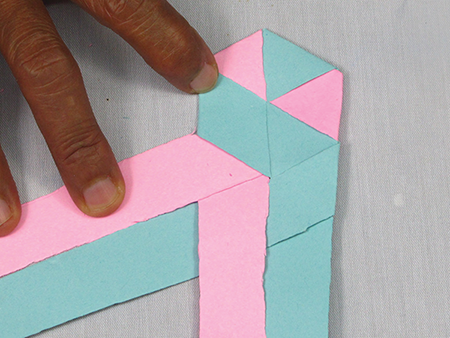
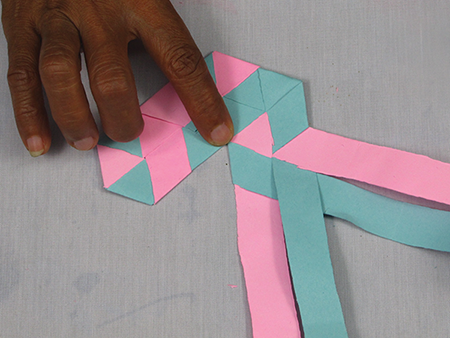
That’s the base technique for using the rhombus weave on two strips to get a straight line. Of course life gets pretty dull if all you’ve got are straight lines. There are two main ways to turn corners with this kind of weaving. The first gets you a 120° angle. Start with two more strips just as you just did and weave until you have a short section going straight.
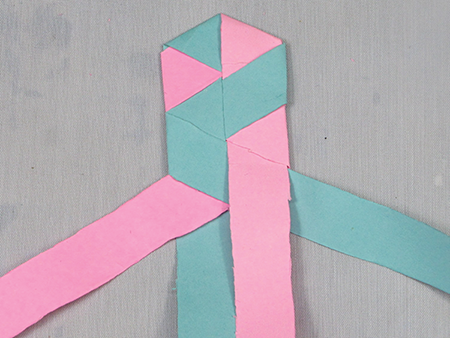
Now take one of the non-base ends back across as if you were going to continue going straight.
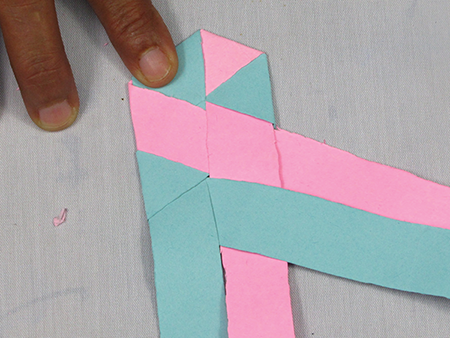
But then take that base pink and weave it across to come out on the far side.

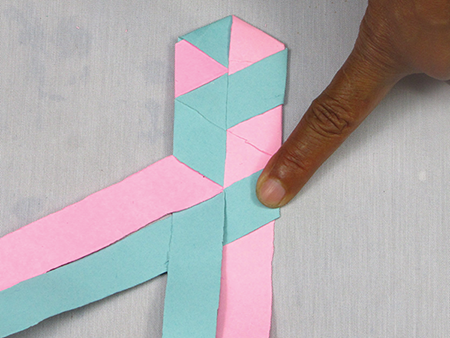
Ooooh, that’s new! Now you’ve changed directions. The two in the center are now your base pair, and you can weave the others back and forth across them as usual. Keep on weaving for a bit.
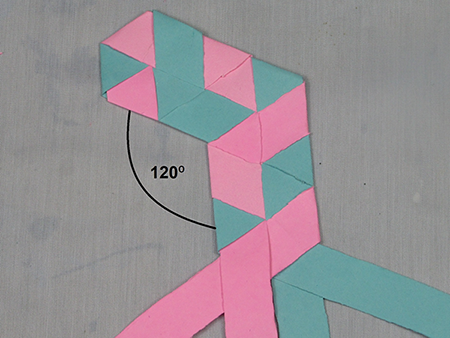
You’ve made a 120° angle.
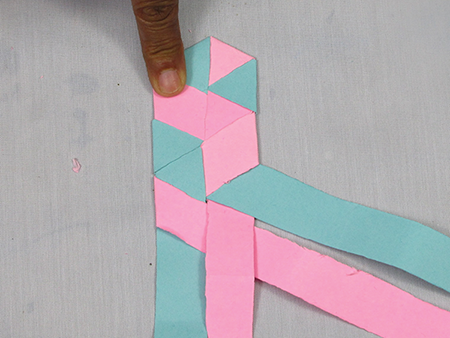
The other way to turn makes an even sharper angle. Start with two more strips and a short straight section.
Now turn as you just did, swapping one of the sides for a base.

But instead of continuing on straight, take that blue strip on the side, weave it over, and then take the other blue strip and weave it over again.


Now once again the center two will form a new base pair. Keep that clear in your mind and weave the other two on along them. Remember, every two steps you have to flip it over.


You’ve made a 60° angle.
And there you have it: the three possibilities for progressing with this particular weave. Now if you want to continue on any of these, just staple or tape on another strip to one of these and weave on into the sunset!

What’s Going On?
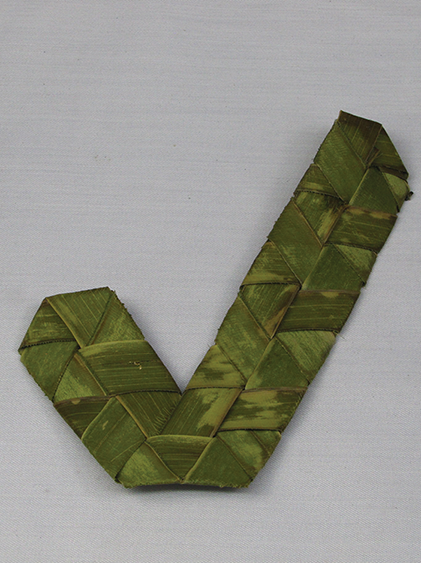
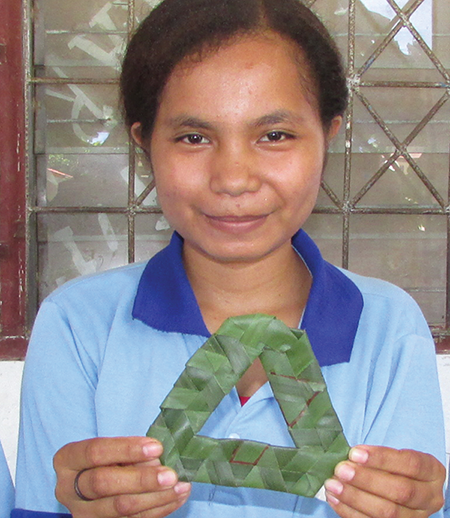
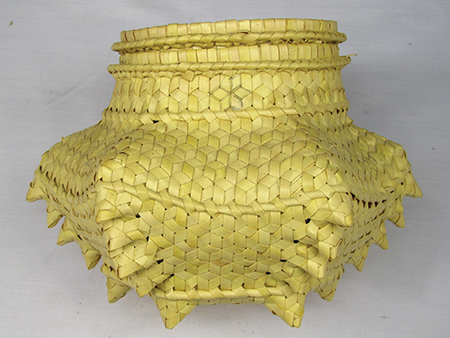
We made turns at only two angles, each related to that original 60° angle. This is remarkable, because the same is true for enormously elaborate basketry made from this weave. Here are some beauties:

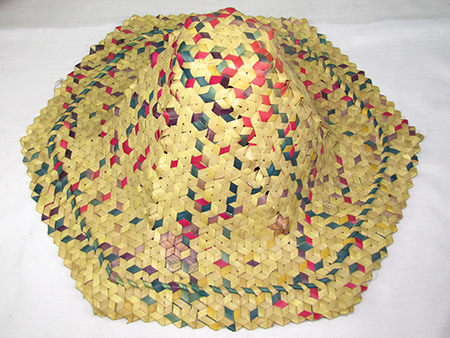
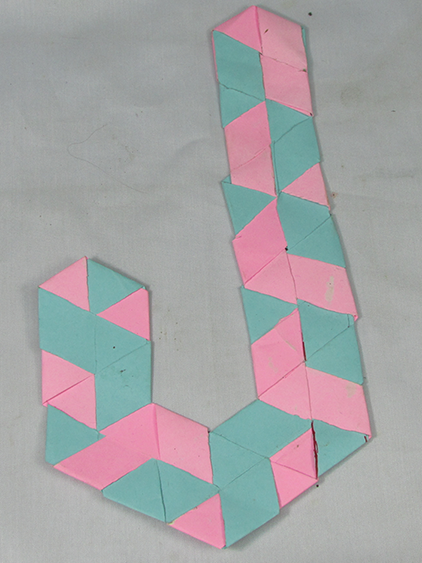
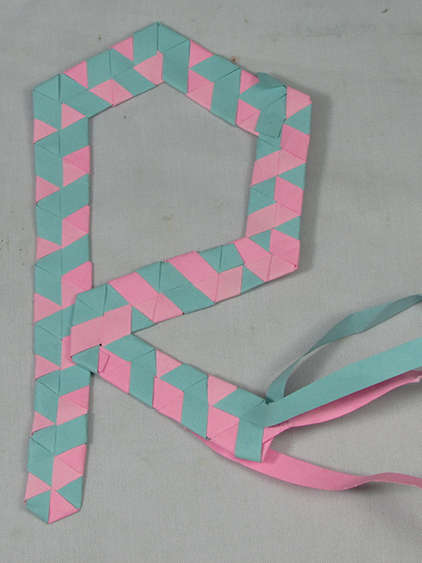
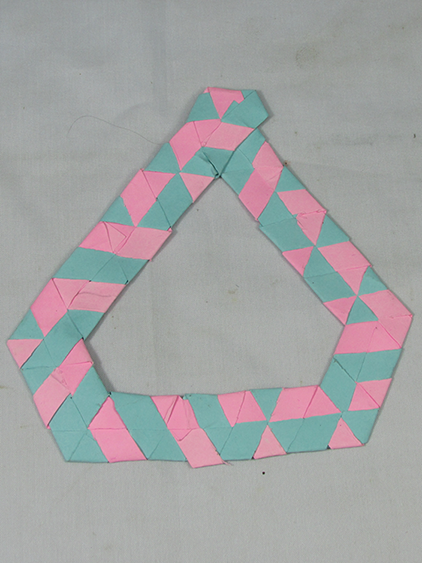
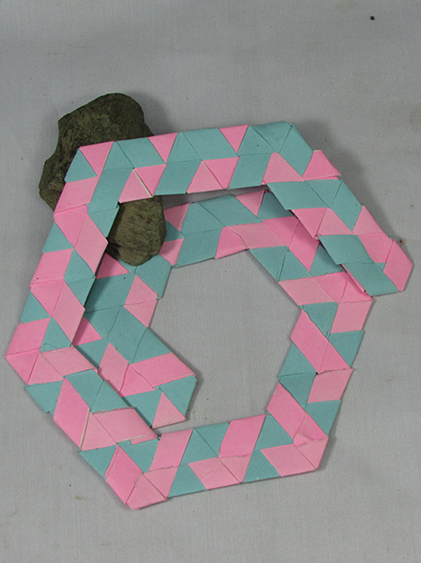
With only these angles you can also weave all sorts of shapes, including letters, numbers, spirals, and boxes. Closing them off is a bit tricky sometimes, but basically you’re just looking for how to fold and weave the ends back into the existing piece, and then clip them off. Here are some figures woven by Joana and me and some of my students. Fill your room with them!