
This chapter provides a step-by-step walkthrough of how to get ZENworks Data Management up and running quickly in your environment. This chapter assumes that you have previously installed eDirectory into your environment. If you are using Active Directory, you can refer to Chapter 2, “Installing ZENworks 7 Suite,” for information on how to install ZENworks in an Active Directory environment. If you are using Linux servers, you can also refer to Chapter 2 for information on how to install ZENworks in a Linux environment.
To access the iFolder management console, do the following:
1. Open a supported web browser.
2. Enter the following URL in the Address box of the web browser to bring up the iFolder management console shown in Figure 8.1:
https://<ip_address_or_dns_name>.<domain_name>.com/
iFolderServer/Admin
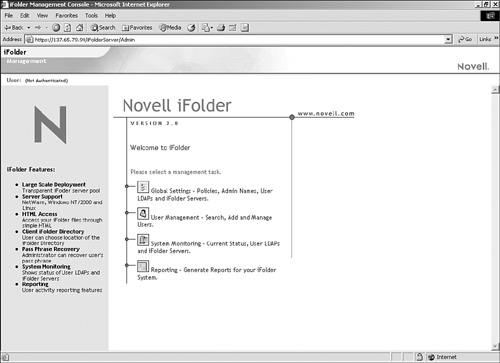
After you have successfully opened the management console, you are ready to configure your first iFolder server.
The first task you need to perform in the iFolder management console is to define a context where user objects are stored. All user objects in this context will then show in the iFolder management console.
To define the user context, use the following steps:
1. Click Global Settings and enter the admin ID and password.
2. Click User LDAPs from the Global Settings screen shown in Figure 8.2.
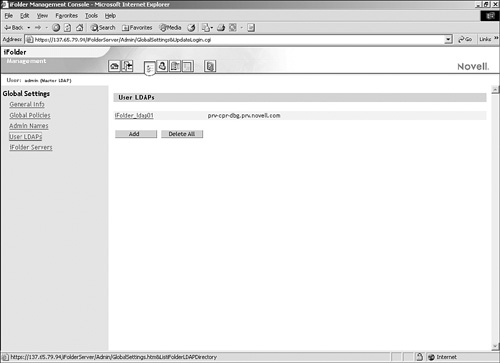
3. Select the iFolder Server.
4. Select the contexts where user objects reside in the Contexts To Search list shown in Figure 8.3.

5. Enable the Search Subcontexts option if you need LDAP to search for users below the selected context.
6. Click Add to add any additional contexts.
7. Click Update to save the new settings.
After you define the user context, you can begin provisioning user objects to be able to use the iFolder services.
Use the following steps to enable iFolder services for users:
1. From the iFolder management console, click User Management.
NOTE
The first time you log in to User Management, iFolder extends the schema. Make sure that you log in as a user with sufficient rights to make the schema extension.
2. Use the Advanced Search for Users tool, shown in Figure 8.4, to locate the users you want to enable.
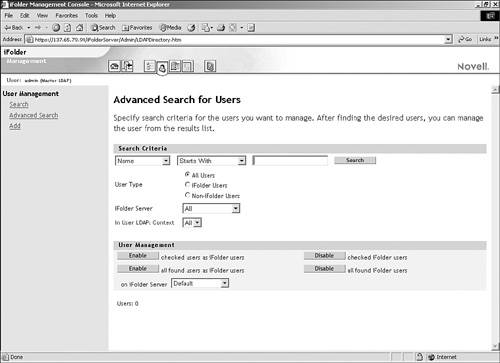
3. Enable iFolder services for users using one of the following methods:
![]() Single user—Enable only a single user by clicking on the user link.
Single user—Enable only a single user by clicking on the user link.
![]() Multiple users—Enable all users that meet the search criteria by clicking the Enable button.
Multiple users—Enable all users that meet the search criteria by clicking the Enable button.
![]() Subset of users—Enable a subset of users by selecting the check box next to each user you want to enable; then click the Enable button.
Subset of users—Enable a subset of users by selecting the check box next to each user you want to enable; then click the Enable button.
![]() Subset of users on a specific iFolder server—Enable a subset of users on a specific server by selecting the server from the drop-down menu and then clicking the Enable button.
Subset of users on a specific iFolder server—Enable a subset of users on a specific server by selecting the server from the drop-down menu and then clicking the Enable button.
After you access the iFolder management console and configure the iFolder server and users, it is time to see whether everything is working properly. Use the following steps to verify whether iFolder is properly configured:
1. Install the iFolder client on a user workstation.
2. Log in to the iFolder server as one of the users you enabled.
3. Copy files to the user’s iFolder home directory.
4. Access the iFolder website for users by typing the following URL into a web browser:
https://<ip_address_or_dns_name>.<domain_name>.com/
iFolder
5. Click the login link and type in the user’s name and password.
6. Verify that the files copied to the user’s home directory are available from the iFolder user web interface, shown in Figure 8.5.
