Chapter Goal: This concluding chapter looks at how you can use the content you have created along with this book—or your own projects—using Photoshop or Illustrator later in other Adobe software, and at how to move the assets using either the copy/paste method or the Library panel.
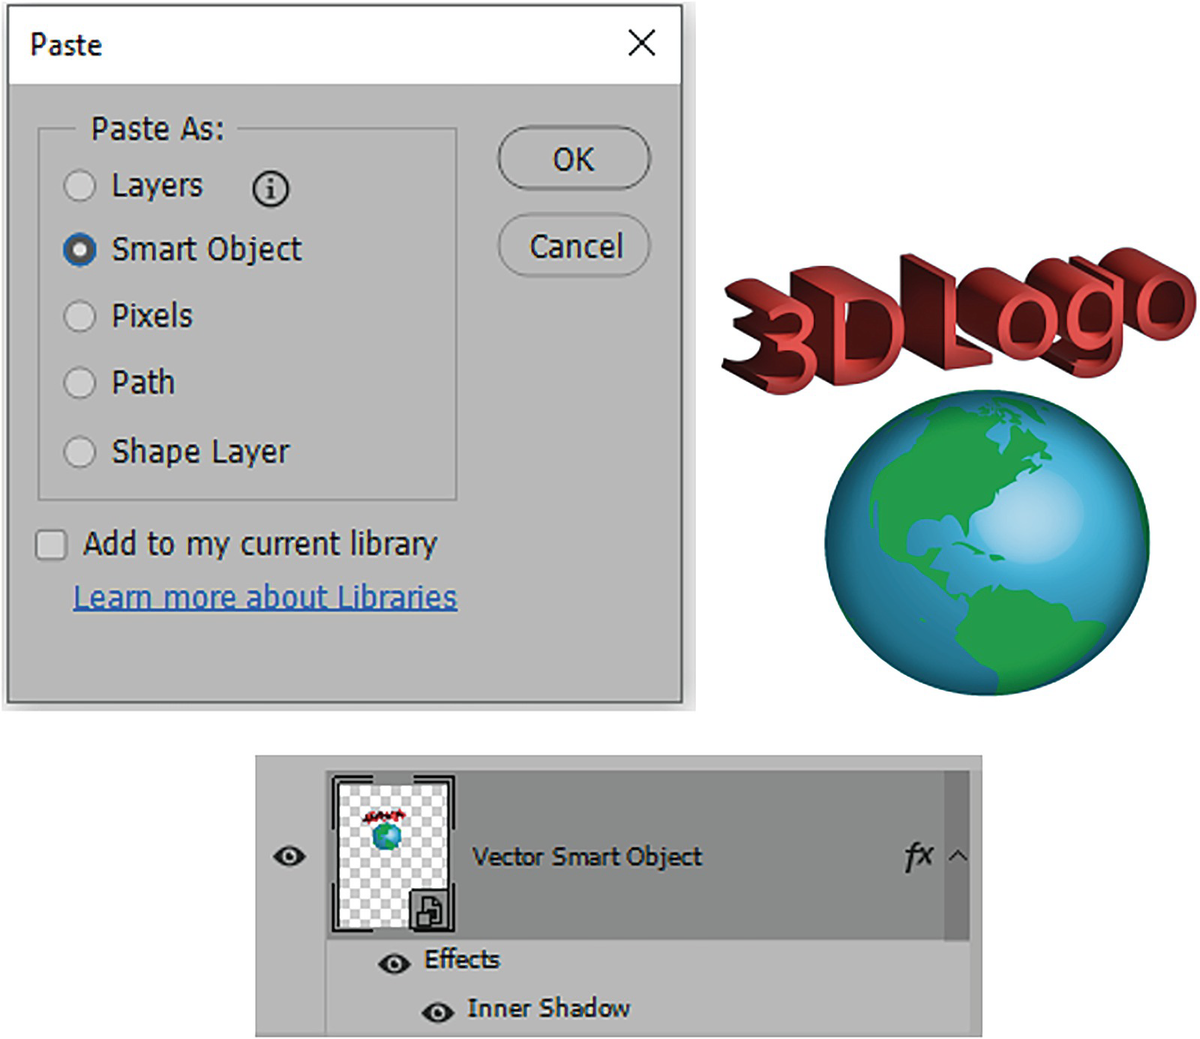
Photoshop Paste dialog box for an Illustrator logo set as a Smart Object layer stored in the Layers panel with a layer style of Inner Shadow applied
Then, continue on to warp and distort your Illustrator vector graphics as Smart Object layers in Photoshop, whether they be illustrations, logos, or 3D text, and apply layer styles or smart filters with graphics created in either Photoshop or Illustrator.
However, there are other Adobe applications to which we can transfer our graphics, and in this chapter I will briefly discuss a few of them, which you may want to explore on your own, as well as some of the methods you can use to do so.
There are no projects in this chapter. However, I have included a PDF file in the Chapter 14 folder with extra instructions on how to Print an Adobe Illustrator file as a flattened image (.tif) with Photoshop should you run into unwanted thin lines that can appear due to some complex effects. See file Additional_Notes_Illustrator_Print.pdf.
Workflow of Photoshop and Illustrator Graphics to Other Adobe Applications
Once you have created your final warped and distorted designs, you need to ask yourself, “How do I plan to display them so that others can view my creations?”
Print: for a portfolio, art canvas, advertisement, or other document layout
3D Designs: to be incorporated into another 3D application
Animation: to be used in comical GIF animation or animated instructional infographic
EPUB: online document to be viewed on a tablet
Web Design or Online Portfolio: your own personal web page, blog, or a client’s social media page, where the graphic will be part of gallery or a GIF animation
Video: watermark, logo, or a part of the animated footage or special effect
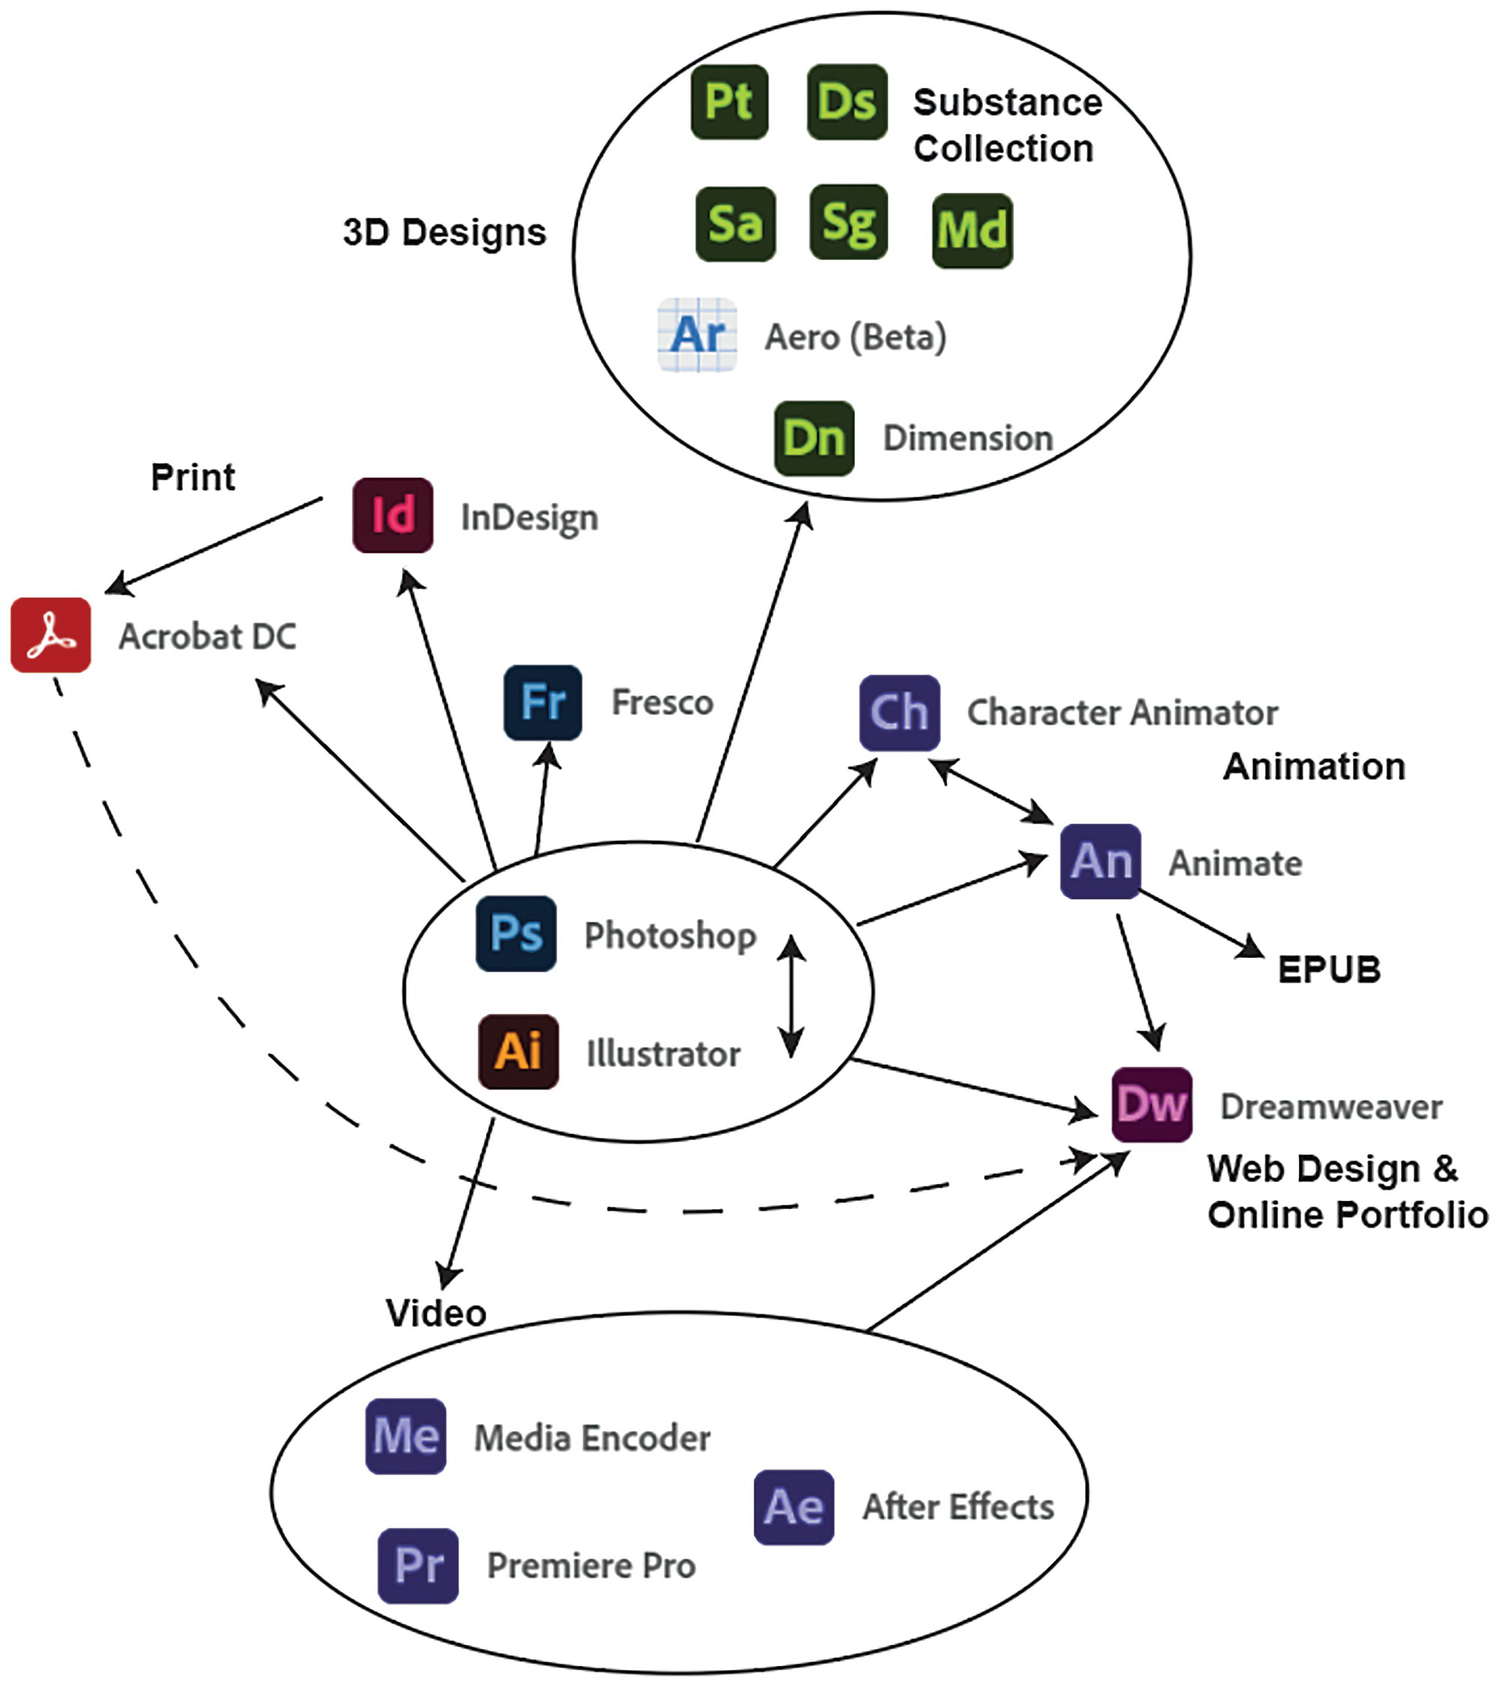
Workflow of various Adobe apps that are included in the Creative Cloud desktop
So, on the following pages, I have presented a few Adobe applications that you may want to learn more about, as well some similar warping features those applications possess.
InDesign

InDesign app icon and file format for saving files
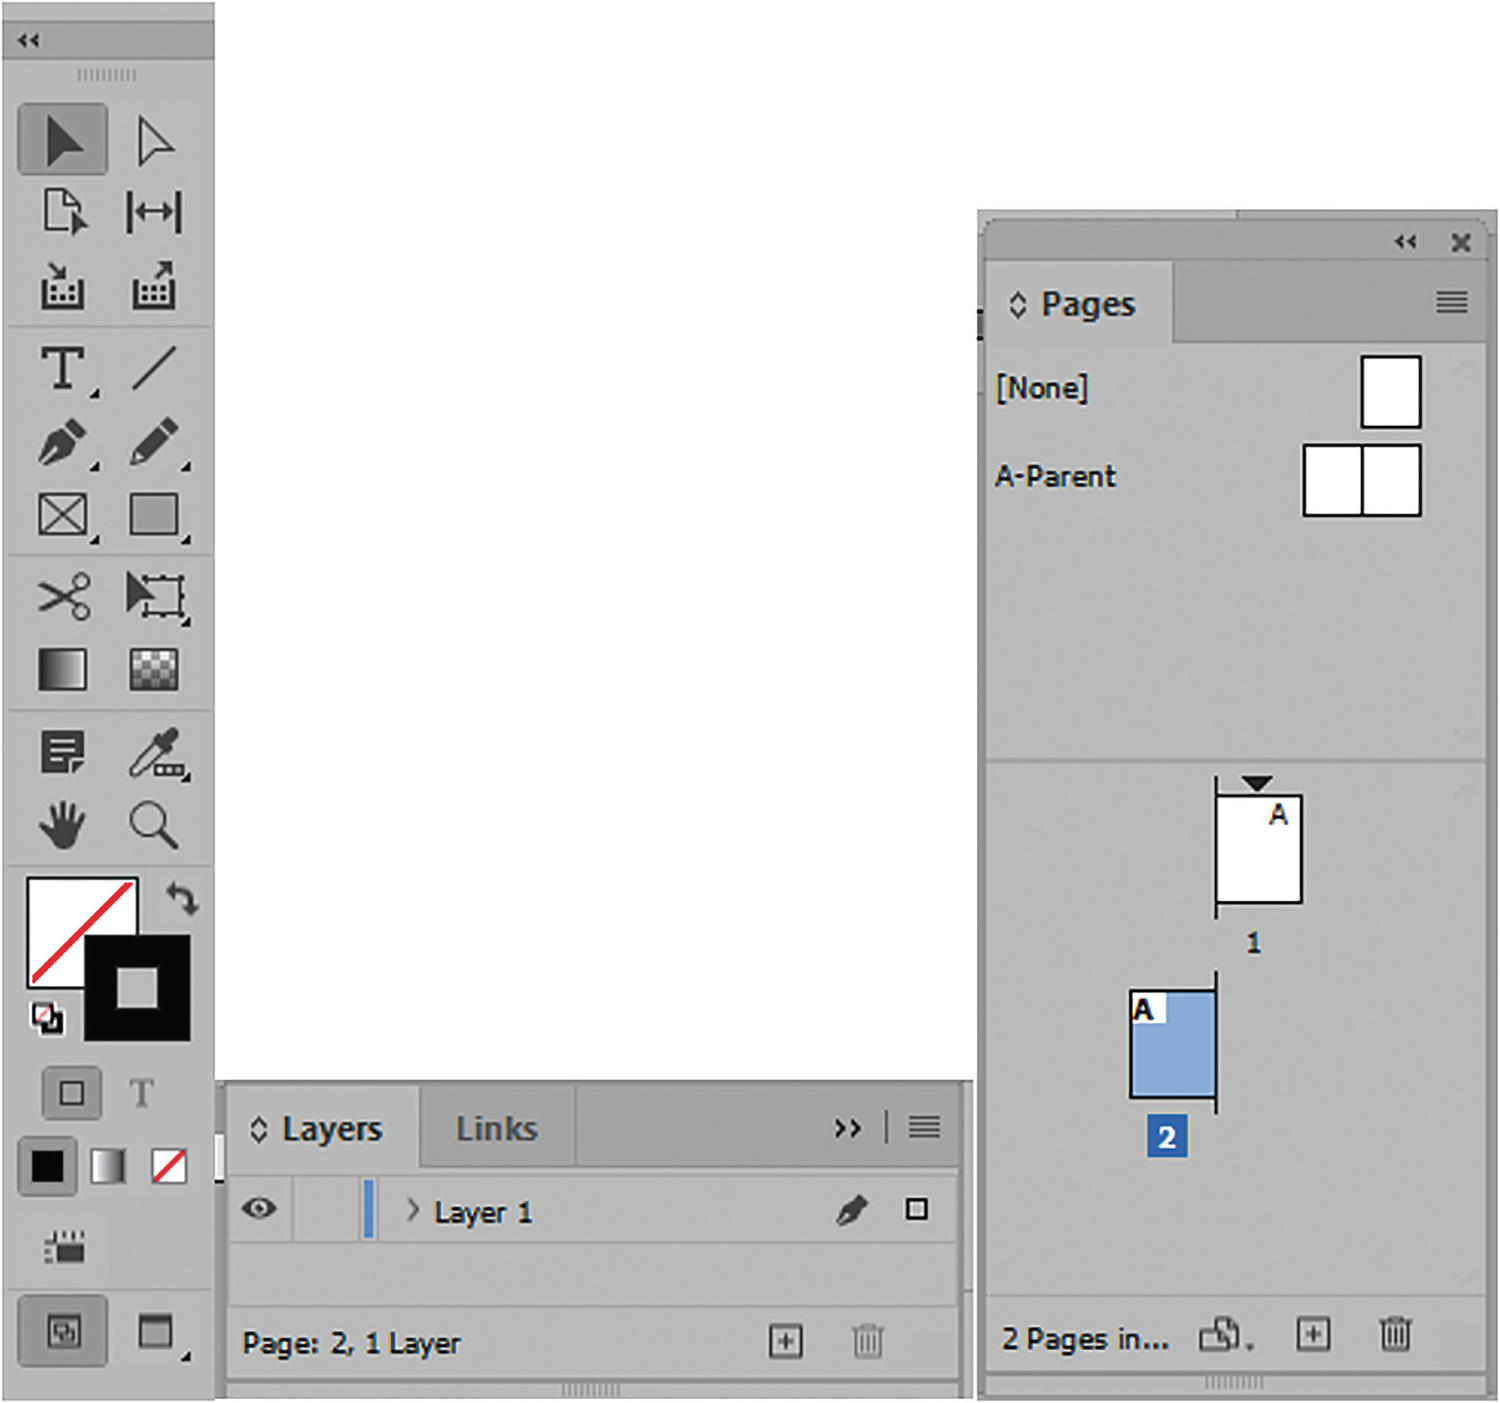
InDesign’s Tools panel, Layers panel, and Pages panel
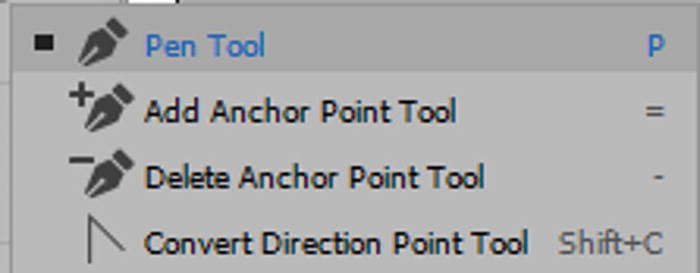
InDesign’s Pen, Add Anchor Point, Delete Anchor Point, and Convert Direction Point tools

InDesign’s Selection and Direct Selection tools

InDesign’s Type tool and Type on a Path tool
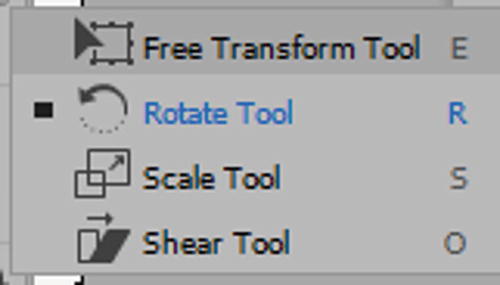
InDesign’s Free Transform, Rotate, Scale, and Shear tools
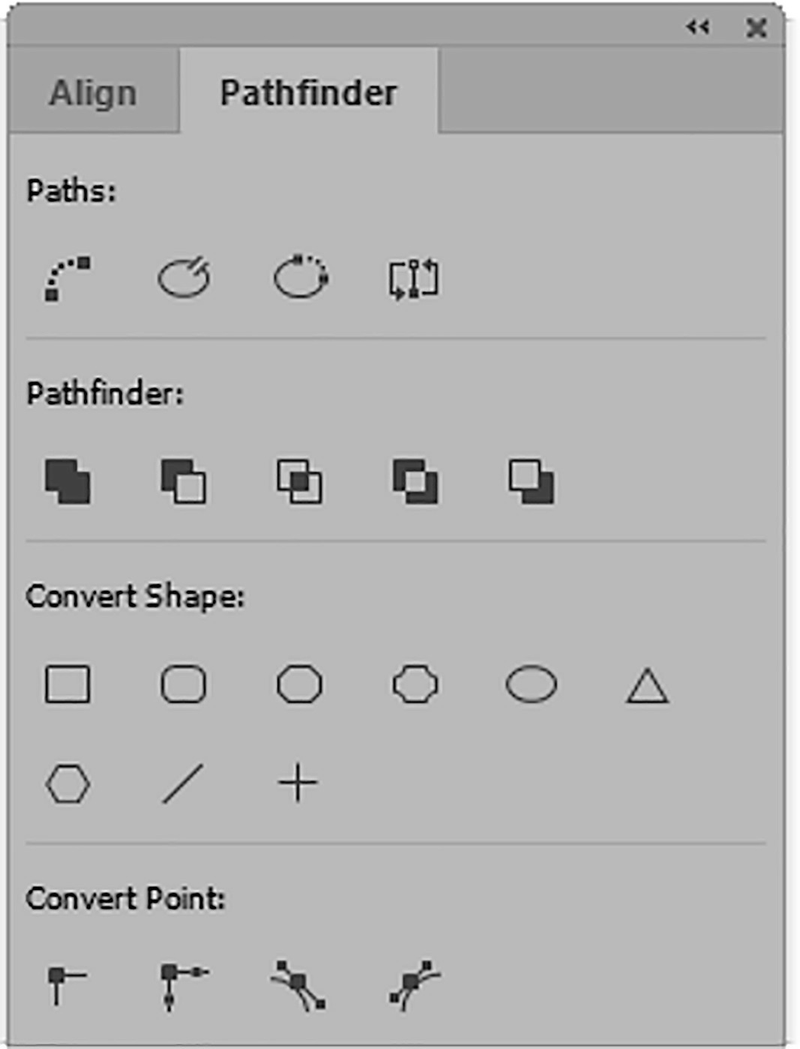
InDesign’s Pathfinder panel
The Effects panel can be used to add object effect blending modes and opacity to a shape. This is like a combination of Illustrator’s Transparency and Appearances panels. Refer to Chapters 8 and 11 to compare panels. These applied effects can be stored as Object Styles and accessed via that panel, which is like Illustrator’s Graphic Styles panel. Object Styles can affect the object’s stroke, fill, and text. Refer to Figure 14-10.

InDesign’s Effects and Object Styles panels
Another connective feature between InDesign, Photoshop, and Illustrator is the CC Libraries panel. When certain styles are applied to text or an object in Illustrator, these graphics can be linked or embedded in the document using this panel. Refer to Figure 14-11.
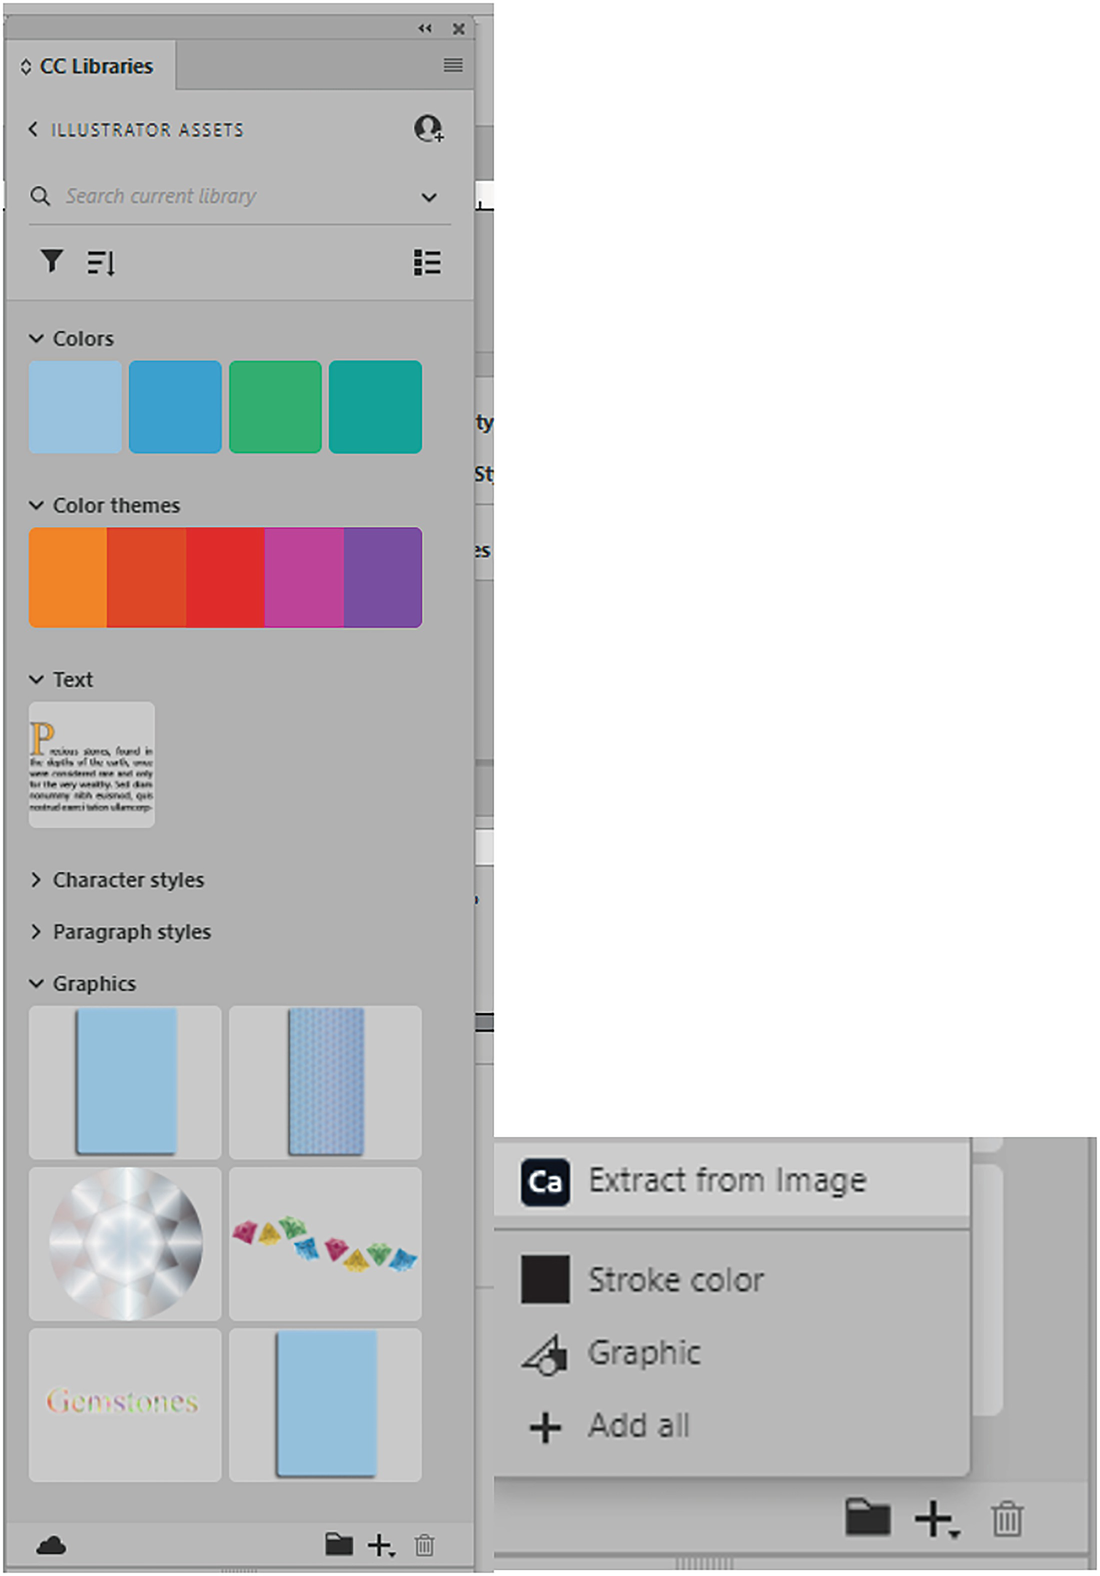
InDesign’s CC Libraries panel with new Capture Extract from Image option
For more details, refer to this link:
https://helpx.adobe.com/indesign/using/creative-cloud-libraries-sync-share-assets.html.
Recently, InDesign has also added to the CC Libraries panel a new Capture (Ca) feature (Extract from Image) for color themes, shapes, and type. Refer to Figure 14-11

Adobe Acrobat and Digital Editions apps
You can use Acrobat or Acrobat Reader to view PDF files. However, you will need a tablet or a program like Adobe Digital Editions to view EPUB documents. Digital Editions is not part of the Creative Cloud desktop, but it is free to download from Adobe; you can learn more about it from this link.
https://www.adobe.com/solutions/ebook/digital-editions/faq.html
Animate
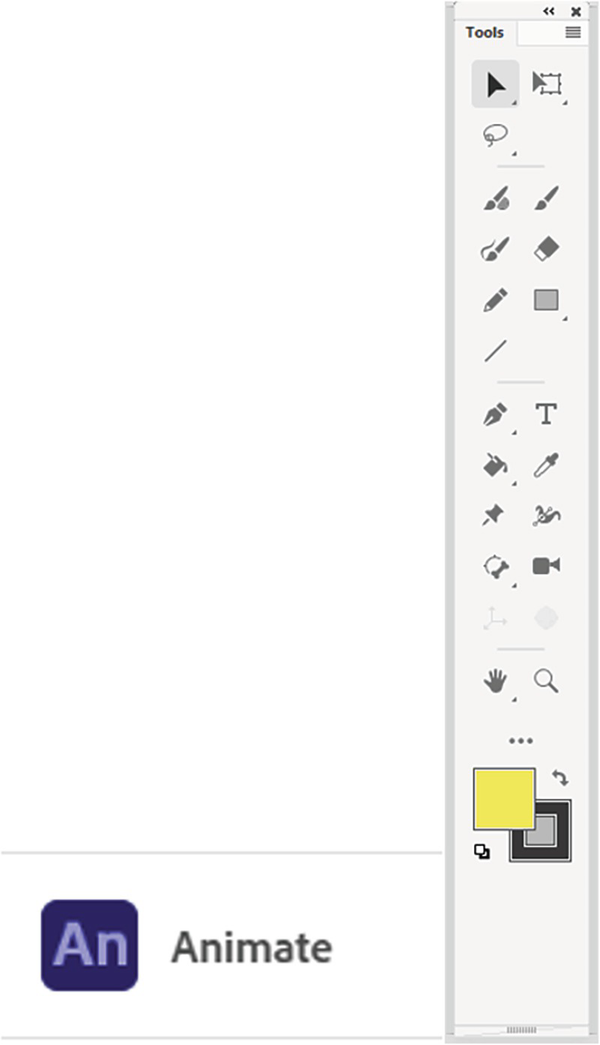
Animate app icon and Tools panel

Animate Paste dialog box and Library panel
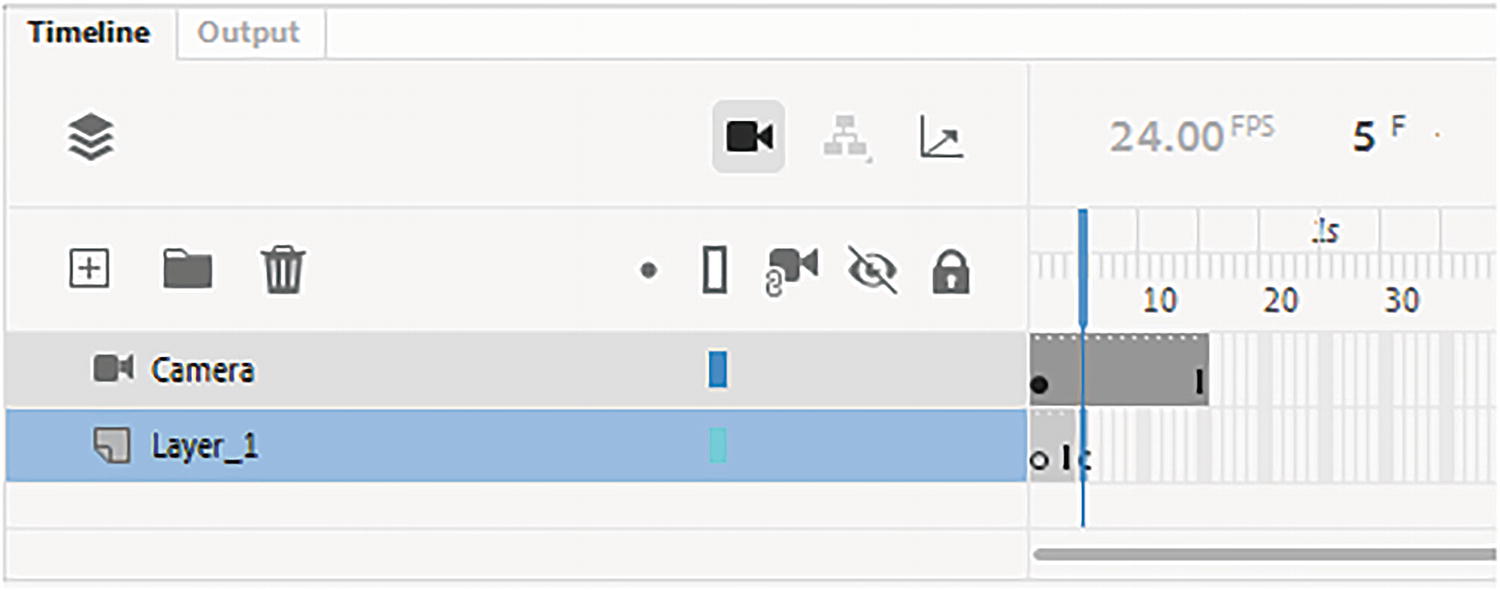
Animate Timeline panel
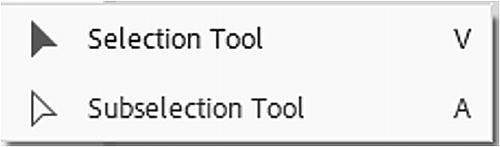
Animate’s Selection and Subselection tools


Animate Width tool

Animate’s Fluid Brush, Classic Brush, and Paint Brush

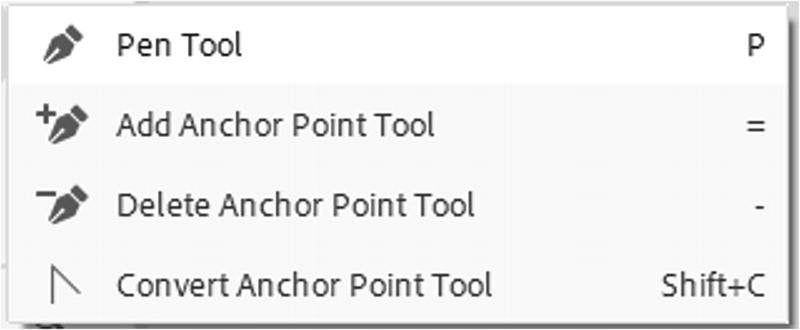
Animate’s Pen, Add Anchor Point, Delete Anchor Point, and Convert Anchor Point tools
Selected symbols can have basic blend and filter effects applied using the Properties panel. Just be aware that complex items may have parts rasterized if they are very detailed when placed on the Animate stage or in the Library panel. Animate cannot render as accurately certain complex details that you may have created in Illustrator or Photoshop, as the animations are meant for a website. Refer to Figure 14-22.
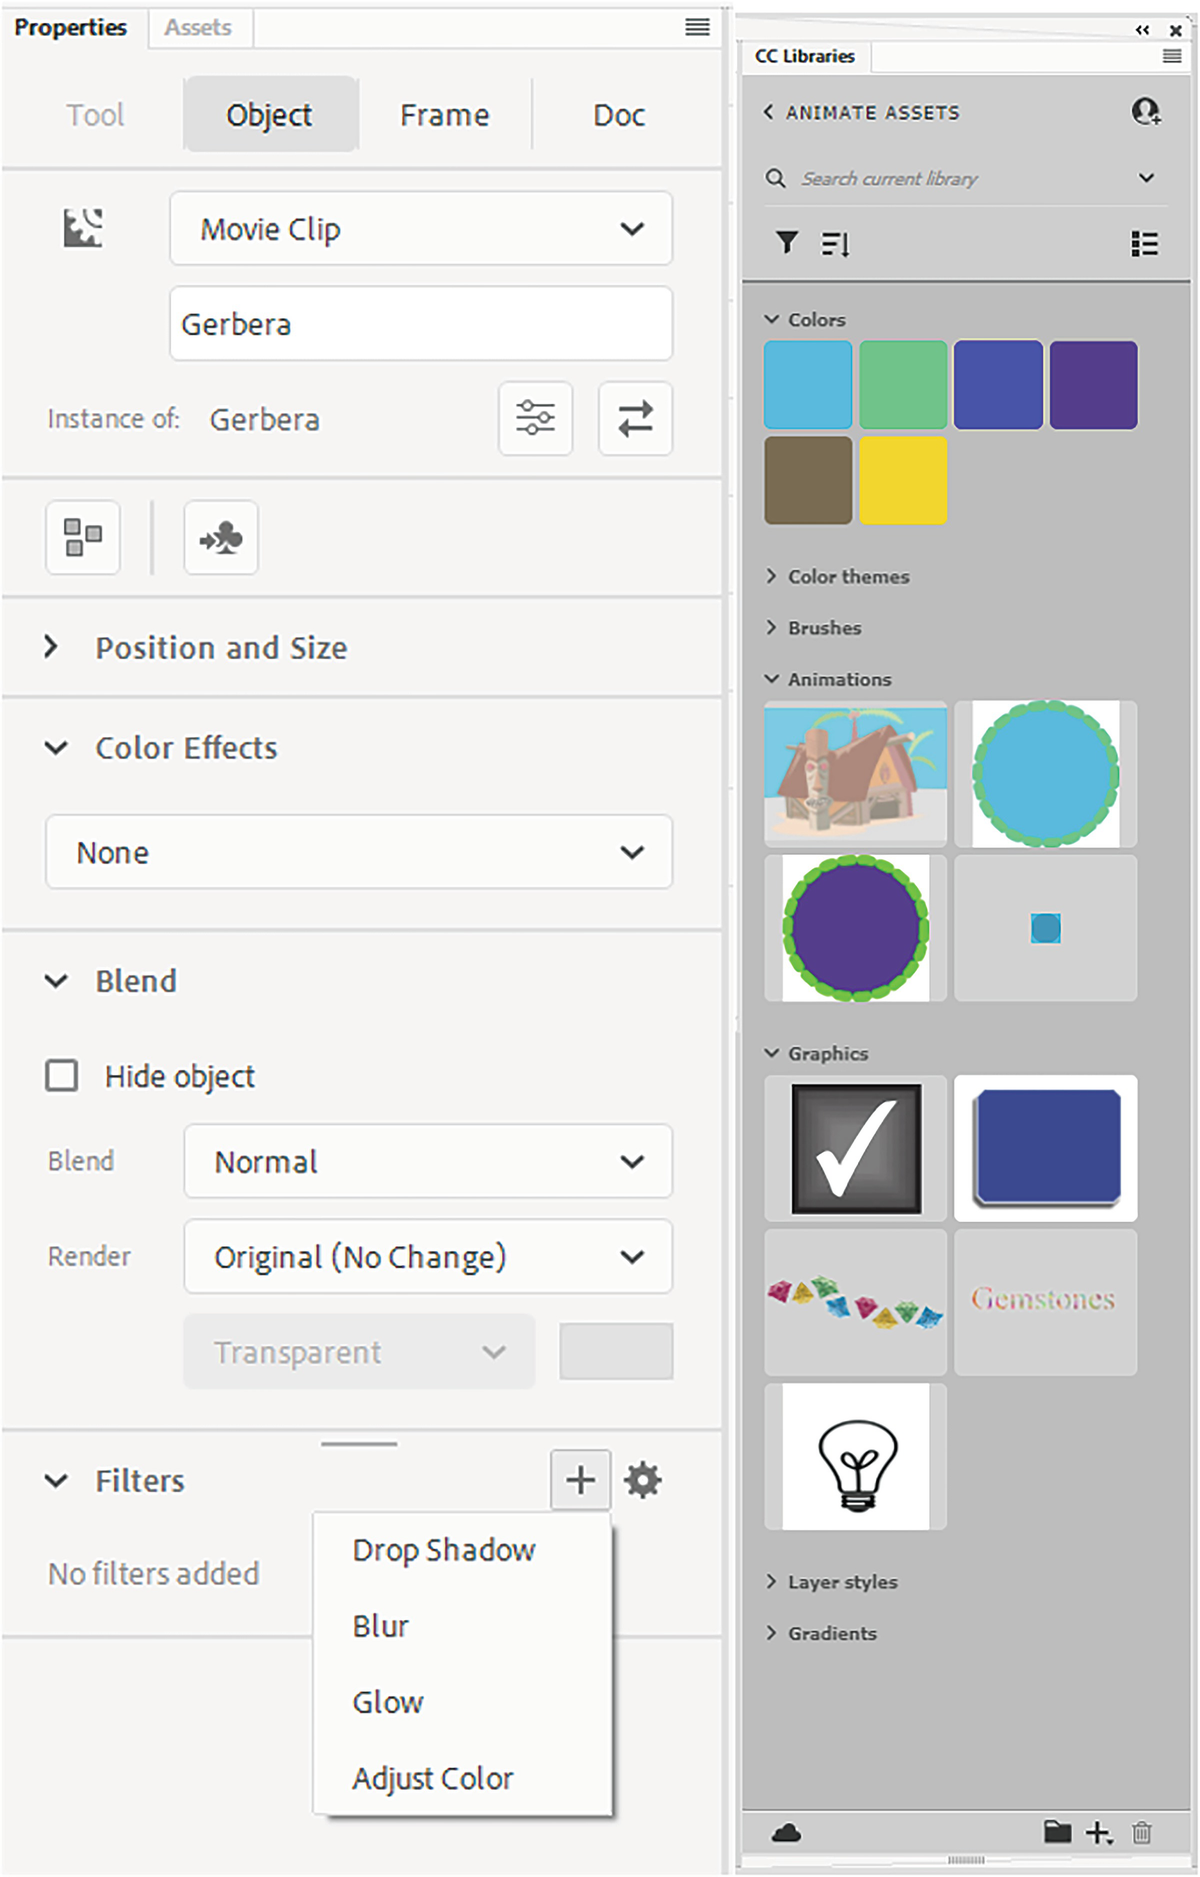
Animate’s Properties with Blend and Filter options and CC Libraries panel
Animate, like the other mentioned Adobe apps, is connected to the CC Libraries panel, so you can use this panel to add your warped graphics and text to the stage, or add symbols to the Animate Library panel to enhance your animations. Refer to Figure 14-22.
You can learn more about the Animate CC Libraries panel from this link:
https://helpx.adobe.com/animate/using/creative-cloud-libraries-stock.html
As mentioned, Animate can be used to create animations that can later be used in InDesign to create an EPUB document or added as an animation for your site that you build using Adobe Dreamweaver or even WordPress or another social media page.
Dreamweaver

Dreamweaver app icon
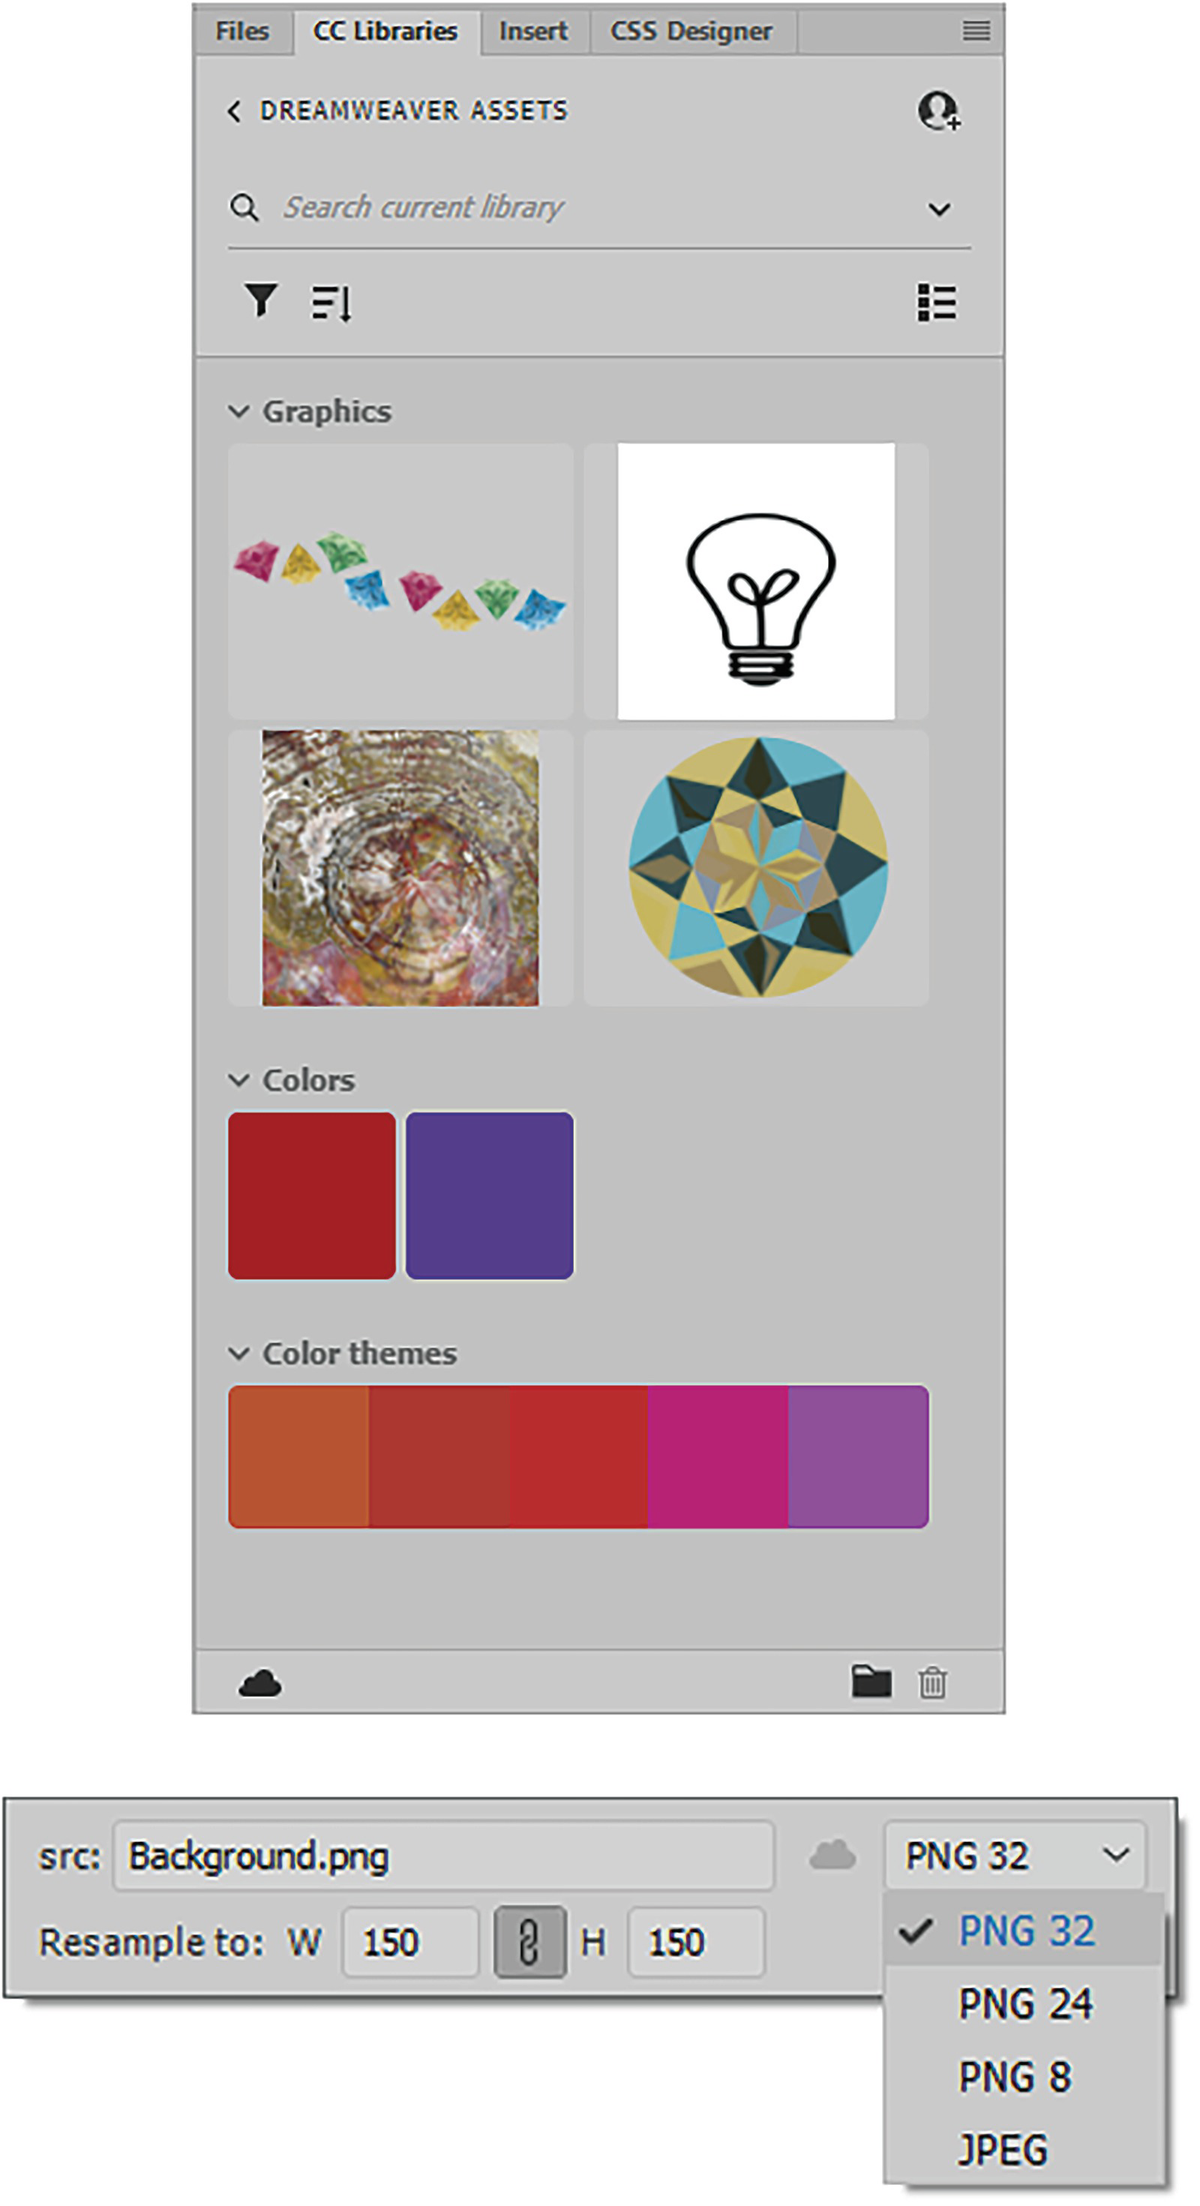
Dreamweaver CC Libraries panel and conversion setting options for linked or extracted file
Adobe recommends that you do all your color editing and cropping to your graphic files in your native application of Photoshop or Illustrator and no longer supplies these tools in its Properties panel as in past versions.
Saving Exported Files or Assets from Photoshop and Illustrator
Regardless of what application you prefer to use to lay out your website, you can use Photoshop and Illustrator to make your image ready for the web.
Photoshop and Illustrator can save files such as .png, .jpg, and .gif using the following options within their applications:
File ➤ Export ➤ Save For Web (Legacy): In Photoshop, this is good for saving GIF animations as well as the previously mentioned file formats. If this is a topic you are interested in, refer to my books that I mention in the introduction. However, Illustrator will not allow you to export GIF animations; only Photoshop and Animate will (File ➤ Export ➤ Export Animated GIF).
File ➤ Export ➤ Export As: This is available in Photoshop and Illustrator. However, in Illustrator you also can use this option to save (.svg) files (Scalable Vector Graphics).
If in Photoshop you are planning to save a file in the newer (.webp) format, go to File ➤ Save As.
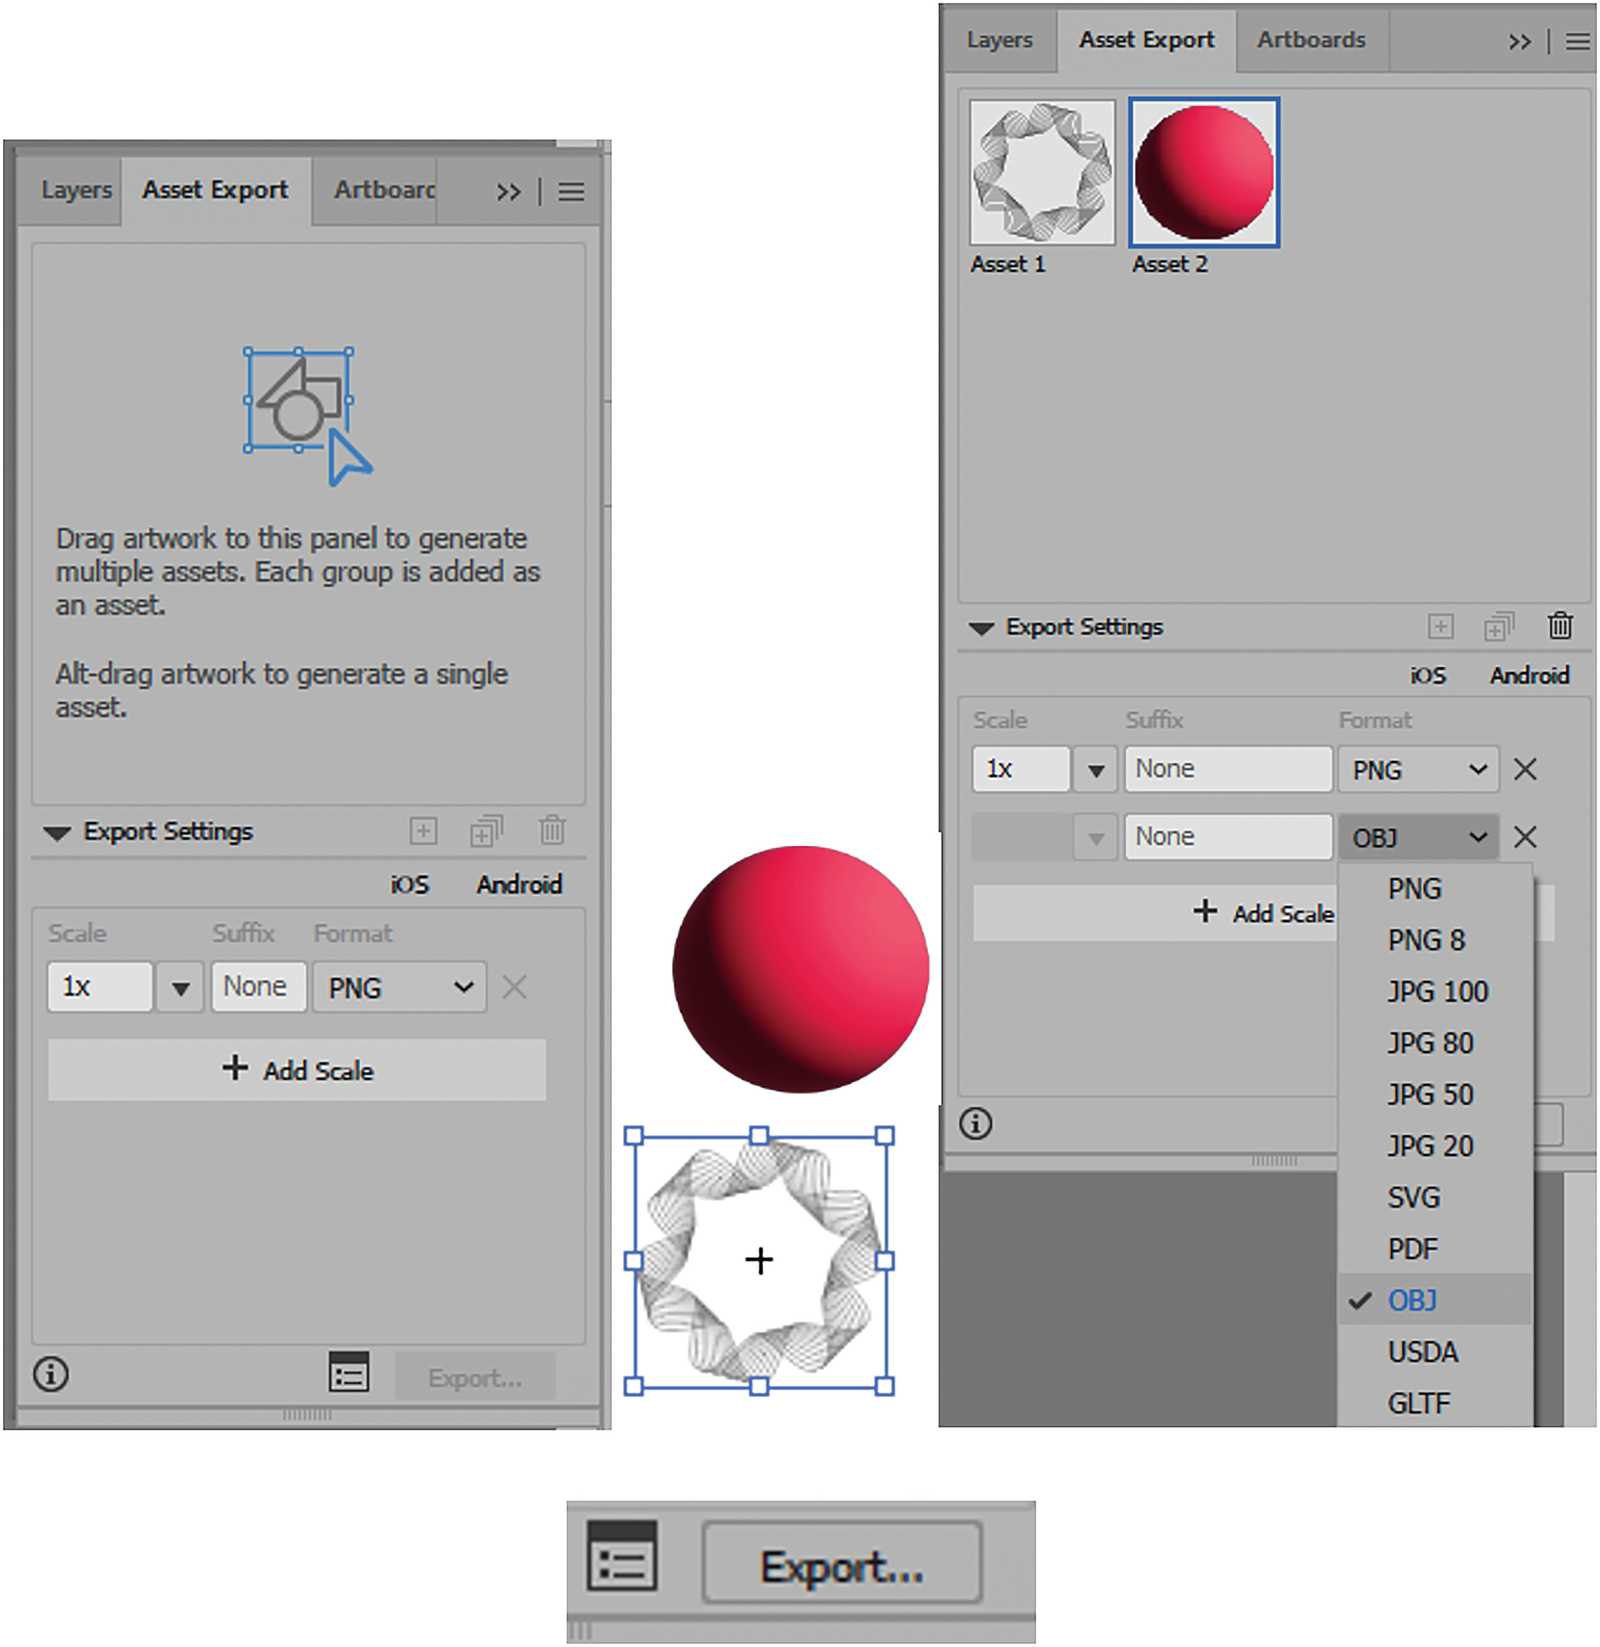
Illustrator’s Asset Export panel for creating web or 3D graphics quickly using drag and drop
Drag your artwork into this panel and then set your Export Settings before clicking the panel’s Export button at the bottom of the panel.
Though not required for this book, if you want to learn more about saving and exporting graphics for the web you can check out my book Graphics and Multimedia for the Web with Adobe Creative Cloud and Perspective Warps and Distorts with Adobe Tools: Volume 1.
Other Adobe Applications
Adobe app icons for Media Encoder, Premiere Pro, After Effects, and Bridge, and the Bridges Libraries panel
Another alternative is to copy your illustrator drawings into Character Animator, which is similar to Animate; however, it does not appear that this application has access to the CC Libraries panel yet. Refer to Figure 14-27. For more details on this application, you can review this link: https://helpx.adobe.com/adobe-character-animator/user-guide.html.

Adobe app icons for Character Animator and Fresco
Fresco, as well, is an application that you may want to use to add additional painterly effects to your Photoshop files as well as work with basic animations. Refer to Figure 14-27 and this link:
https://www.adobe.com/products/fresco.html
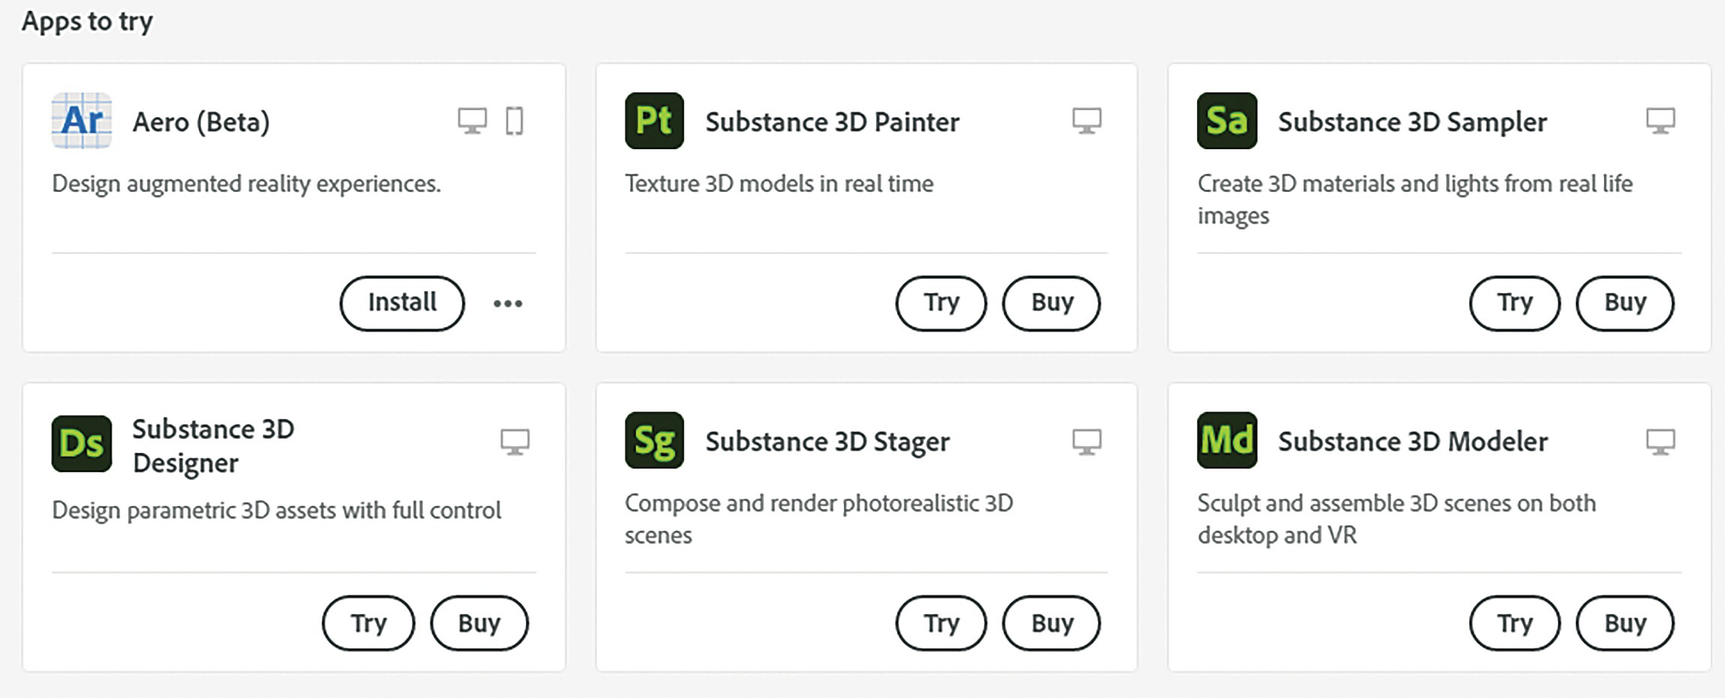
Adobe Creative Cloud desktop apps of Aero, Substance 3D Painter, Sampler, Designer, and Stager
Some of these apps you can try as part of a trial, but you will have to pay extra for on your Creative Cloud subscription. The Dimension App, refer to Figure 14-2, is similar to Substance 3D Stager, and you can learn more about that at this link:
Refer to this link if you want more information on Adobe Substance 3D Modeler:
Summary
This concludes this book. I hope that you enjoyed learning about how to create some unusual transformations in Illustrator as well as some ideas on what additional Adobe applications, including Photoshop, you need to learn about to take your next graphics project to its completion.
If you enjoyed these topics, please make sure to check out my other books from Apress as well.