
Chapter Goal: Set up your workspace. Begin the process of discovering what a true warp and a distort are when working in Illustrator, with its many panels and menus. With Illustrator vector shapes, the concept of a distort is more wide-ranging.
Illustrator Warps and Distorts
In this book, Perspective Warps and Distorts with Adobe Tools: Volume 2, we will focus on the application Adobe Illustrator. Illustrator has tools similar to those in Photoshop, such as the Pen, Path Selection, and Direct Selection tools, which we will review in Chapter 2 and look at how they can work to distort various vector shapes. Distortion in some ways is easier to control in Illustrator than in Photoshop, as you are dealing with points and paths only.

The Layers panel thumbnail in Illustrator with a linked photo placed on a separate locked layer. One can tell the photo is linked or embedded because it appears in the Links panel
You can find which images are linked or embedded via Window ➤ Links panel.
In this book we will not be looking in any detail at linked or embedded images; however, if you would like more detail on this topic, you can look at the Photoshop Selections book mentioned in the Resources section of this chapter. It is not required to complete these projects.

Illustrator shapes and paths can be pasted as Vector Smart Object layers into Photoshop
In this book, however, we will focus mostly on Illustrator. In Chapters 4 and 6–11 we will be either briefly returning to Photoshop or discussing tools or effects that are similar to ones in Photoshop for comparison.
Nevertheless, Illustrator is ideal for warping not just vector shapes and type, as will be seen in Chapters 9–10, but also basic 3D object paths, as you will see later, in Chapter 13.
Resources
Before we get started, however, let’s make sure that you have your Illustrator workspace set up. We’ll just be working with Illustrator, but, as mentioned, you can copy and paste selected items over to Photoshop as Smart Objects Layers. Refer to Figure 1-2.
Though Smart Objects are not required to complete the projects in this book, supplemental books that I have written can be found in the “Introduction” of this book.
Some other Adobe resources I will mention throughout the book can be found in the following Adobe help link:
This chapter does not contain any project files.
System Requirements
Make sure when working in Photoshop that you have the most up-to-date version of your Creative Cloud desktop and that the latest version of the application meets your system’s requirements. Currently I am using Illustrator CC 2023 Version 27.1 on my Windows 10 computer.
However, you may be using a newer version of Windows or MacOS, so review your system requirements here:
https://helpx.adobe.com/illustrator/system-requirements.html
Some features for Windows 11 computers may not be supported at the time of this writing.

Use the Creative Cloud desktop All Apps tab to locate and launch the Illustrator app
Set Up the Workspace and Review the Main Panels and Tools
To set up your workspace, from the main menu choose File ➤ New.

Illustrator New Document dialog box and blank document presets
You will notice on the right in the Preset Details area that the name will currently be Untitled -1.
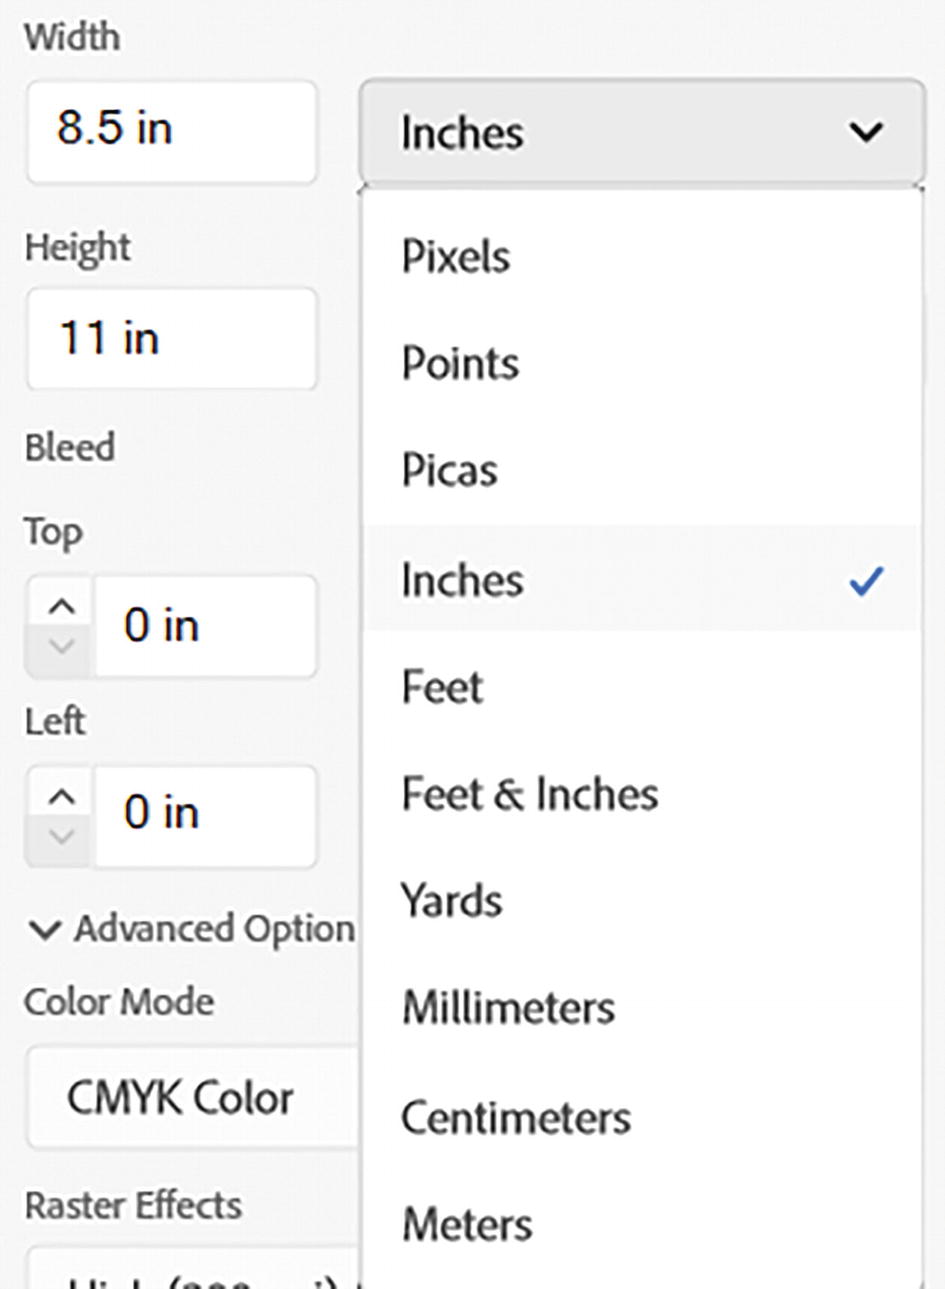
New Document dialog box with various increment settings
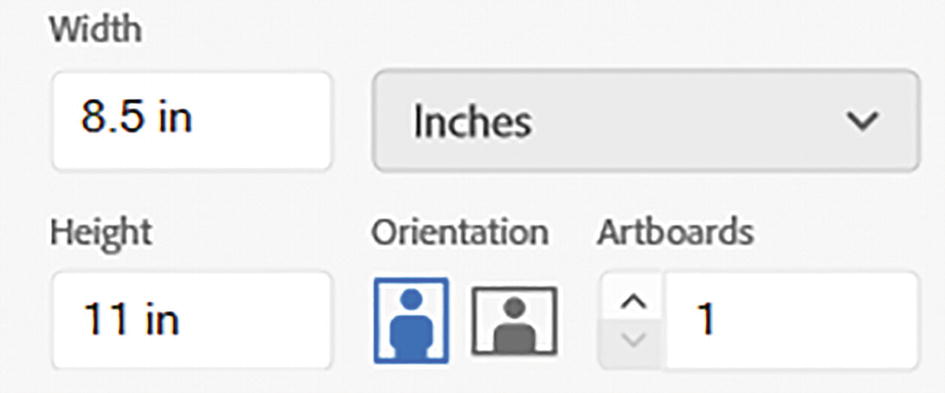
New Document settings for orientation and number of artboards

New Document dialog box current bleed settings
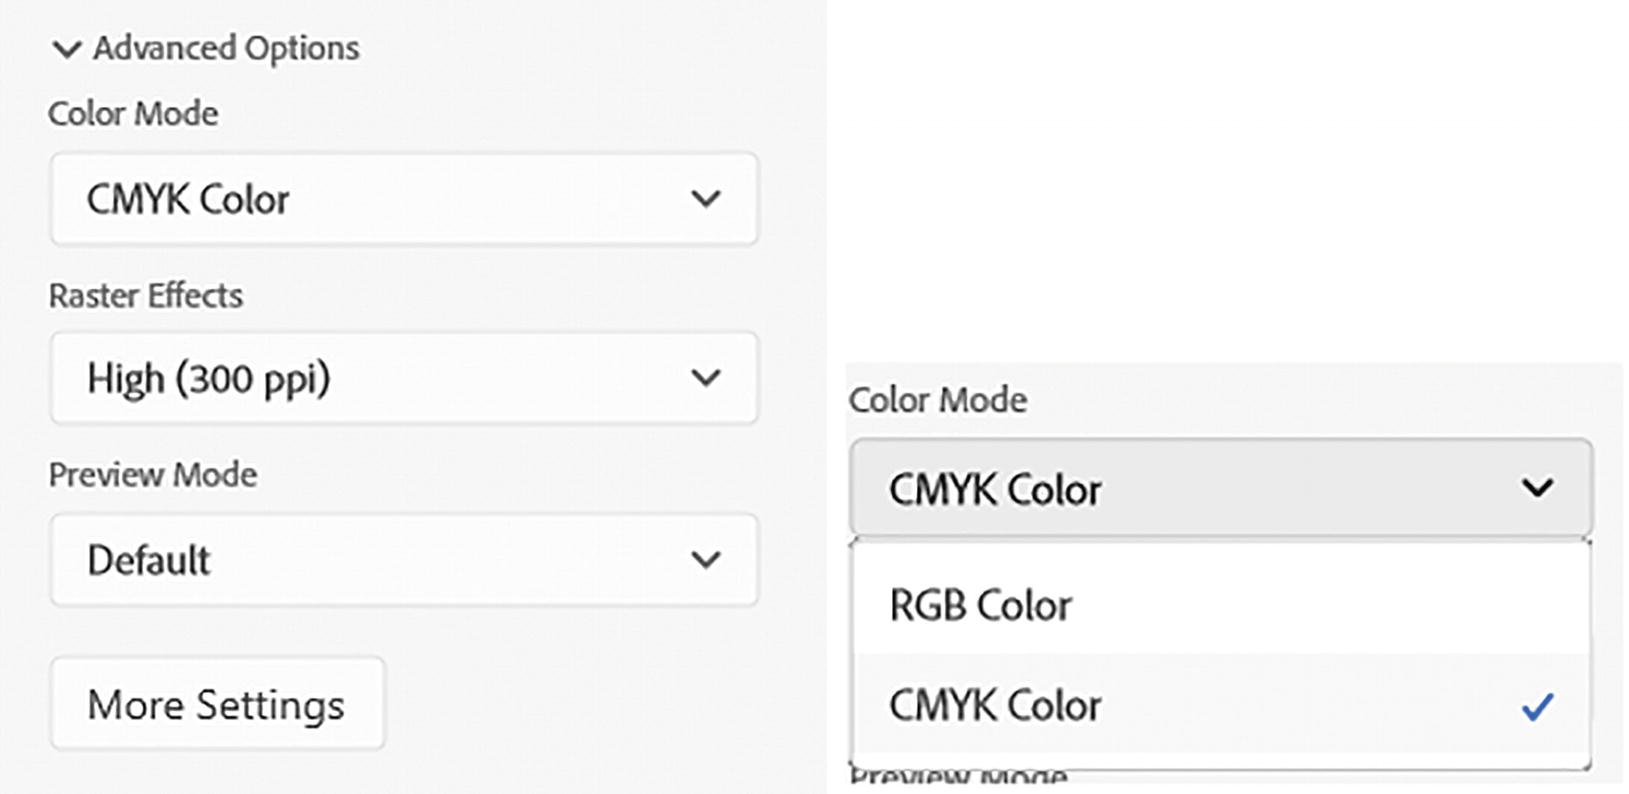
New Document dialog box, Advanced Options and Color Mode

New Document dialog box, Raster Effects
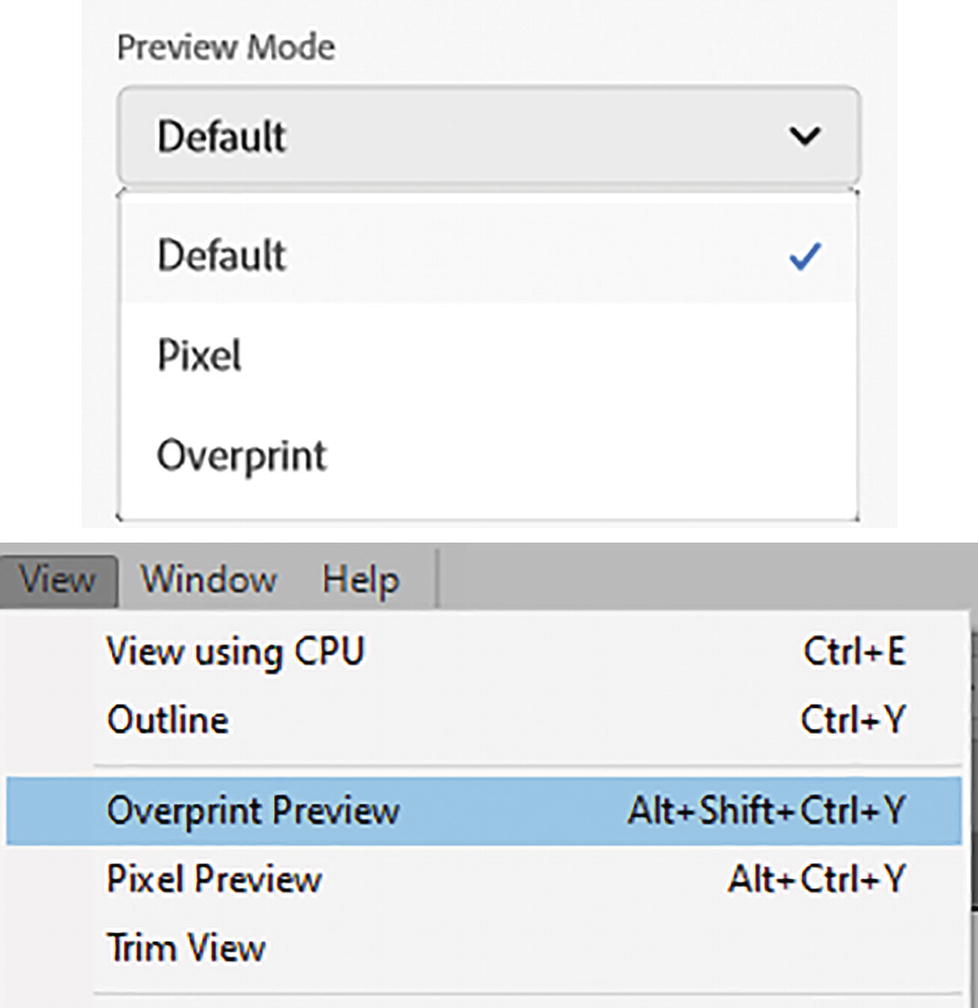
New Document dialog box, Preview Mode; also seen in the View menu

New Document dialog box, More Settings button

New Document dialog box, Create and Close buttons
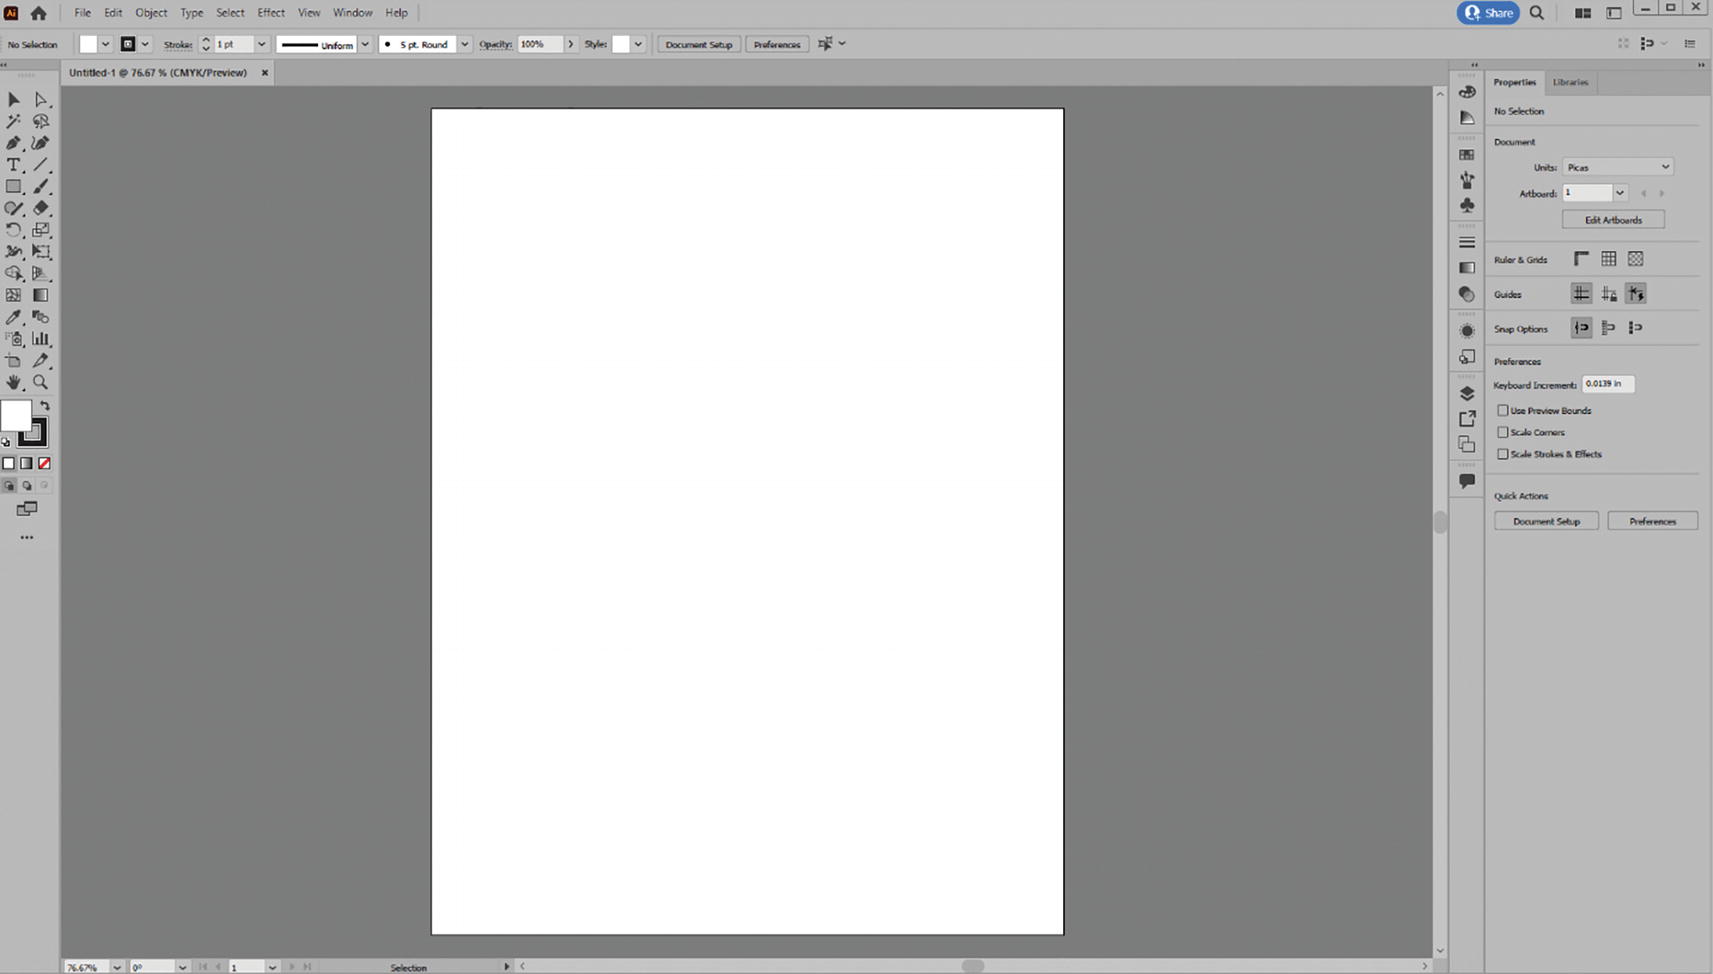
Adobe Illustrator app current workspace

Set up your workspace, using one of the menus to select Essentials Classic
For my work I generally like to choose Essentials Classic, as this gives me all the tools that I need in the Toolbars panel as well as other essential panels. Many of the following panels I discuss in my book Accurate Layer Selections Using Photoshop’s Selection Tools, but I will present an overview of them here. Refer to Figure 1-14.
Illustrator Panels
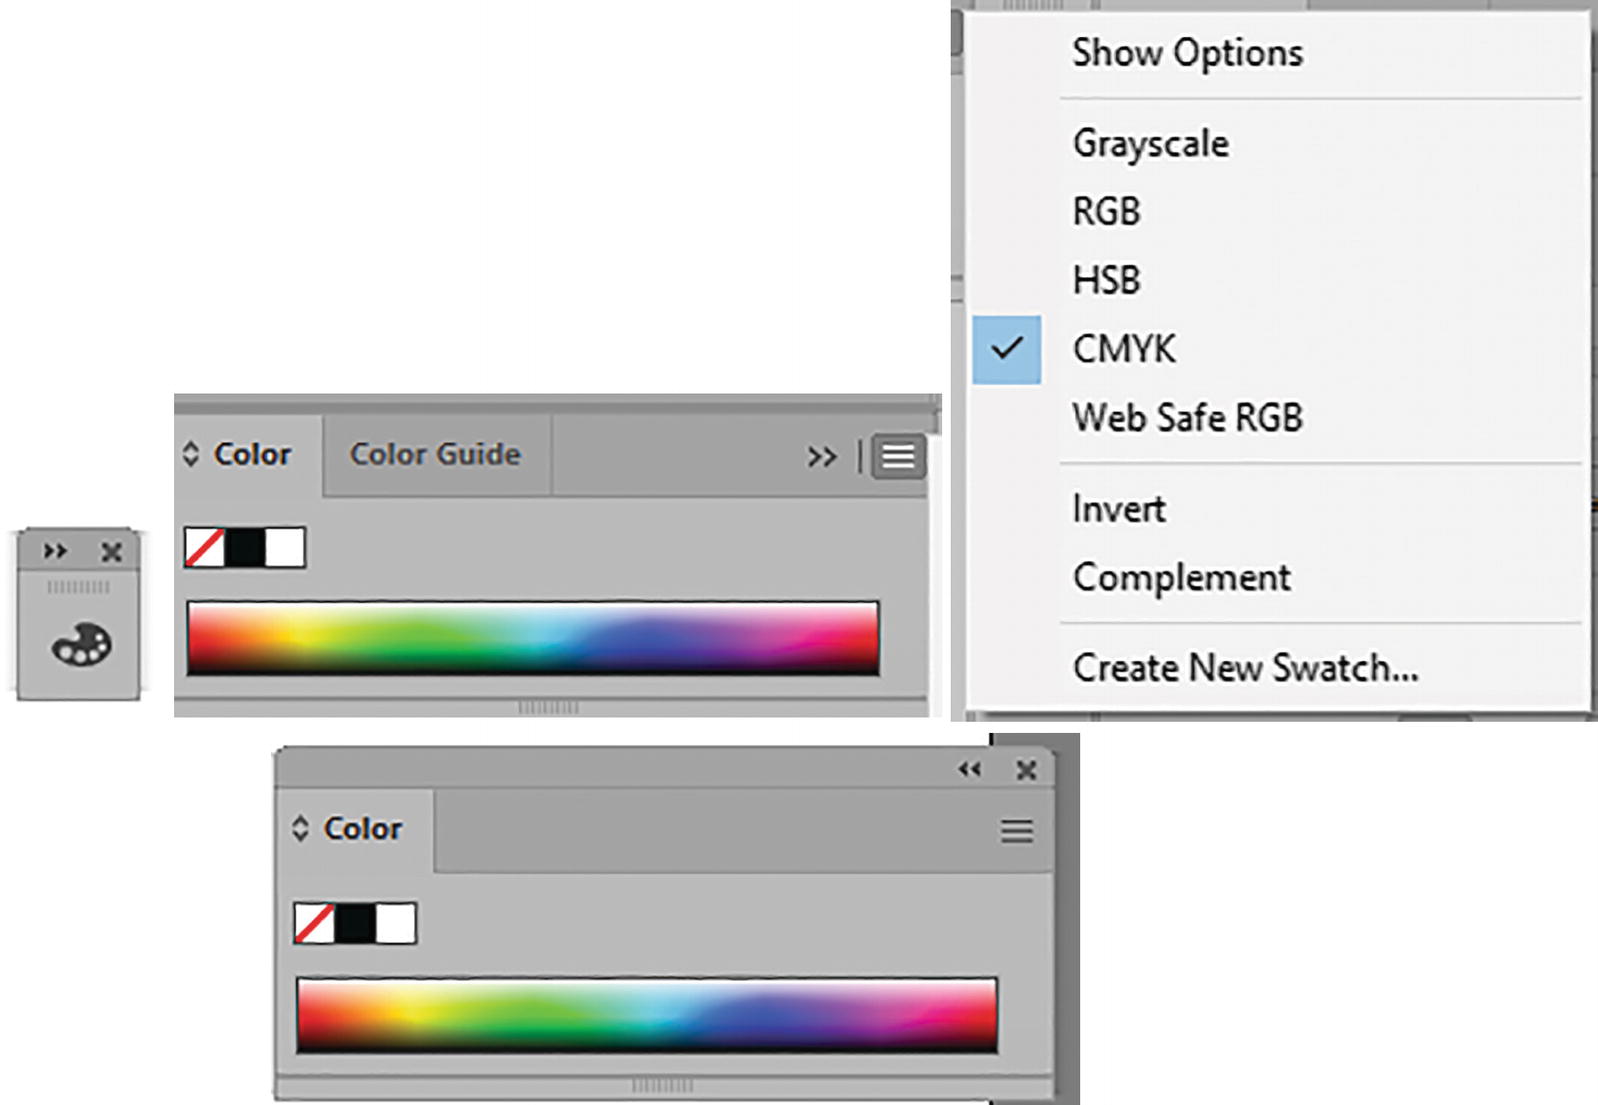
Color panel collapsed and open and its menu, and then undocked from the Color Guide panel
Most panels have their own menu, which gives you other options while working with the panel. You can find these panels again, as well as additional panels, in the Window drop-down menu. Refer to Figures 1-14 and 1-15.
However, I will do a basic overview of the key panels that are useful in this workspace. You can reset your Essentials workspace by choosing Reset Essentials Classic from the Workspace menu. Refer to Figure 1-14.
Toolbars

Toolbars panel and its many tools
Some of these tools, after working in Photoshop, will already be familiar to you, and some are very unusual. However, for the moment the main tools that you need to know about in this chapter are the Selection tool, Direct Selection tool, Zoom tool, and Hand tool. We will explore some of the others in later chapters in regard to warps and distorts.
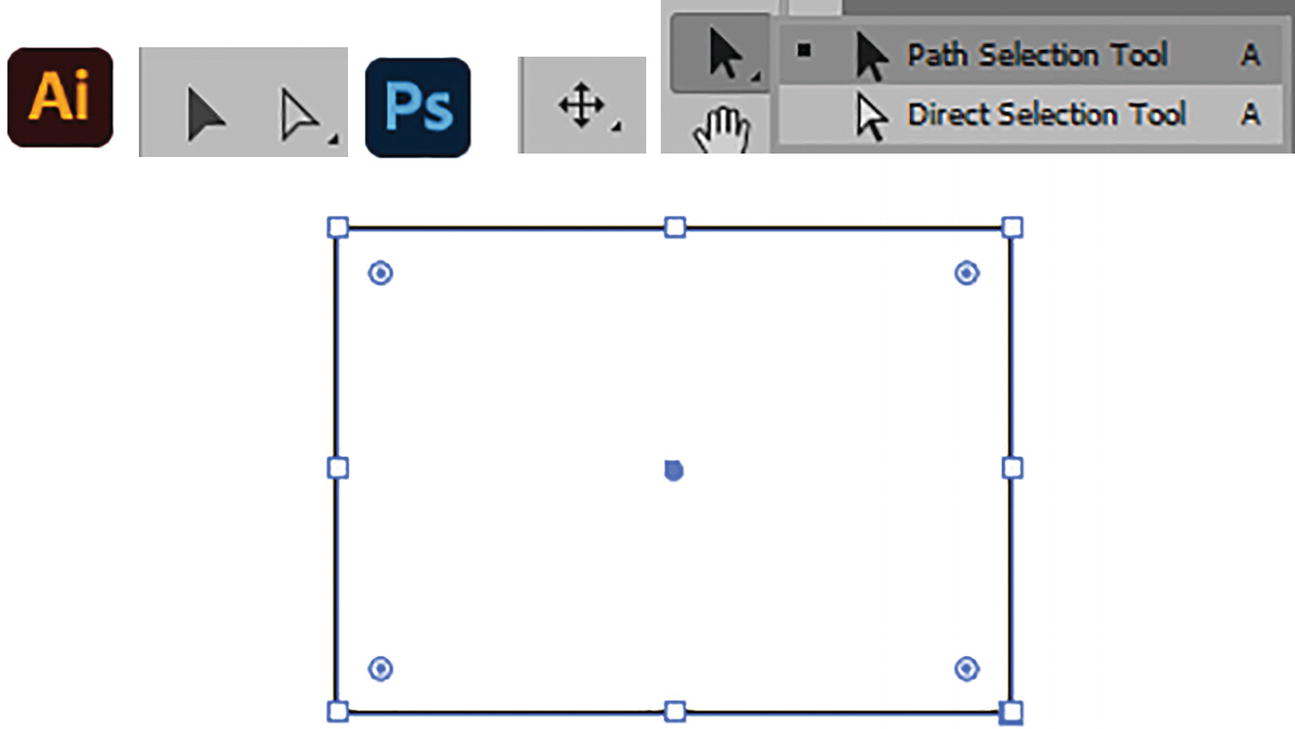
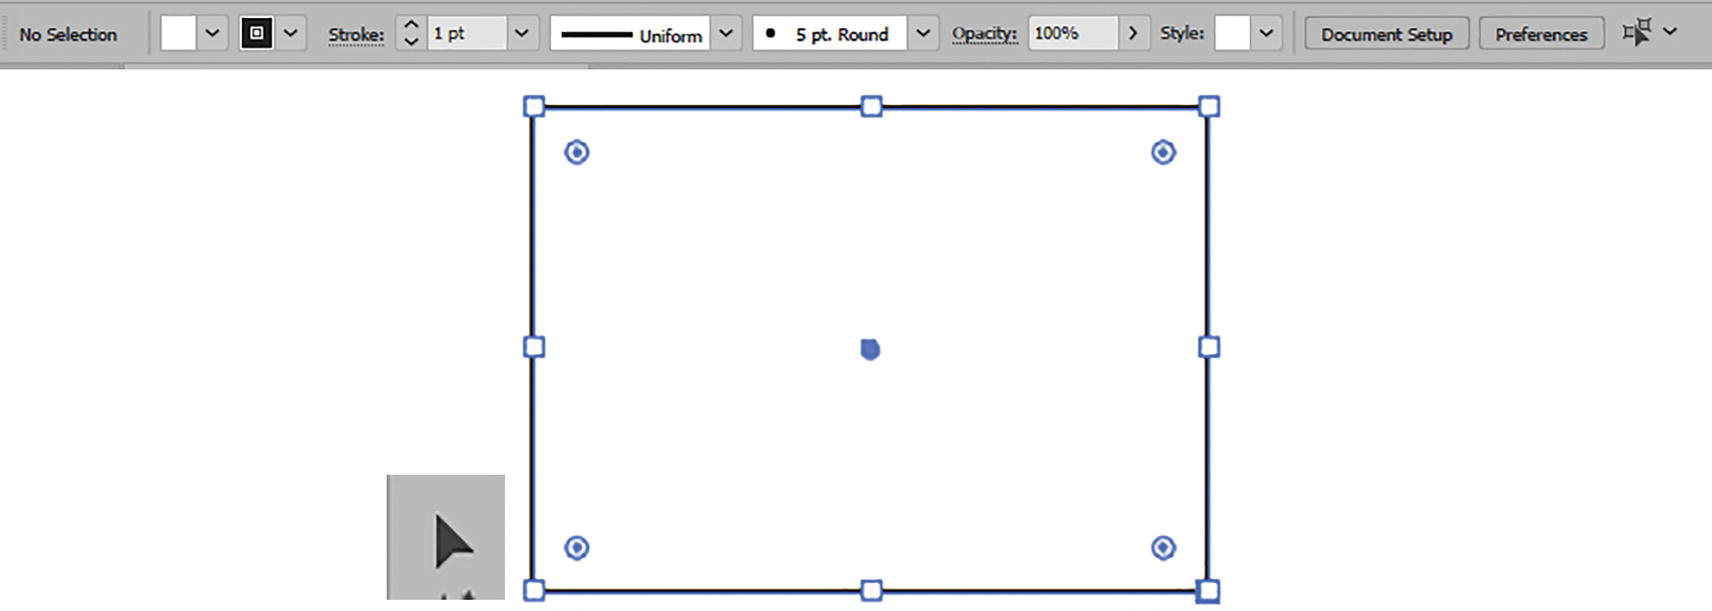
The Selection tool next to the Direct Selection tool in Illustrator, and Photoshop’s Move, Path Selection, and Direct Selection tools; a rectangle selected with the Selection tool in Illustrator
The Selection tool is similar to the Photoshop Move tool as well as the Photoshop Path Selection tool, which is used for moving and scaling vector shape layers. Refer to Figure 1-17.
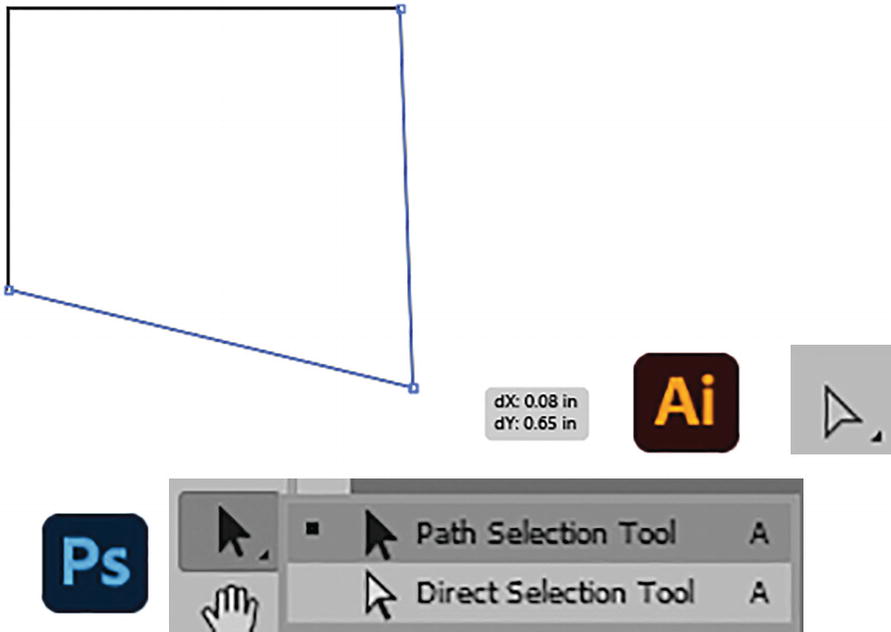
A point on a rectangle in Illustrator has been altered with the Direct Selection tool, which is similar to Photoshop’s Direct Selection tool
We’ll review these tools further in Chapter 2. However, these two tools work best with Illustrator’s Layers panel.

Zoom tool

Hand tool
If you find that a tool is missing from the Toolbar, it might be accessed via the Edit Toolbar button in the pop-out panel. You may need to drag it back to the main Toolbars panel. In this workspace, however, all tools should be in the Toolbar. Make sure, using the Window menu, that it is set to the Toolbars setting of Advanced. Refer to Figure 1-21.
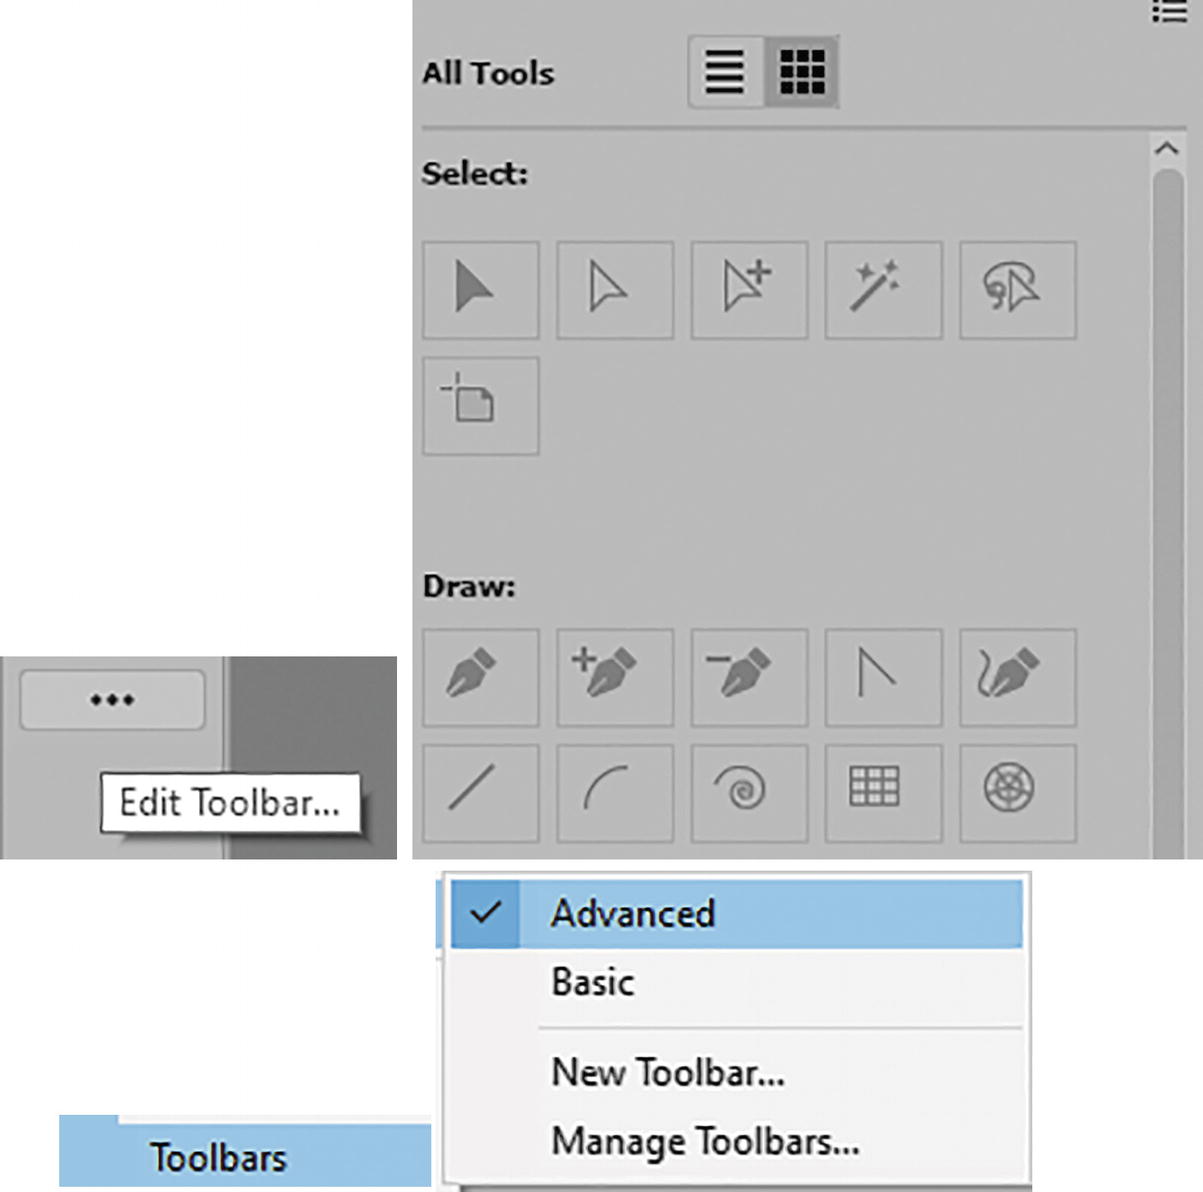
Use the Edit Toolbar button in the Toolbars panel to locate missing tools, and use the Window menu to make sure that the Toolbars is set to Advanced
Because we are using the Essentials Classic workspace, no tools should be missing.
Recently a Window ➤ History panel has been added to Illustrator that is very similar to the one found in Photoshop; you can learn more about it at the end of this chapter. For now, make sure to use Edit ➤ Undo (Ctrl/CMD + Z) if you make a mistake.
Control
How the Control panel appears when a rectangle is selected with the Selection tool
Color

Color panel collapsed and open with its menu
If you need to reset the colors in the Toolbars panel, press the D key, which is a white fill and black stroke. To switch what is in the foreground, or the currently selected color—the fill or the stroke—press the X key on your keyboard. Shift + X will swap fill and stroke colors. Refer to Figure 1-24.

Toolbars panel with stroke editable with color picker default color, stroke editable with color picker (X), fill and stroke swapped (Shift+ X), and the Color Picker dialog box

Color panel with its menu for show and hide options
Color Guide
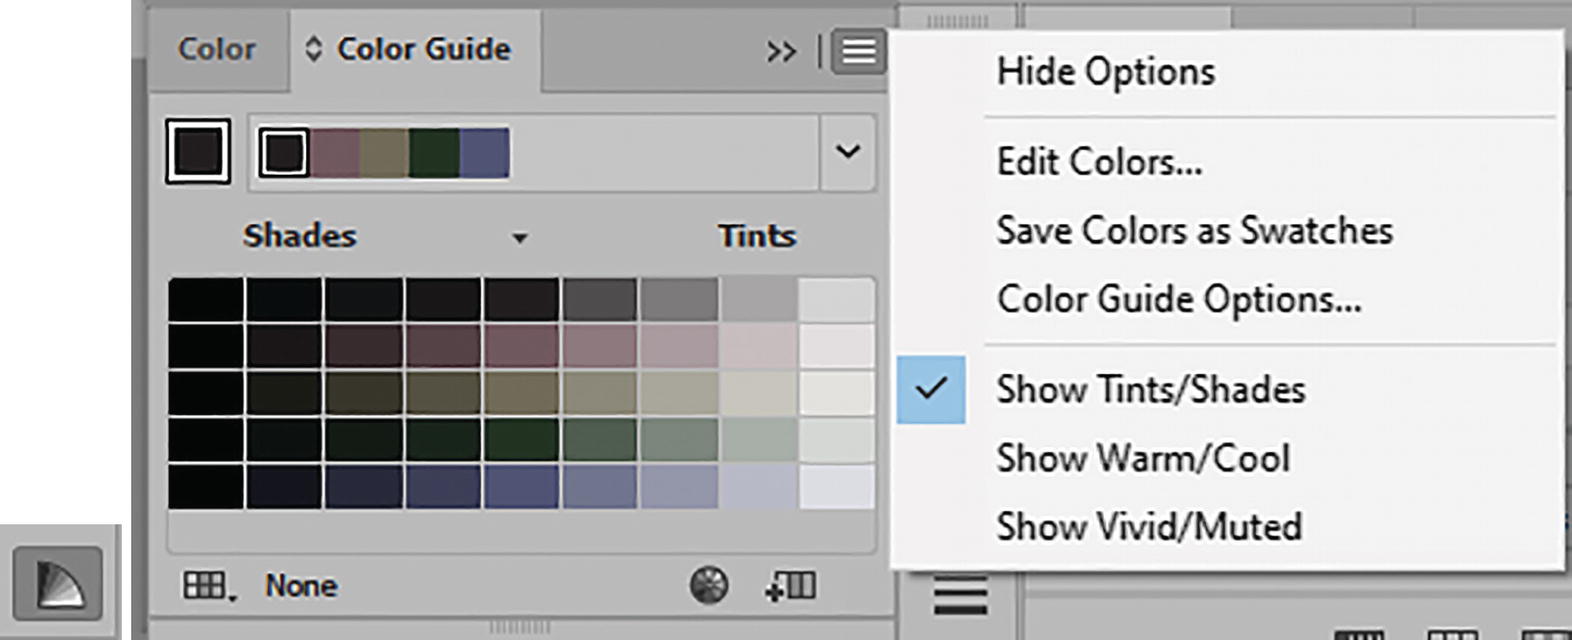
Color Guide panel collapsed and open with its menu
You can discover more information on this topic in my Accurate Layers Selections book mentioned earlier.
However, I will be going over the essentials of this panel again in Chapter 7 when we recolor a custom pattern.
Swatches

Swatches panel collapsed and open with its menu
Its menu and the icon on the lower left corner of the panel have a link to additional swatch libraries.
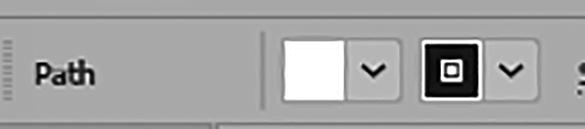
Control panel for path with access to the fill and stroke
These swatches can also be added to the Libraries panel for further collaboration.
We will be using the Swatches panel throughout Chapters 1–13.
Brushes
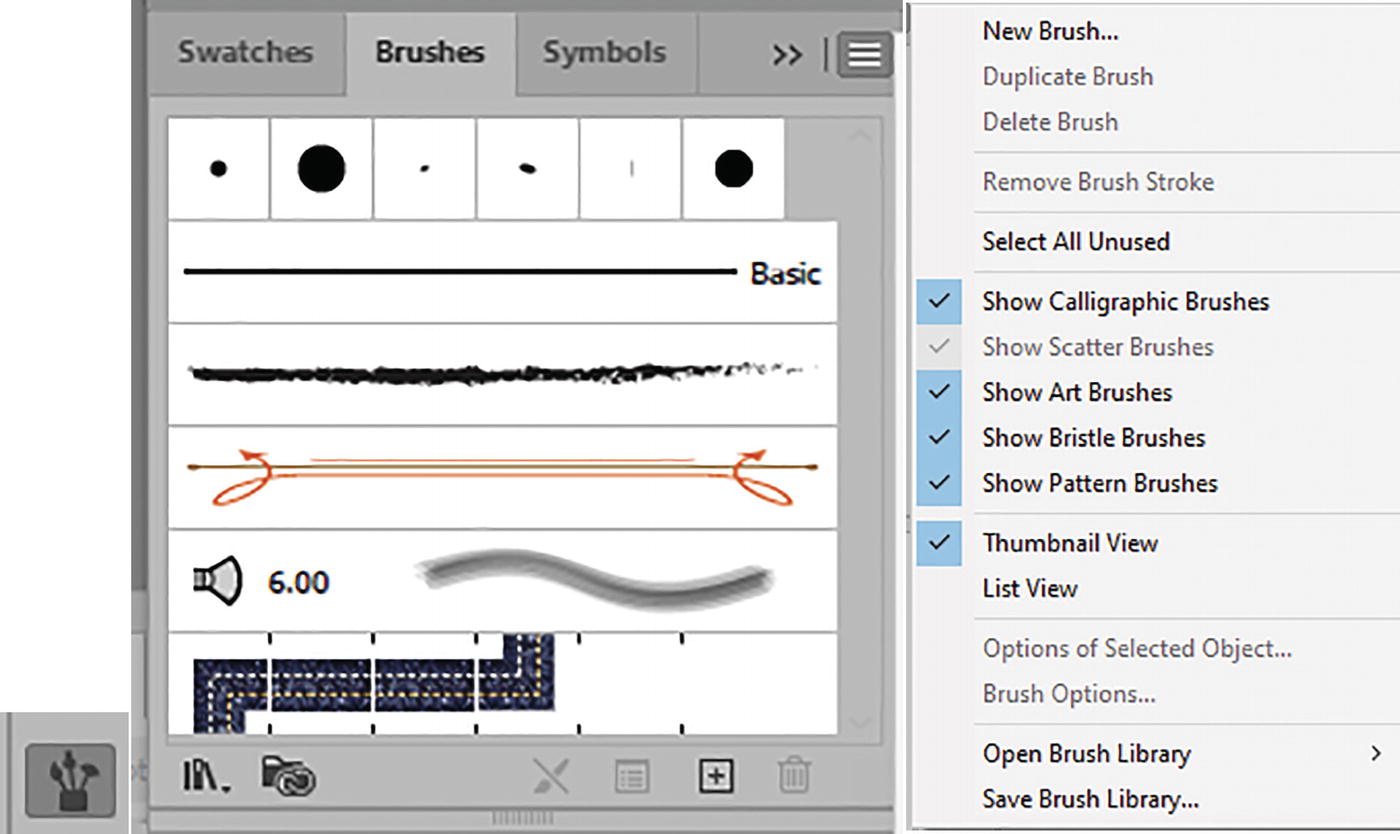
Brushes panel collapsed and open with its menu
Its menu and the icon on the bottom left corner of the panel have a link to additional brush libraries.
Symbols
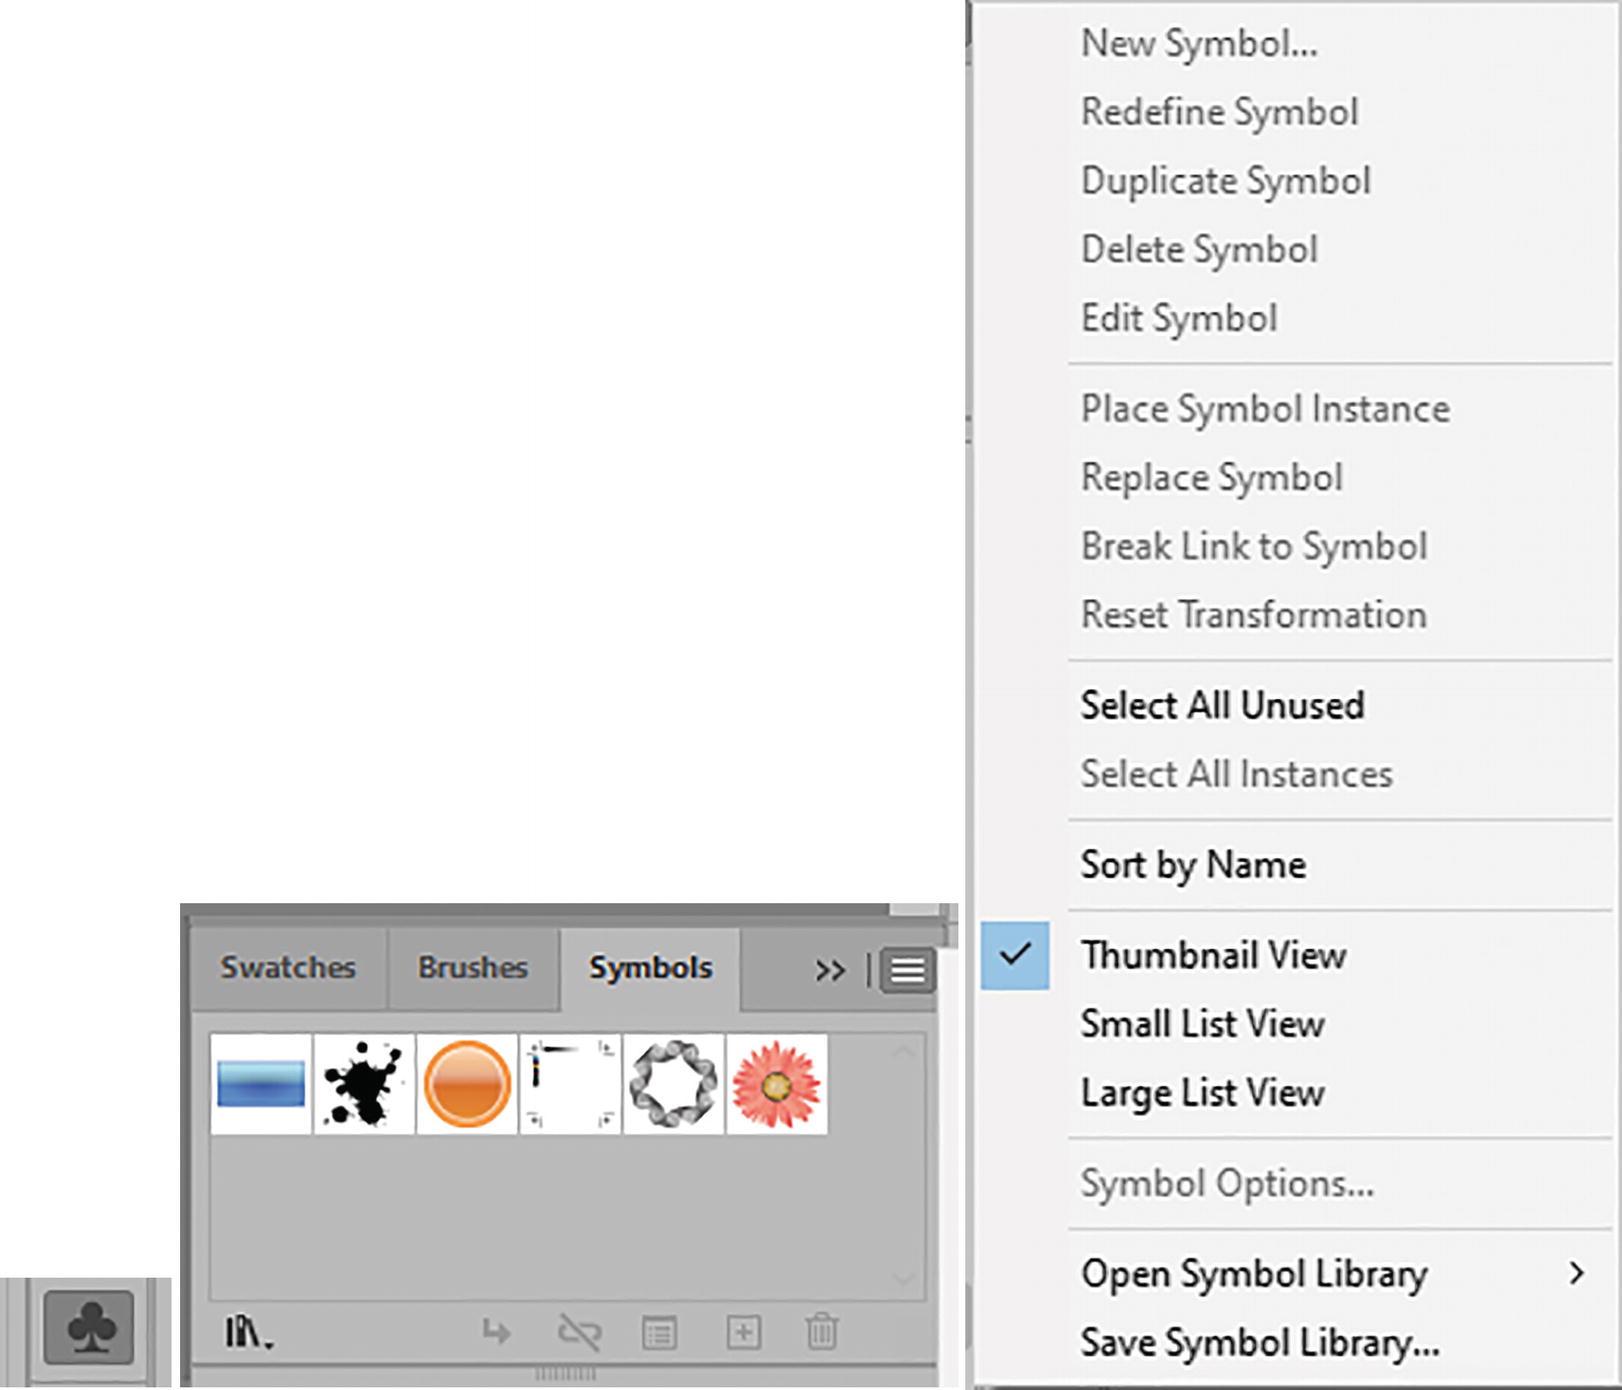
Symbols panel collapsed and open with its menu
Stroke
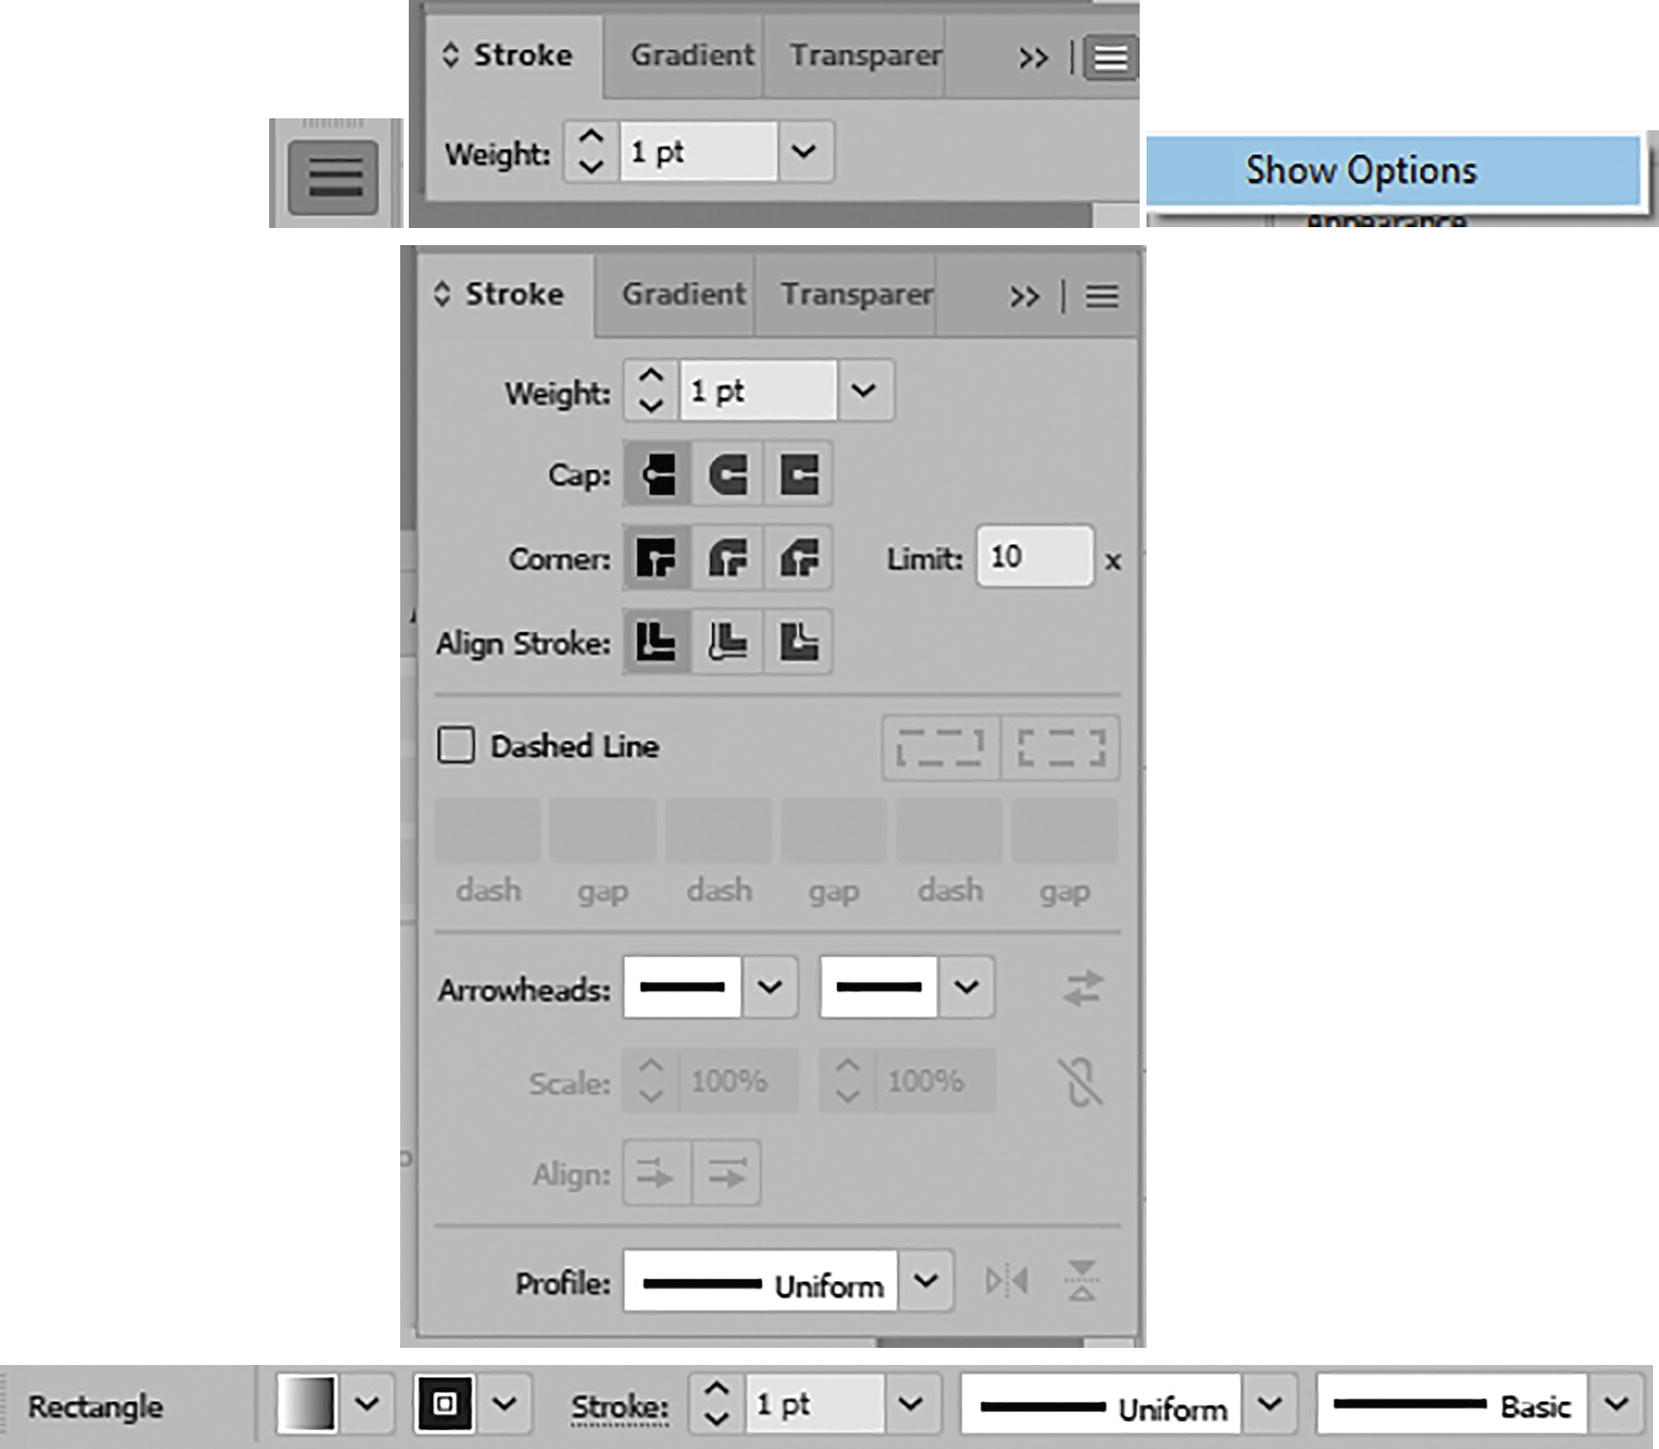
Stroke panel collapsed and open with Show and Hide options, and the Control panel with stroke options
If you cannot see all the stroke options, make sure to use the panel’s menu and choose Show Options. Refer to Figure 1-31.
Gradients

Gradient panel collapsed and open with its Show and Hide options
If you cannot see all of your gradient options, make sure to use the panel’s menu and choose Show Options. Refer to Figure 1-32.
Transparency

Transparency panel collapsed and open with its Show and Hide and other options
This is a bit different than working in Photoshop, where you would set the layer’s opacity by using the Layers panel. However, in Chapter 8 you will see that many of the blending modes found in Illustrator are very similar in function when applied to a shape or path rather than a layer.
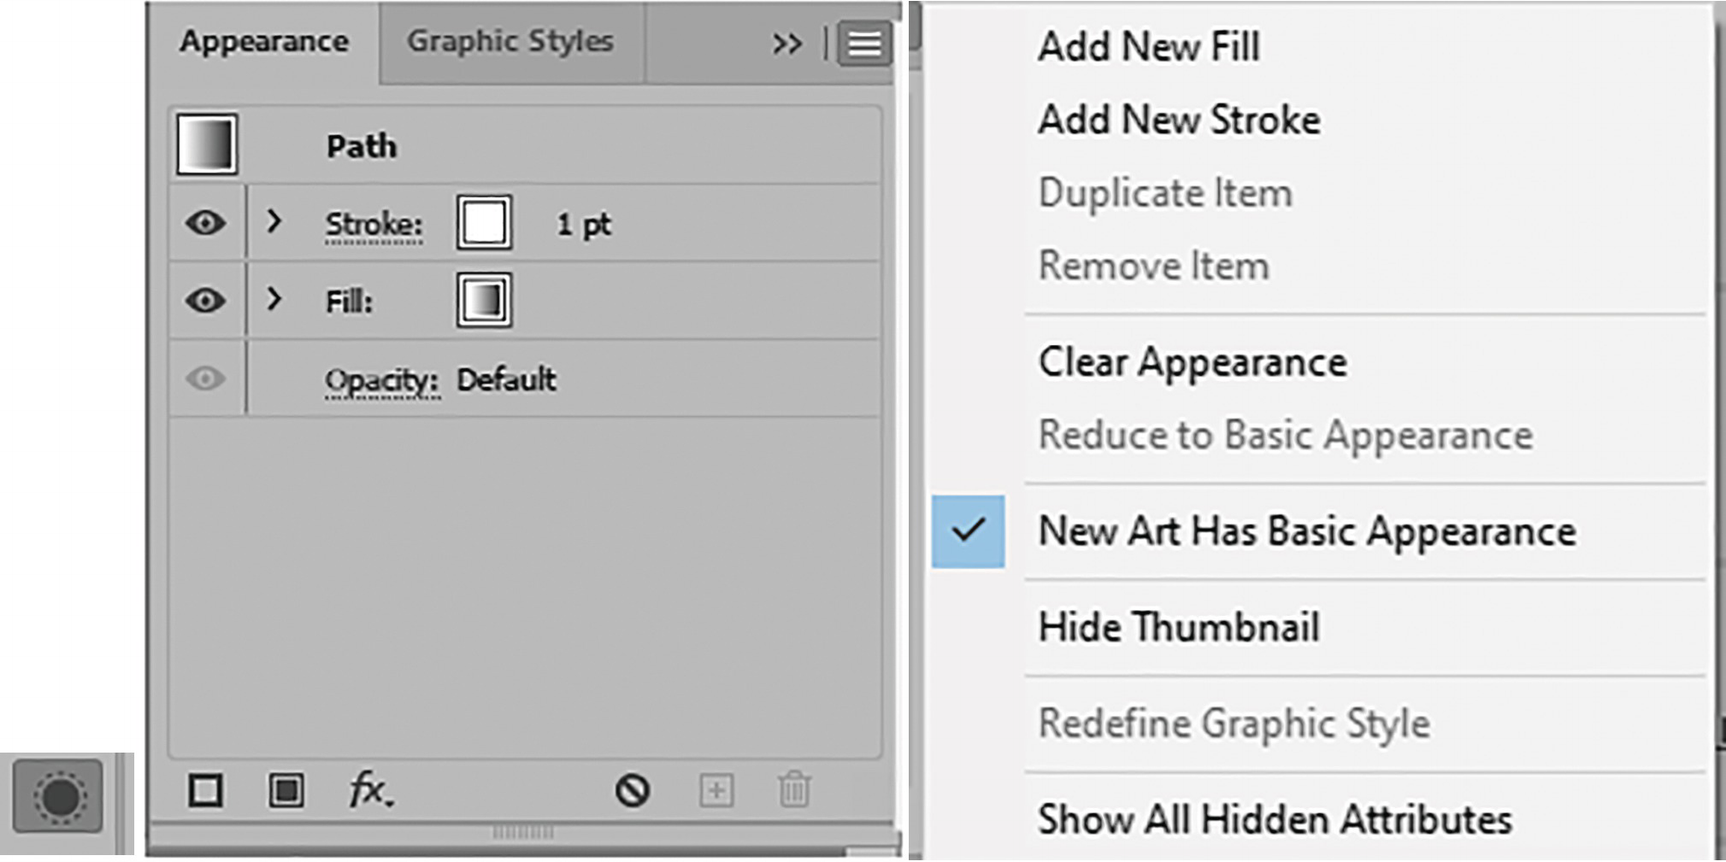
Appearance
Graphic Styles
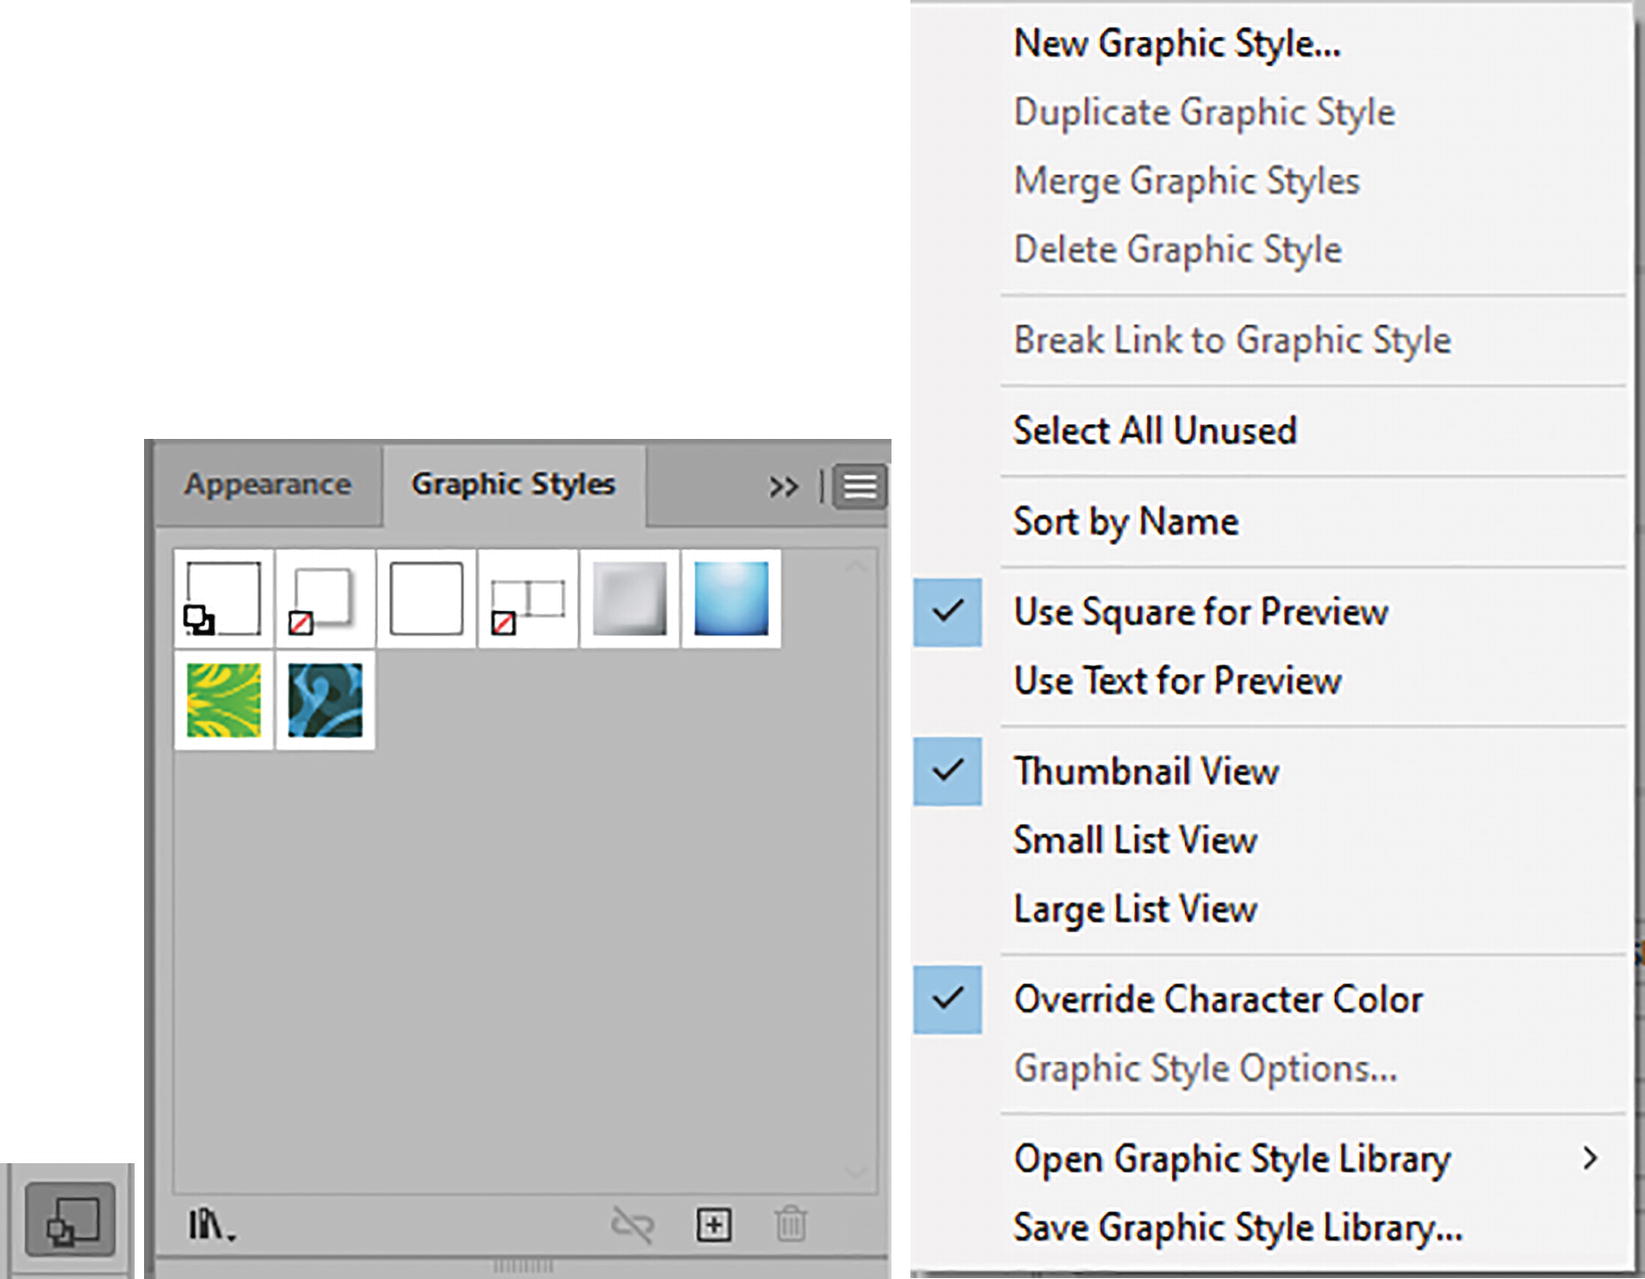
Graphic Styles panel collapsed and open with its menu
We will look at this panel more closely in Chapters 11–13. The menu and the lower left corner of the panel also have a link to various Graphic Style libraries that you can modify.
Layers
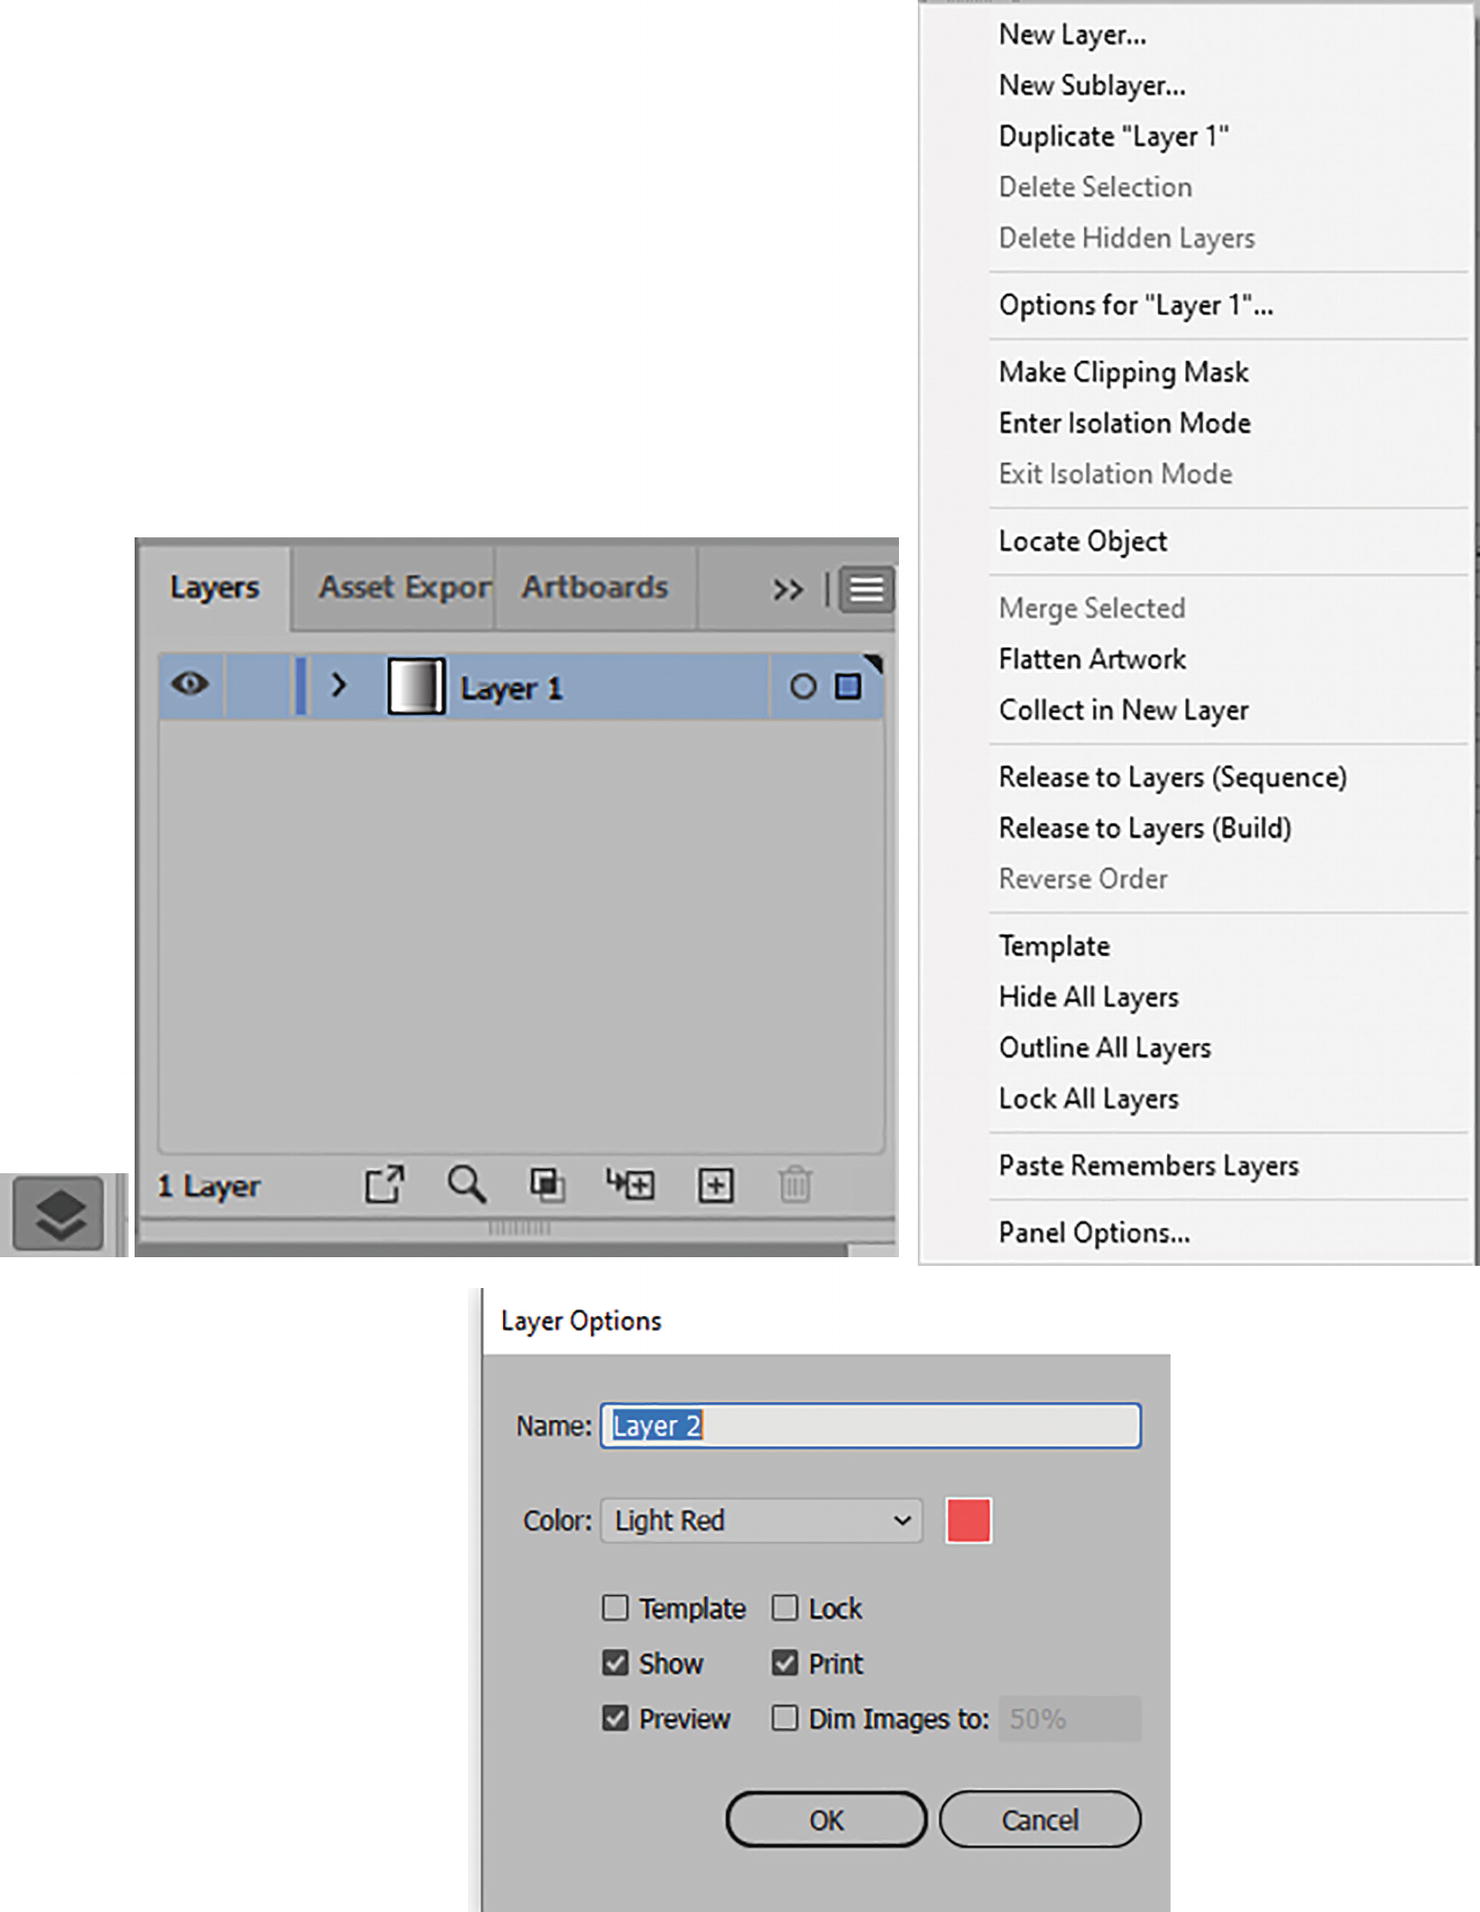
Layers panel collapsed and open with its menu and the Layer Options dialog box
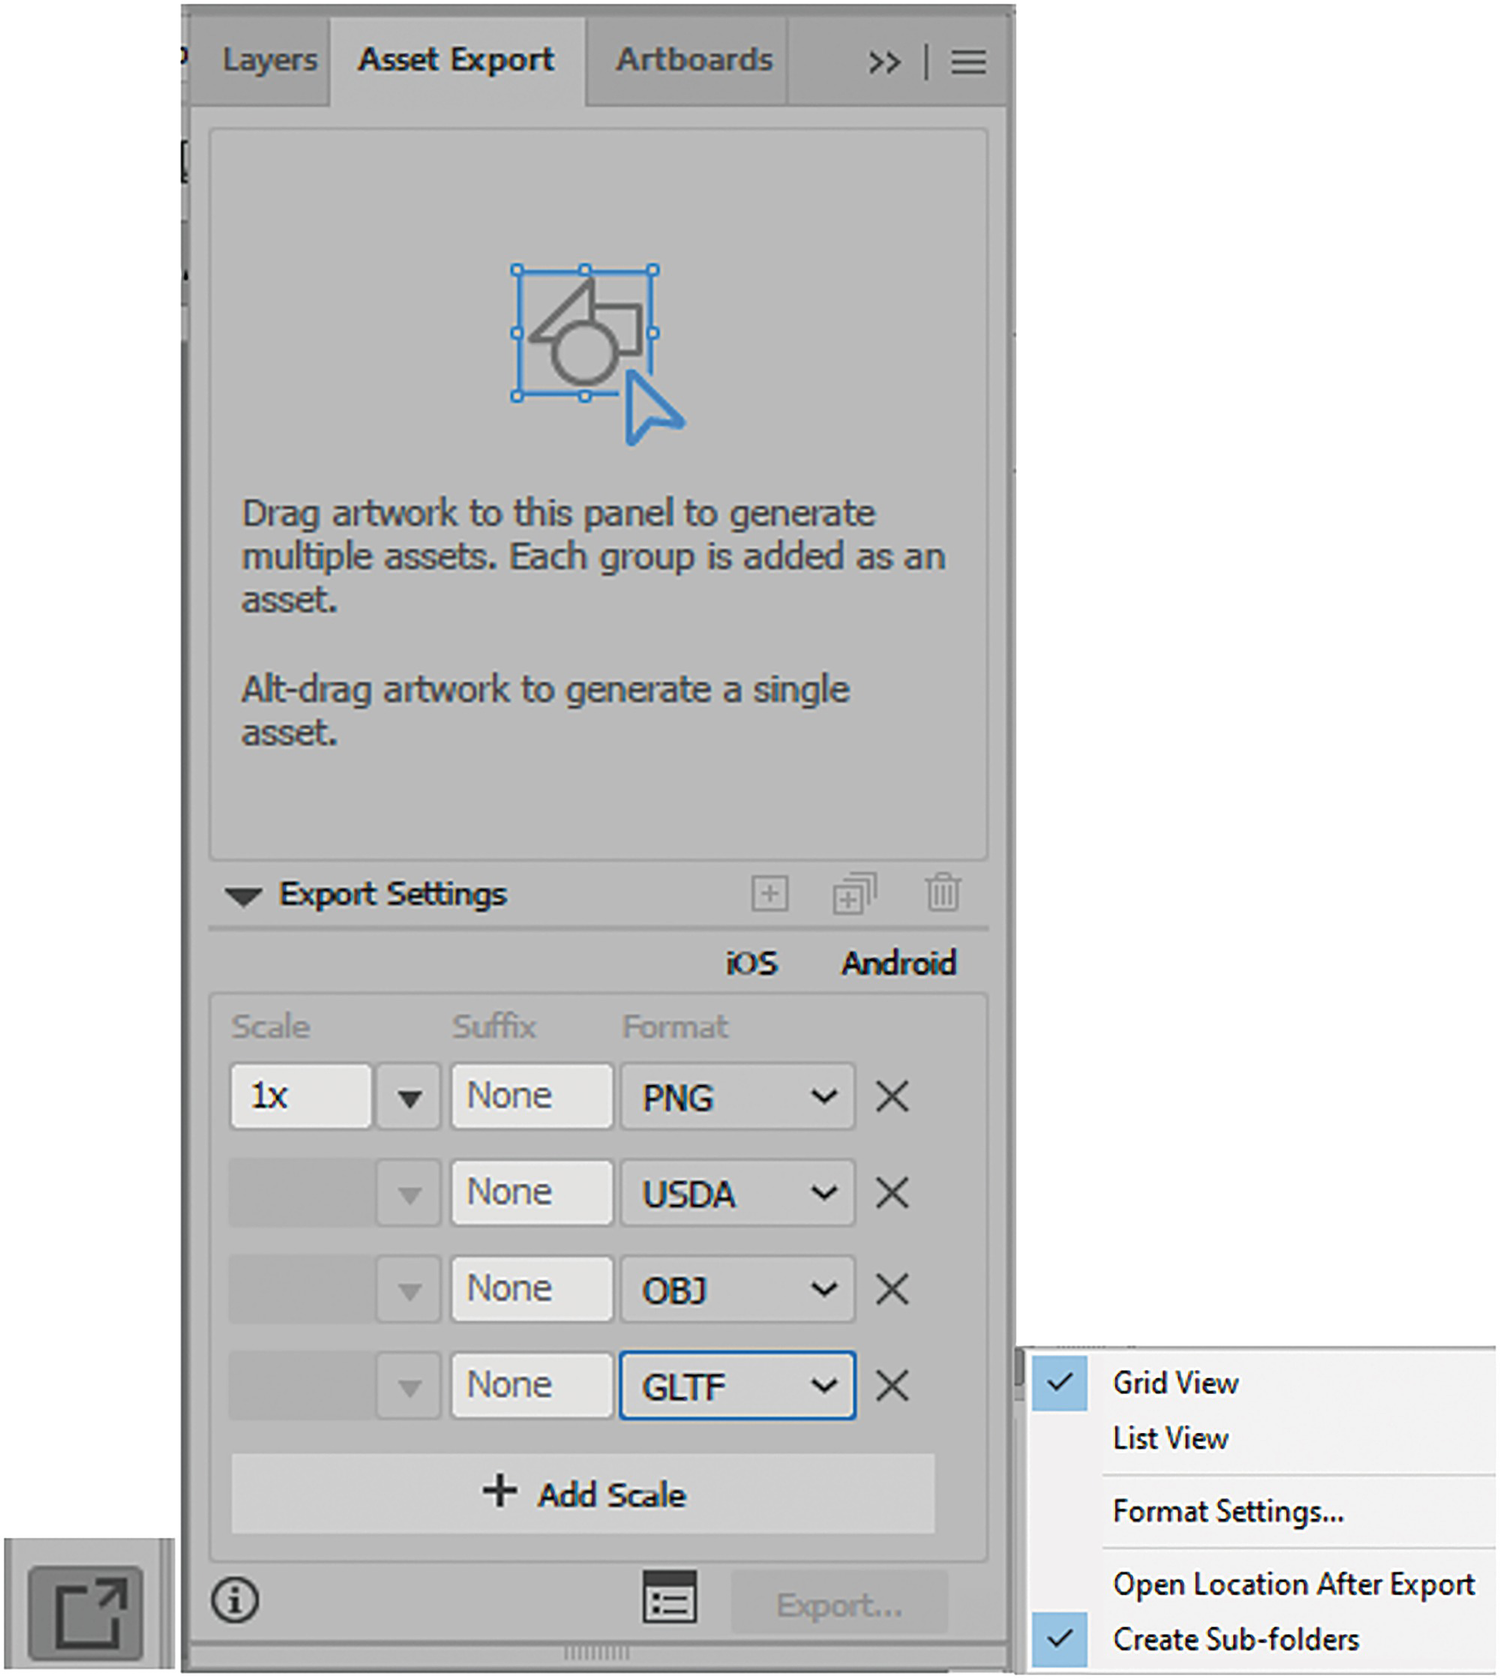
Asset Export
Artboards
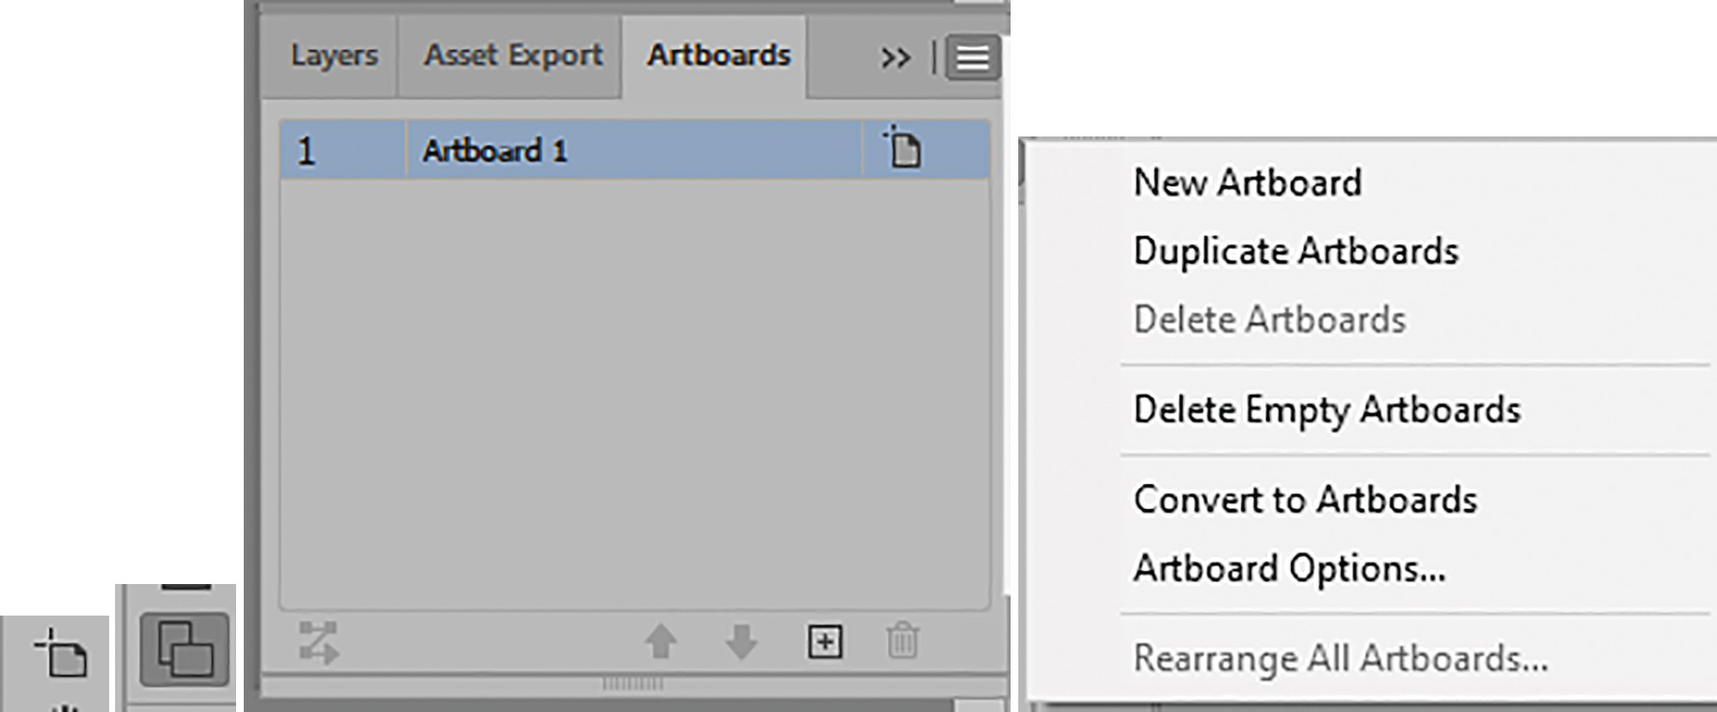
Artboard tool and Artboards panel collapsed and open with its menu
Working with the Artboard tool will be shown in Chapter 2.
Comments
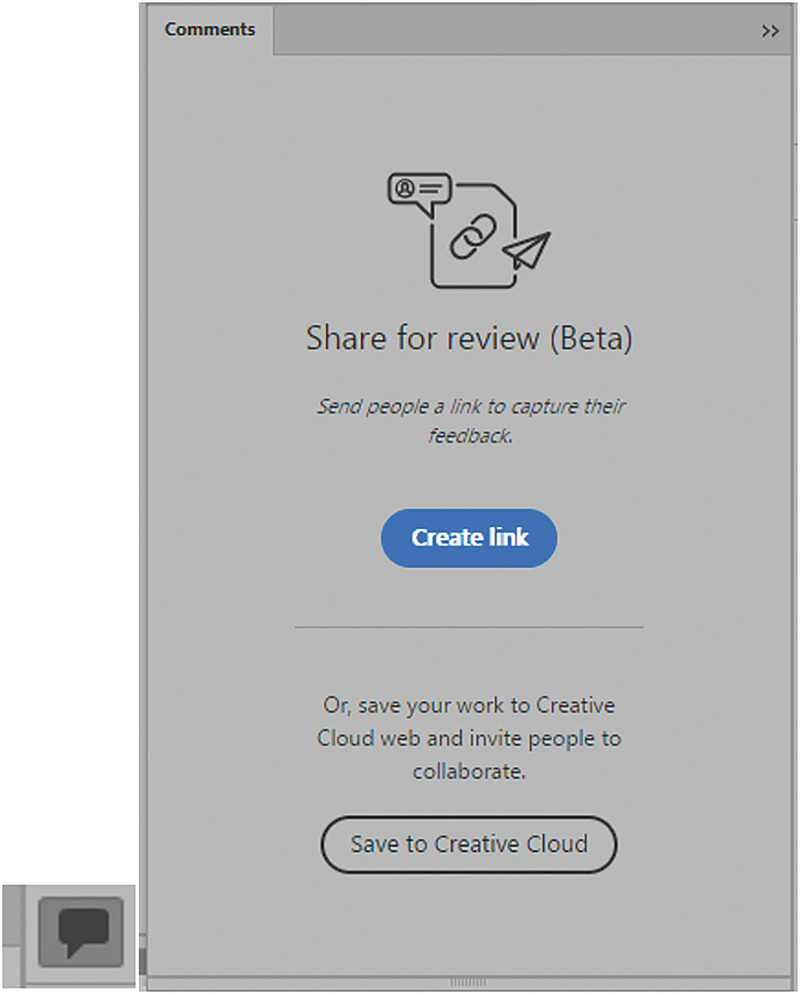
Comments panel collapsed and open
Properties

Properties panel collapsed and open; it changes based on what kind of path or tool is selected
Libraries

Libraries panel collapsed and open with its menu; it has access to patterns created in Photoshop
Align (refer to Chapter 2)
Image Trace (refer to Chapter 7)
Links (refer to Chapter 11)
Pathfinder (refer to Chapter 2)
Pattern Options (refer to Chapter 7)
Transform (refer to Chapter 2)
Type ➤ Character (refer to Chapter 10)
Type ➤ Glyphs (refer to Chapter 10)
Type ➤ OpenType (refer to Chapter 10)
Type ➤ Paragraph (refer to Chapter 10)
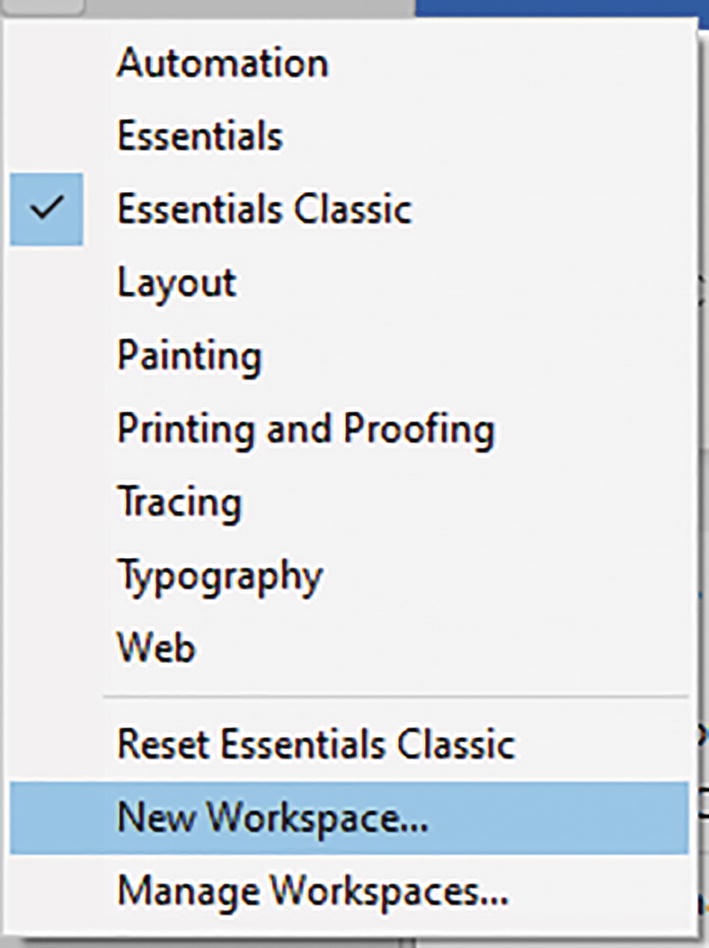
Create a new workspace that is custom to the tools and panels you use
Adding Rulers
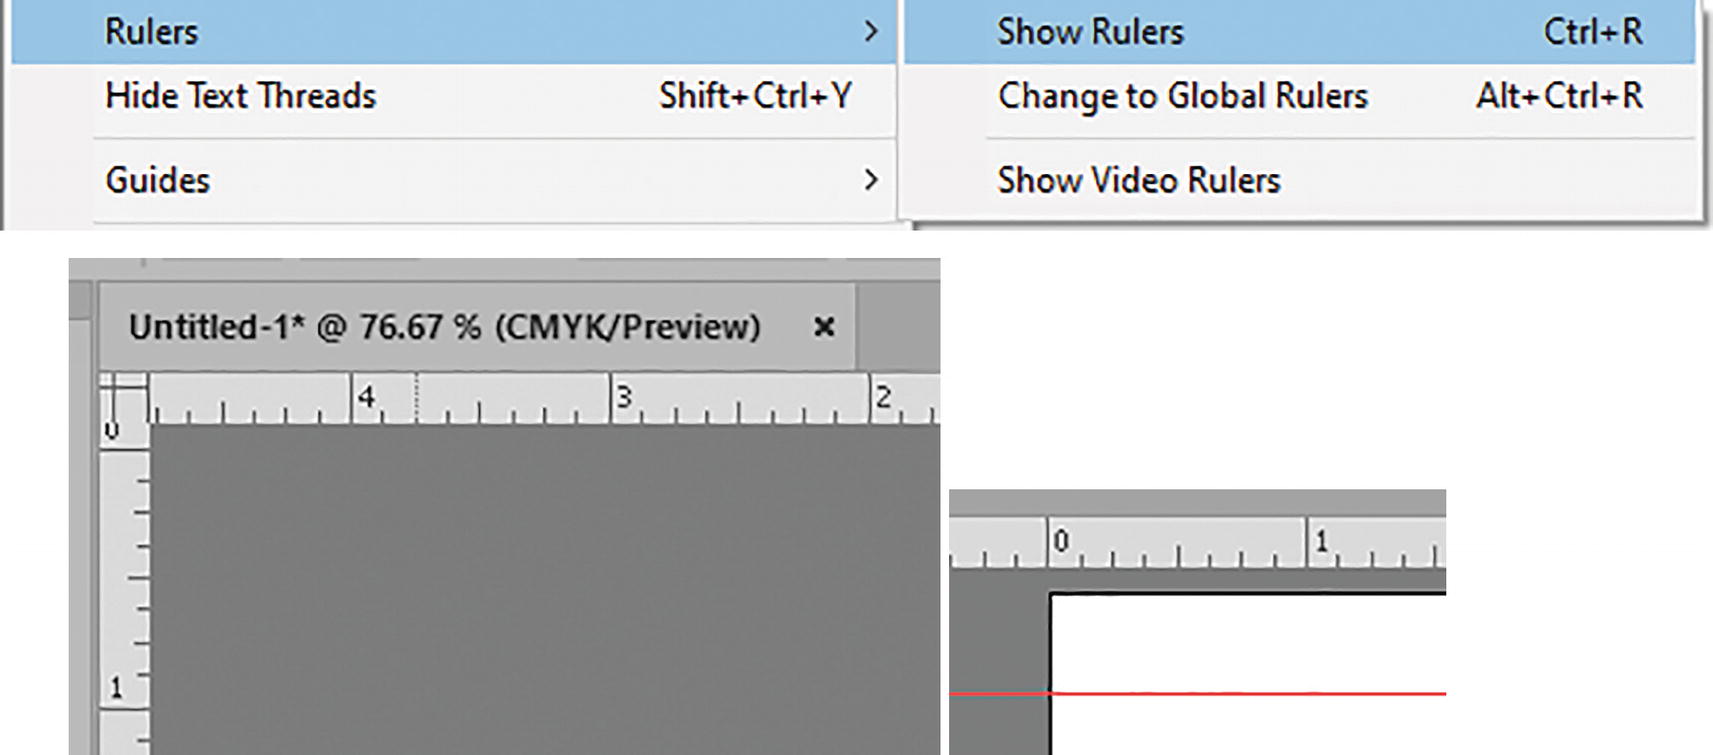
Show your rulers so that you can use guides in Illustrator for lining up paths and objects

Show your Smart Guides in Illustrator for lining up paths
Menus
We will be looking at the Object menu and Commands in various chapters throughout the book.

Saving Your File

Save your file in the Save As dialog box

“Save as type” file types in the Save As dialog box
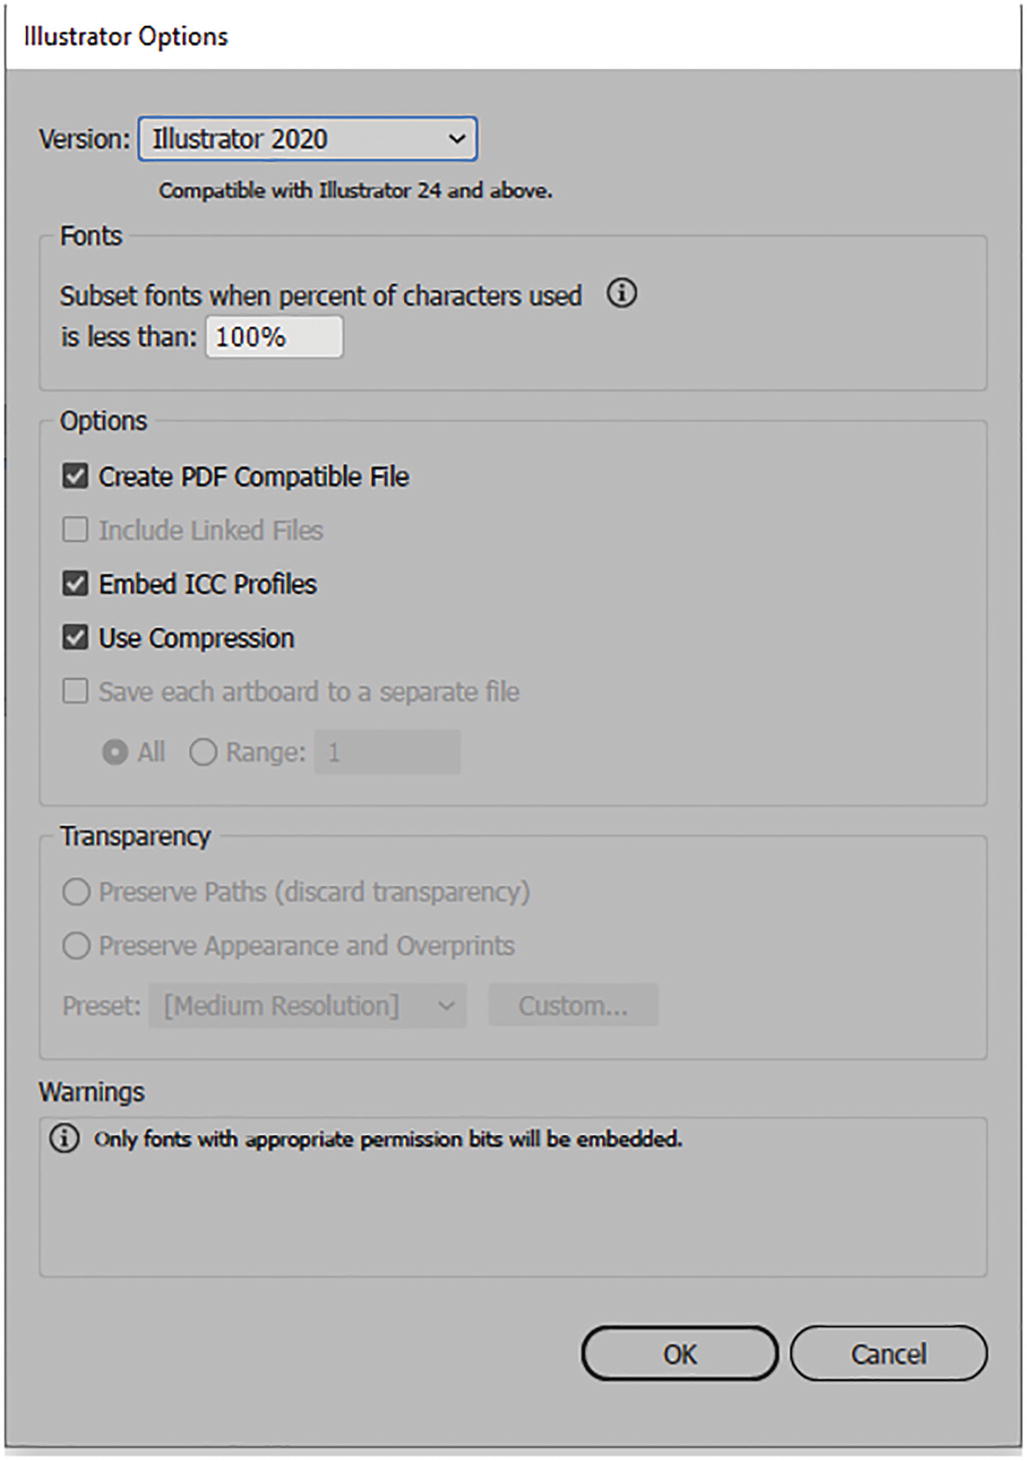
Illustrator Options dialog box
I make sure that the version is compatible with Illustrator 2020. If I were saving for an older computer, I would choose a lower version in the drop-down menu, but then the file would not be able to retain the latest features.
For Fonts, I leave the setting for Subset fonts when percentage of characters used is less than 100%. In this case, only fonts with appropriate permission will be embedded. However, if you have the fonts on your computer or are accessing them from the Creative Cloud, this is not an issue. If it is a concern, you can turn type into outlines, as you will see in Chapter 10.
Keep the options enabled for Create PDF Compatible File, Embed ICC Profiles for color, and Use Compression. In this case, we do not need to include linked files, as this would increase the file size, and we do not need to save each artboard to a separate file, because we only have one. Also, if we had more, in this case you would want to keep then together in a single document.
Preserved paths (discard transparency)
Preserve appearance and overprints
Preset: [Resolution]
You can ignore the settings, as transparency will be maintained within the file.
Then click OK to complete saving the file as an (.ai). Refer to Figure 1-48.
Other project files in some folders will be in the (.psd) format, and those you can File ➤ Open in Adobe Photoshop.
Saving Duplicates of Your File

Save As options in Save As dialog box
This will automatically close the original file and just leave your copy open.
Color Conversion from CMYK to RGB for Consistency

Set the file’s Document Color Mode

Select a path or shape with the Selection tool

Paste dialog box in Photoshop set to Smart Object and confirm option settings
This is one way you can ensure that your Illustrator Smart Object layer will be in RGB color mode in the Photoshop document.
New History Panel
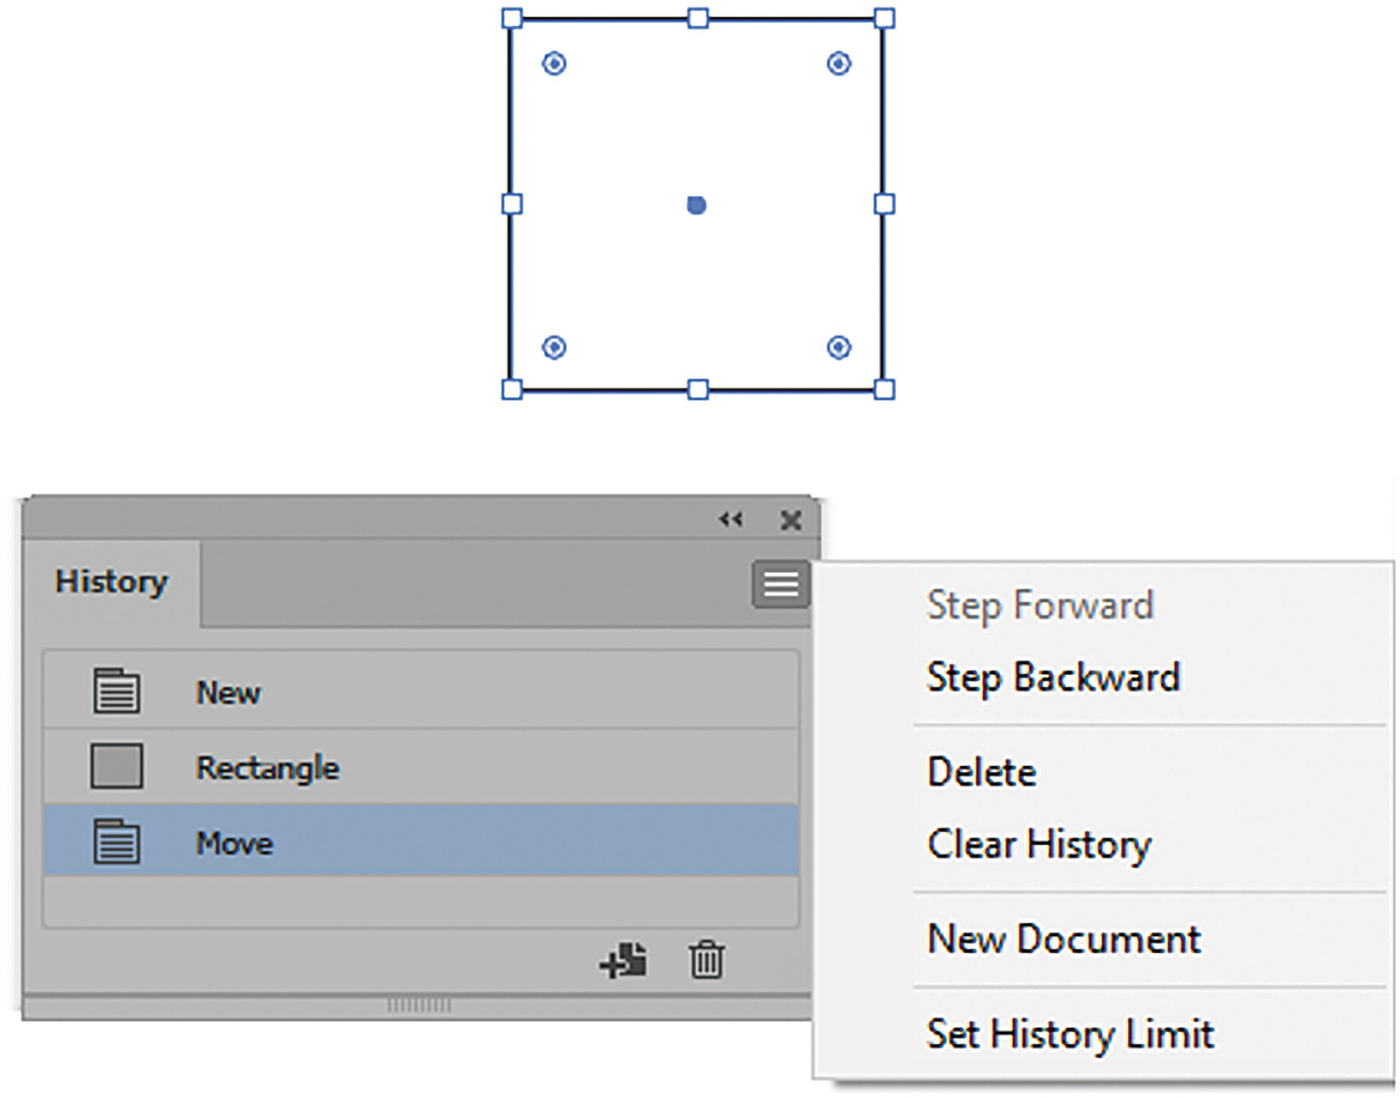
Illustrator History panel and its menu options
For more details on this new panel, make sure to visit the following link:
https://helpx.adobe.com/ca/illustrator/using/recovery-undo-automation.html#history
Summary
This chapter is a starting point for learning about warps and distorts in Illustrator and how to set up your workspace. Now that you know the basics of some of the panels and tools that you will encounter in most chapters, you can begin to work on an actual project and begin the process of altering actual paths and shapes in your artwork. In the next chapter, you will be reviewing pen and shape tools as well as looking more closely at the three selection tools and how they can be used in conjunction with the Layers panel, as well as the Control, Properties, Pathfinder, Align, and Transform panels.