
In this section, we will see how to install and configure Linux rootkit scanning tools and use as per our requirements:
- To begin with, we will install chkrootkit, a classic rootkit scanner for Linux, as shown here:

- Once the software has been installed, we can check the path where the software has been installed by running the following command:
![]()
- Next, we check the Help menu to understand the options that can be used to run the tool:

- If we want to see the list of available tests in chkrootkit, we can run the following command:

- Now, let's start the scan as shown here:

- As we can see in the scan output, the software is checking for all known rootkit signatures:

- Another well-know tool that can be used for scanning rootkits is rkhunter. Install the tool by running the following command:

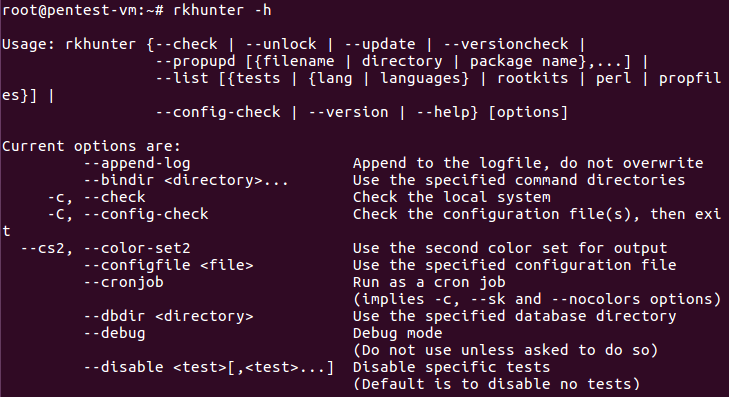
- Next, check the Help menu to see the options that can be used when running the software:
- Now, start the scan as shown here:

- As seen in the output, all known rootkit signatures have been checked and none were found:

- Finally, when the scan completes, the tool will show a scan summary as seen here:
