
Now that we have a set of tiles to use, it's time to import them into Scratch to be scripted.
Make sure you remember where you saved the tile images. It's often useful to save images to the same folder where you have the project file. That way, you have to search less and you can access them easily.
We will create a new sprite from the first uploaded image. Then, we will add costumes to the sprite for all the other images:
- Click on the Upload sprite from file icon to open the Explorer window.
- Find the image named tile1, select it, and click on Open, as shown in the following screenshot:
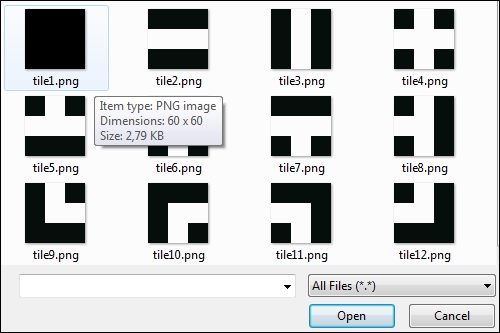
The image will load as a new sprite and be visible in the sprite editor. Now we can add the other costumes as follows:
- Click on the Upload from file icon in the sprite editor.
- Select all the remaining sprites and click on Open.
- This loads all the other images as costumes. We might have to rearrange them in the numbered order if the upload process mixes these up.
- Let's check each image to see if the cross hair is in the middle of each one. This is important for scripting.
- Also, check under each costume if each image is indeed 60 x 60 pixels in size.
- Rename the sprite to
tileGeneratorto make clear what this sprite is meant to do.
..................Content has been hidden....................
You can't read the all page of ebook, please click here login for view all page.