
Whenever you have to solve a problem in the real world, you use elements and interact with them. For example, when you are thirsty, you take a glass, you fill it up with water, soda, or your favorite juice, and then you drink. Similarly, you can easily recognize elements, known as objects, from real-world actions and then translate them into object-oriented code. In this chapter, we will start learning the principles of object-oriented programming to use them in Swift 3 to develop apps and applications.
In this book, you will learn to take advantage of all the object-oriented features included in Swift programming language version 3. Some of the examples might be compatible with previous Swift versions, such as 2.3, 2.2, 2.1, and 2.0, but it is essential to use Swift 3.0 or later because this version is not backward compatible. We won't write code that is backwards compatible with previous Swift versions because our main goal is to work with Swift 3.0 or later and to use its syntax.
We will use Xcode as our Integrated Development Environment (IDE). All the examples work with Xcode version 8 or higher. The latest versions of the IDE include Swift 3 as one of the supported programming languages to build iOS apps, watchOS apps, tvOS apps, and Mac OS applications. It is important to note that Xcode only runs on Mac OS, and all the instructions provided in this chapter consider that we are running this operating system on a Mac computer. However, after Apple launched Swift 2.2, it made the language open source and added a port to Linux, specifically to Ubuntu. Swift 3 is also available on Ubuntu. Thus, we can apply everything we learn about object-oriented programming with Swift when targeting other platforms to which the language is ported.
Tip
In case you want to work with the Swift open source release on Mac OS, you can download the latest release in the Downloads section at http://swift.org. You can run all the code examples included in this book in the Swift Read Evaluate Print Loop command-line environment instead of working with Xcode Playground. The Swift Read Evaluate Print Loop command-line environment is also known as Swift REPL.
It is also possible to use the Swift Playgrounds app on iOS 10.0 or later in the iPad models that are compatible with this app. You can work with this app to run the examples. However, our main IDE will be Xcode.
The following is the URL for the Swift Playgrounds app: https://itunes.apple.com/WebObjects/MZStore.woa/wa/viewSoftware?id=908519492
In order to install Xcode, you just need to launch the Mac App Store, enter Xcode in the search box, click on the Xcode application icon shown in the results, and make sure that it is the application developed by Apple and not an Xcode helper application. The following screenshot shows the details of the Xcode application in the Mac App Store:
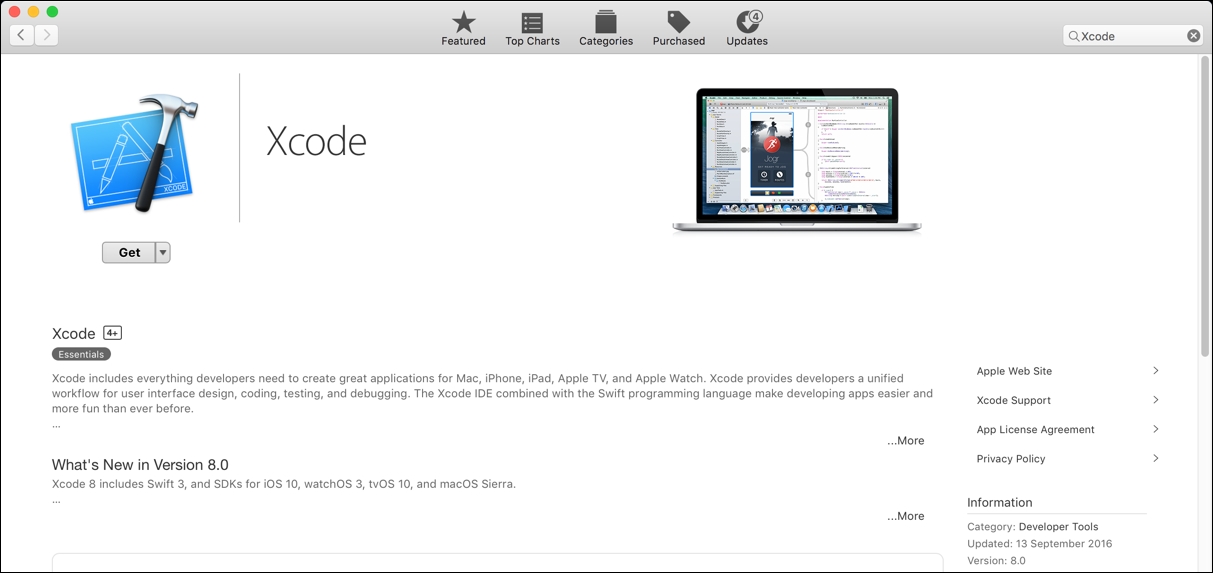
Then, click on Get and wait until the Mac App Store downloads Xcode. Note that it is necessary to download a few GBs and therefore it may take some time to finish the download process. Once the download is finished, click on Install and follow the necessary steps to complete the application's installation process. Finally, you will be able to launch the Xcode application as you would execute any other application in your Mac OS operating system. It is also possible to download and install Xcode from http://developer.apple.com/xcode/.
Apple usually launches Xcode beta versions before releasing the final stable versions. It is highly recommended to avoid working with beta versions to test the examples included in this book because beta versions are unstable and some examples might crash or generate unexpected outputs. The Mac App Store only offers the latest stable version of Xcode, and therefore, there is no risk of installing a beta version by mistake when following the previously explained steps.
In case we have any Xcode beta version installed on the same computer in which we will run the book samples, we have to make sure that the configuration for the stable Xcode version uses the appropriate command-line tools. We won't work with the command-line tools, but we will take advantage of Playground, and this feature uses the command-line tools under the hood.
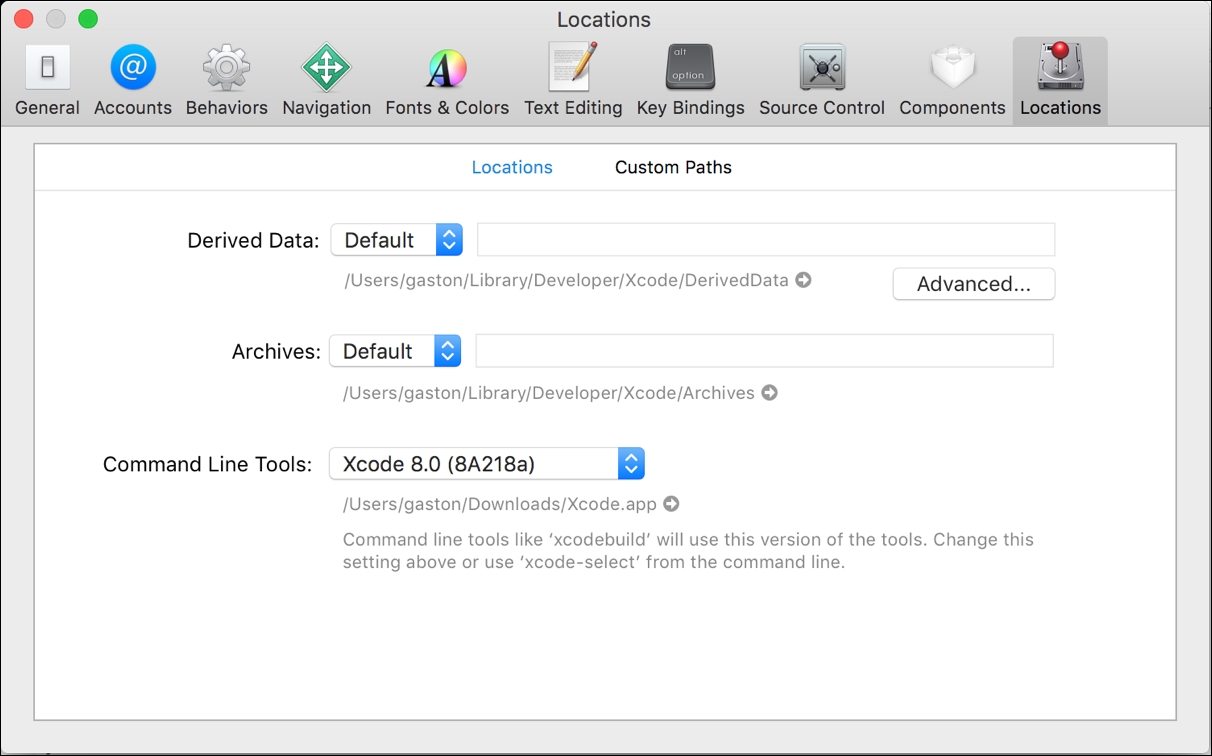
Launch Xcode, navigate to Xcode | Preferences..., and click on Locations. Make sure that the Command Line Tools drop-down menu displays the stable Xcode version that you installed as the selected option. The following screenshot shows Xcode 8.0 (8A218a) as the selected version for Command Line Tools. However, you will definitely see a higher version number because Xcode is updated frequently:
You don't need any previous experience with the Swift programming language to work with the examples in this book and learn how to model and create object-oriented code with Swift 3. If you have some experience with Objective-C, Java, C#, Python, Ruby, or JavaScript, you will be able to easily learn Swift's syntax and understand the examples. Swift borrows many features from these and other modern programming languages, and therefore, any knowledge of these languages will be extremely useful.