

Learn the specifics of setting up a digital camera, and taking, transferring, and evaluating your first set of digital pictures.
Set Up a Digital Camera 82
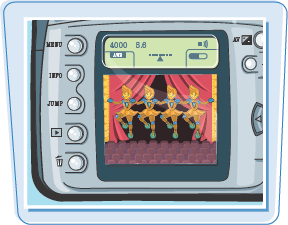
Take Test Pictures 84
Troubleshoot Problems 86
Transfer Pictures to Your Computer 88
Evaluate Your Photos 90
Fine-Tune Camera Settings 92
To get off to a good start with a digital camera, take time to read the manual and to set camera options to ensure that you get the best image quality. Some camera manuals are complicated, printed in several languages, and generally difficult to read. In such cases, read the quick-start guide, if available, or read the quick-start section of the user manual.

Charge Batteries
As a first step, read the instructions in the quick-start guide or the manual on charging the battery. Some batteries require an overnight charging cycle, while others charge in a few hours. Be patient and make sure the battery is fully charged before inserting the battery into the camera. While the battery is charging, you can read your manual.

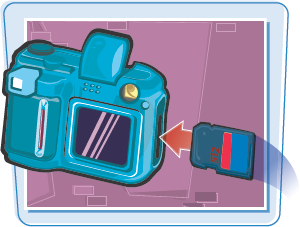
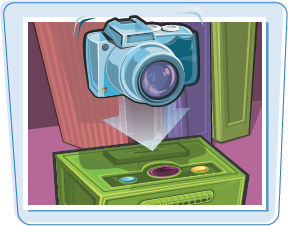
Insert and Format the Memory Card
All digital cameras use a removable memory card to store images. If your memory card has a write-protect (locking) mechanism, unlock the card before inserting it into the camera. Then locate the slot for the memory card, which often includes a diagram showing the direction that you insert the card. Most cameras do not accept a memory card if inserted incorrectly, so never force it. After inserting the card, you should make a habit of formatting it, especially if you have used the card before, to remove any old photos or other digital information it may contain.
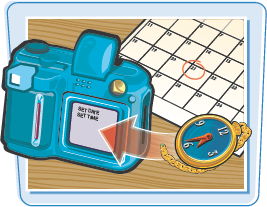
Turn the camera on, and then set it to record or picture-taking mode. Follow the instructions on the LCD to set the date and time. You should set the date and time because they become part of the shooting information that the camera stores with images – metadata information that is helpful for organizing and retrieving images later. The term metadata describes a large collection of data that the camera produces and includes with each photo each time a picture is taken. In addition to time and date information, metadata includes the camera settings used during exposure, or the camera make, model, and serial number. More than 200 types of information can be included as metadata, depending on your camera.
Set the Image Quality and Format
You can set image size, quality, and format on a camera menu. For best quality, set it to the largest size and highest quality. Not all cameras allow you to select the image size. The higher quality settings provide improved quality, but the images require more memory card space. Also, you can choose an image format: JPEG, TIFF, or Raw. Although TIFF is a popular format in graphics design, do not choose it for storing digital images. It takes a long time to save the images and has the same quality as the best JPEG setting. Raw, a format that stores images with no in-camera processing, provides powerful post-capture options, but you must use manufacturer or third-party software to view and save images.

Set the White Balance
Early digital cameras required you to manually set the white balance to get accurate color. Most modern cameras produce acceptable color outdoors just using the automatic settings. When doing a lot of photography under a specific type of lighting, you can set the white balance to the setting that matches the light in the scene. If you take pictures indoors under artificial light, and are not using a flash, set the white balance to the appropriate setting. If using a flash, in most cases leave the camera in its default automatic mode or whatever mode you normally use. I do not recommend changing the white balance setting to flash. If you do change the white balance to flash, make sure you change it back as soon as the flash pictures are finished or the colors in non-flash pictures will appear as if they were taken with a blue filter on the lens.
The first pictures you take provide a great baseline for evaluating the performance and characteristics of your camera. Identifying camera characteristics tells you which camera settings to fine-tune to get consistently good pictures. In addition to identifying the camera's characteristics, it is most helpful to become familiar with the camera controls and operation.

Learn the Basic Controls
Most digital cameras offer a large selection of controls, dials, buttons, and features. Begin by acquainting yourself with the basic controls used for taking and reviewing images. The controls use abbreviations and icons to indicate their function so it is helpful to learn them. Several buttons and dials are used for more than one purpose, depending on the camera mode that you select. Locate the zoom control and learn how to use it for composing images. You should also learn to review images and make selections from the camera menus.
Take Pictures
Get started by taking familiar kinds of pictures of family and friends, indoors and outdoors. Also take pictures with and without the flash, both indoors and outdoors. These pictures establish a level of comfort when using your camera, so you can take photos without having to open the manual.

Adjust to a Digital Camera
If you are accustomed to film cameras, you may need to become accustomed to slower start-up times that some cameras exhibit, and shutter lag, which is the delay between the time you press the shutter release button and the time the exposure is made. Image recording time depends on the size of the image file being used. Larger image files, such as Raw, take longer to save the image to the card. With the exception of large, professional digital SLR cameras, using a faster card will not increase how fast an image writes to the card.' If the card is still writing an image to a card when you turn it off, the camera will continue to record the image until it is complete before shutting down.

Compose Shots in the Viewfinder and LCD
For close subjects, use the LCD to compose images. Parallax is the slight offset between what you see in the viewfinder and what you get on the image. Parallax becomes more apparent for subjects closer than 3 feet at maximum zoom settings, and 10 feet at telephoto settings. At other distances, you can use the viewfinder to compose images.
Verify Pictures
If your camera does not have an electronic viewfinder, as you shoot, be sure to check the pictures on your LCD monitor. The LCD is too small to make definitive judgments, but it indicates obvious composition and exposure problems. Most cameras display the picture on the LCD immediately after you take it. To browse through the images, switch to a playback mode.

Error messages on a digital camera can interrupt your first photo session. However, you can solve the most common problems quickly and easily.
The Shutter Release Button Does Not Work
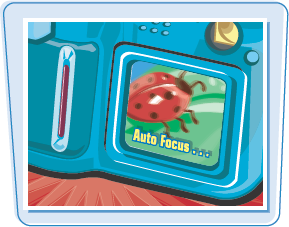
If the shutter release button does not work, there are several possibilities. The most common cause is that the camera's autofocus has been unable to determine the correct focus. Another less likely cause is the memory card is locked. Take out the memory card and switch the lever or tab to the unlocked position. For more about memory cards, see Chapter 2. If the card is full, the status LCD usually flashes. You need to replace it with another card or delete some images to increase the amount of room on the card.

The Camera Is On, But the Status Bar Is Blank
To conserve battery power, most cameras go into sleep mode when they are not in use for a while. You can press the main power button to wake up the camera, or you can turn the camera off and then turn it back on. Also, check to see if the memory card is full, or if the battery needs to be recharged or replaced.

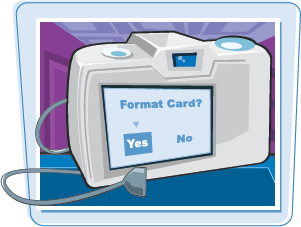
When You Cannot Save Images to an Empty Memory Card
Sometimes when a memory card is formatted by a computer using a card reader with an older operating system, the card is formatted incorrectly. It is a simple matter to correct. Simply use the camera to format the card by selecting the Format feature (usually from a menu selection).

Flash Pictures Are Too Dark or Too Light
All built-in flash units work within a range specified by the manufacturer, usually up to 15 feet. If flash pictures in the LCD look too dark, the subject may be too far away. Move closer to the subject and check the camera manual for the flash distance range. If the photo is washed out, you may be covering the flash sensor with your finger when taking the photos. A finger obstructing the flash sensor prevents it from correctly reading the flash when it fires. Check your camera manual to learn where your flash sensor is located.

Pictures Are Blurry
Digital cameras include a focus indicator on the back of the camera or in the LCD status display. Always be sure the focus indicator shows that the autofocus is set. A more common cause is the autofocus is locked on the wrong subject. An indication would be one part of the photo being in sharp focus. Check the scene mode settings; pictures can be blurry if you take a landscape shot with the camera set to macro mode.
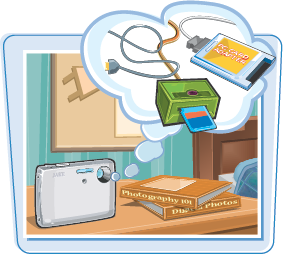
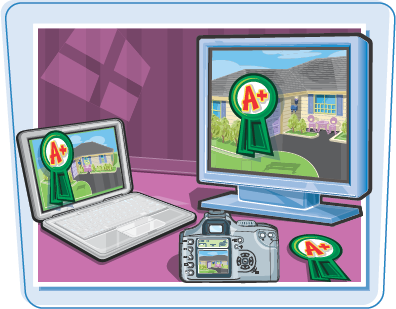
When the memory card is full of pictures, you can transfer them to your computer for evaluation. By learning the options for transferring and viewing your images, you can quickly and easily move images from your digital camera to your computer.

Why Transfer Pictures to Your Computer?
The LCD screen on your digital camera is small. By reviewing pictures in a larger view on your computer, you can decide whether the camera settings that you used need changing. You can use the software that came with the camera on your computer to view the pictures, or an image editing program, such as Photoshop Elements.

What About Raw-Format Images?
If you take Raw-format pictures, then you need to use the manufacturer's software or the Camera Raw plug-in feature of Photoshop Elements to view and edit your images. The Raw conversion program allows you to correct or fine-tune exposure settings including aperture and white balance. After you save the images in TIFF or JPEG format, you can open and continue editing images in programs such as Photoshop Elements or Microsoft Digital Image Pro.

How you download images depends on your camera. Your camera may have a dock that plugs into your computer. You can also use a USB cable, a separately purchased memory-card reader, or a PC adapter card. Most digital cameras are recognized by computer operating systems, and they take you through the transfer process using a step-by-step wizard-style interface.
The Easiest Transfer Technique
If your camera has a docking station, the easiest way to transfer images is to plug the camera into the cradle of the docking station. The computer to which the station is attached detects the camera and begins the download. If your camera does not have a docking station, the fastest way to transfer images is to use an inexpensive memory card reader.
Disconnect Your Camera and Clear the Card
To disconnect your camera or card reader from your computer, first ensure that the access indicator light is off, and then click the Safely Remove Hardware icon (
To clear the card, turn the camera on. You can delete the pictures from the memory card by choosing the Format Card option on one of the camera menus. Ensure that the images have been transferred safely to your computer before reformatting the memory card.
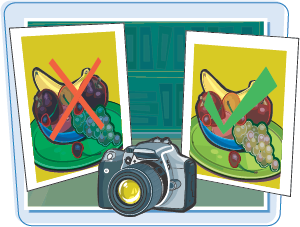
You cannot tell how good your test pictures are until you see them on a computer. This is your chance to identify any camera settings you may want to change.
Identify Recurring Issues
Evaluating your first images allows you to determine any recurring problems that require a change in your camera settings. Most problems are related to using incorrect settings for a particular shooting situation. In a few rare cases, the problems you see may represent a consistent pattern of behavior that requires correction in the camera settings to overcome.

Evaluate Exposure
Different cameras can exhibit different exposure characteristics. If all the pictures look consistently too dark, then the camera may underexpose the images, provided that you use the correct settings when you take the picture. If the pictures consistently look too light, then the camera may overexpose images, or the flash intensity is too strong.
Most cameras evaluate and adjust for white balance correctly. Providing that the camera white balance is set correctly, look for unnatural color casts in photos taken on a bright sunny day. Do not consider photos that were taken under artificial lighting as it can produce unpredictable results, including a tendency toward a warm, red cast, or a yellow or green cast. If you find that the photos consistently produce a color cast, you can often fine-tune the white balance settings, described later in the section "Fine-Tune Camera Settings."

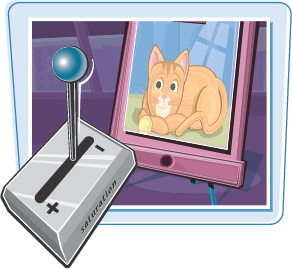
Evaluate Saturation and Contrast
Go through your pictures and evaluate the saturation, which is the intensity of color, and the contrast, which is the difference between light and dark tones. Evaluate whether the colors are too intense or unnaturally vibrant. Be sure that your computer monitor is calibrated correctly and often, as described in Chapter 12.
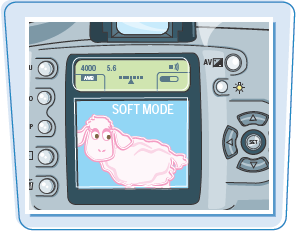
When you look at digital pictures on a computer monitor, they may seem soft, not as crisp as film prints. Although you can set higher sharpening settings on most cameras, resist the urge. You can sharpen images as the last step in editing. You sharpen images based on the final image size and whether you want to print or use the picture on the Web.
Most digital cameras today produce excellent exposures with good color accuracy. In some cases, fine-tuning your camera settings helps you get better photos without the need to make corrections on your computer.

Make a List of Settings to Fine-Tune
Your first foray into using the digital camera provides an overview of the camera's capabilities in normal shooting situations, using the default settings. Now you know which settings to adjust and which ones to leave as they are. Make a list of the settings you want to adjust, and then begin by making small adjustments. Then evaluate the results. Modern cameras typically produce good results and therefore you may not need to make any setting adjustments at all.

Why Fine-Tune Your Camera Settings?
You want to begin image editing with the best quality image you can get from your camera. This saves you time and makes image editing much more enjoyable. Although image editing software is powerful, it cannot fix some things, including poor focus, heavy-color casts, and overexposed images.
Fine-Tune the Flash
If flash pictures are overexposed or too light, and the cause is not a finger obstructing the flash sensor, you can adjust the flash intensity by choosing a minus setting on the camera flash menu. If you do not have a flash adjustment option, you can set a minus exposure value (EV) when you take a flash picture. You can experiment to see which setting produces the best flash photo.

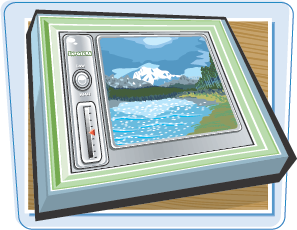
Fine-Tune the Exposure
Scenes with large expanses of very dark or very light areas can fool the camera meter so that pictures are overexposed and underexposed, respectively. You can set exposure compensation, or a plus or minus exposure value (EV), to get a picture with normal tonal values.
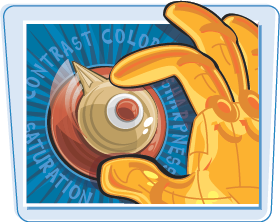
Fine-Tune Color, Saturation, and Contrast
Newer digital cameras offer options to increase color, saturation, and contrast. Never adjust settings based on LCD images, which are too small to accurately show these characteristics. Instead, evaluate a large sampling of representative pictures on a computer and as prints. If the color, saturation, or contrast is consistently off, then adjust in small increments until you get the pictures you want.
