Are you confused about how digital photography works? This chapter introduces you to the advantages of digital photography, the different types of digital cameras, and how easy it is to work with and use digital pictures.
Why Go Digital? 4
Discover Digital Cameras 6
From Start to Finish: The Digital Workflow 8
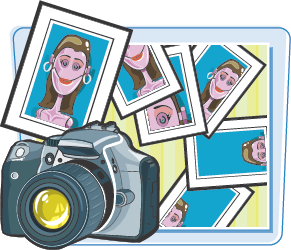
With digital photography, you can do more than take snapshots for your family album. You can use a digital camera to quickly and significantly improve your photography skills. You can e-mail your digital pictures to family and friends, or create interesting Web pages about your hobbies, family, or even home business. You can also simplify everyday tasks, or take part in the popular hobby of documenting your family history with a digital scrapbook.
Improve Your Photography Skills
Because digital pictures do not require film and processing, you can experiment with lighting, composition, camera modes, and creative techniques at no cost. Because you see images immediately, if an experiment yields poor results, you can delete the picture, modify your setting or approach, and try again. The best way to become a better photographer is to take many pictures.
Simplify Everyday Tasks
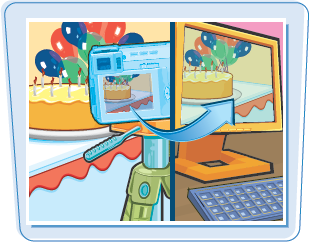
A digital camera allows you to share and convey information easily. For example, you can capture special moments such as birthdays and anniversaries and almost immediately send the pictures to your friends in an e-mail message, or post them on a Web site. You can also take digital pictures of club members for a visual directory. Other tasks include creating a home inventory for insurance records, and photographing items you are selling on eBay.
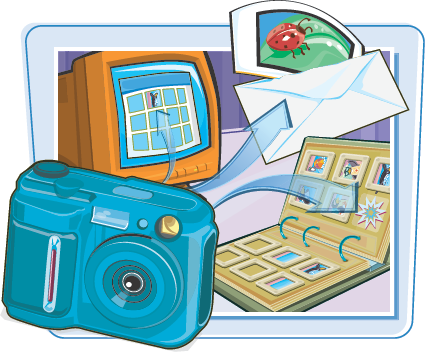
Share Pictures Online and in E-mail
Within minutes of taking a picture, you can share it in an e-mail message, or upload it to an online photo site to share with family and friends. By doing it this way, those loved ones who want prints of the photos can buy them online and receive the prints in the mail.

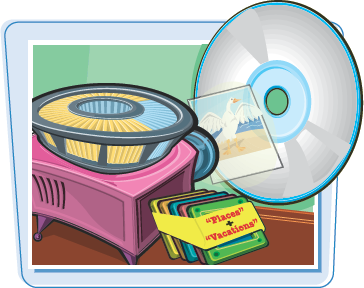
Create Photo Slide Shows on CDs or DVDs
You can use programs, such as Photoshop Elements, to create digital image slide shows on recordable CDs and DVDs. Then you can add voice narration, captions, music, digital movie clips, and transitions to finish the slide show. Photoshop Elements also lets you organize your digital images by assigning each photo a keyword. If you like, you can even add a rating, which is similar to the star ratings that are so popular with movies and hotels. You can use these keywords or ratings to find and select a particular photo for your slide show or just see all your best photos with a click of a button.
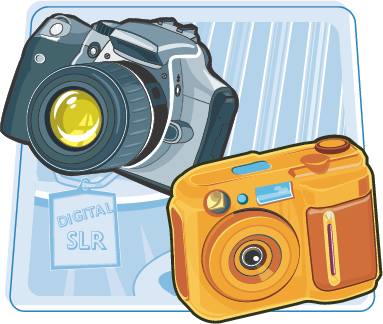
When you understand how digital cameras work, you can take that knowledge and make an informed decision when it comes time to purchase your first digital camera or to upgrade your existing one. Knowing how digital cameras work also allows you to get better images from your camera.
How Digital Cameras Record Pictures
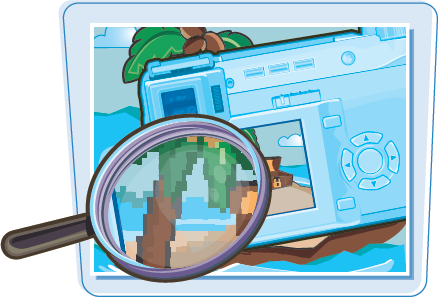
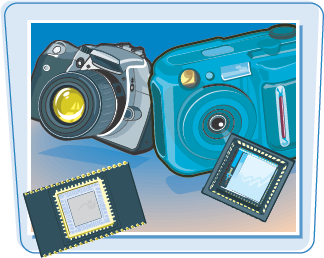
Digital cameras record pictures using an image sensor array — a grid composed of millions of light-sensitive pixels. The term pixel describes a picture element. The pixels are the building blocks of all digital images. A red, green, or blue filter covers each pixel on the sensor so that it responds to only one of the primary colors of light. Each pixel reads the brightness and color in a scene to produce an electrical signal. The signal is then converted to a digital number that represents the color and brightness of the pixel. The camera's onboard computer processes the information to build a final image before storing it in memory.
Most digital cameras use one of two types of image sensors: a Charge-Coupled Device (CCD), or a Complementary Metal-Oxide Semiconductor (CMOS). Although there are technical differences between them, both produce high-quality images.
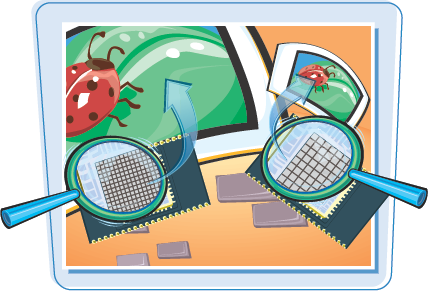
Resolution is a measure of pixel density; the higher the resolution, the more pixels there are in every inch and the greater detail that is possible in the image. On a digital camera, the greater the number of pixels on the image sensor, the larger you can print the photo. There are consumer cameras with sensor sizes up to 8 megapixels. If most of your images are 4 by 6 or sent by e-mail, any digital camera with a sensor of 3 megapixels or greater can produce prints large enough for all your needs.
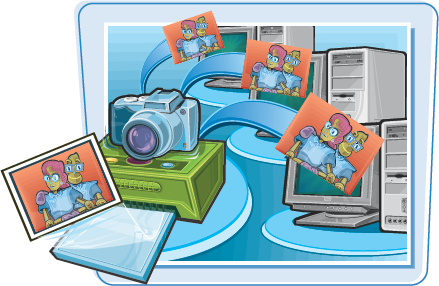
A digital workflow is a step-by-step process that helps you get the best digital images and also manages your collection of images. The workflow includes taking, editing, sharing, organizing, and storing digital pictures. You can use the digital workflow described here as an introduction to and ongoing guide for working with your digital images.
The digital workflow begins by choosing camera settings that will produce the best photo. You can choose a preset scene mode (portrait, landscape, or sunset, for example), use a fully automatic setting, or set the camera to operate in manual shooting mode.
Change the white balance to match the light in the scene. For more information on white balance, see Chapter 8.
Then adjust zoom, compose the image in the frame, ensure the autofocus has the subject in focus, and take the picture. To learn more about exposure, see Chapter 4.
Verify Exposure and Composition
Next, review the picture on the camera's LCD screen to ensure that the exposure and composition are acceptable. If the picture is too light (overexposed), too dark (underexposed), or has highlight areas with no detail, adjust the exposure using exposure compensation. As you review the image on your LCD, look for distracting background elements, closed eyes, and other elements that you can improve. When in doubt, retake the picture – as many times as you want – it is free.
Use the LCD
The camera's LCD provides too small of a view to know if a picture is good or not. If possible, zoom the LCD display to get a better idea of the overall quality. Unless the picture is hopelessly flawed, you should not delete it. Instead, wait and evaluate it on your computer – you may be able to save the shot.
Transfer Pictures to a Computer
You can transfer pictures from your camera to your computer with a USB cable, a card reader, or a docking station. The fastest way to transfer pictures is by using a card reader. Card readers come in many forms, they are cheap, and they do not drain your camera battery – which happens when you hook your camera to the computer. See Chapter 8 to learn more about working with digital images.
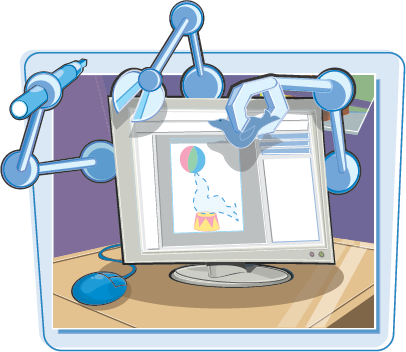
You can use image editing software that comes with your camera or computer, or software that you purchase to edit pictures. Image editing programs enable you to rotate, adjust color and saturation, correct red eye, remove unwanted elements (ex-boyfriends), crop, resize, sharpen, combine, and add text to digital pictures. See Chapters 12 and 13 to learn more about working with image editing software.
After you edit, size, and sharpen your pictures, you can print them on a home photo-quality printer, or at a commercial printing service. You can also share them in e-mail messages or on a photo-sharing Web site. For more information about printing and sharing pictures, see Chapters 15 and 16.
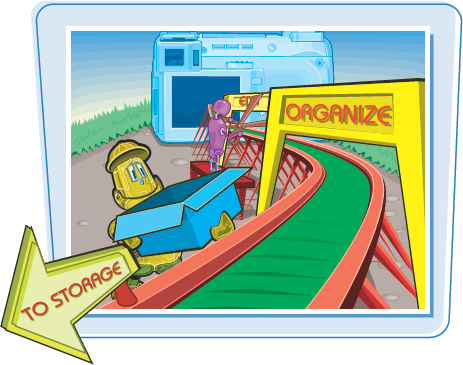
Organize and Store Digital Negatives
You should not alter the original image, which is the equivalent of a film negative. If you need to make changes to an image, get in the habit of making changes to a copy and keeping the original file untouched. This is not as hard as it sounds. Some image editors automatically apply your changes to a copy rather than to the original.
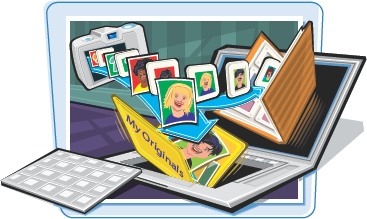
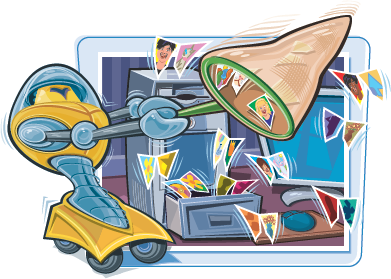
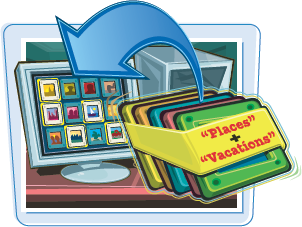
The best way to manage your picture collection (which will become very large) is to use one of the many photo organizer programs that are available. Many users think that they will not need one when they begin taking photographs only to discover their collection has grown to an unmanageable size in a short period of time. You can always find a particular photo quickly without spending hours searching for it if you consistently assign keywords and descriptions to your photos using programs such as Photo Organizer in Photoshop Elements or Paint Shop Album.
Clear the Memory Card
After your pictures are on your computer, you can safely delete pictures from your memory card. Many image editors offer to delete pictures after they have been transferred, but you should be sure that the images have been successfully placed on your hard drive because when the images are deleted from the card, you cannot get them back. Allowing the image editor to delete the photos usually works fine, but the optimum choice is to format the card using your camera. The card format option is typically found as a menu option that is accessed from the menu on the LCD screen of your camera.