
Now Set Your White and Black Points
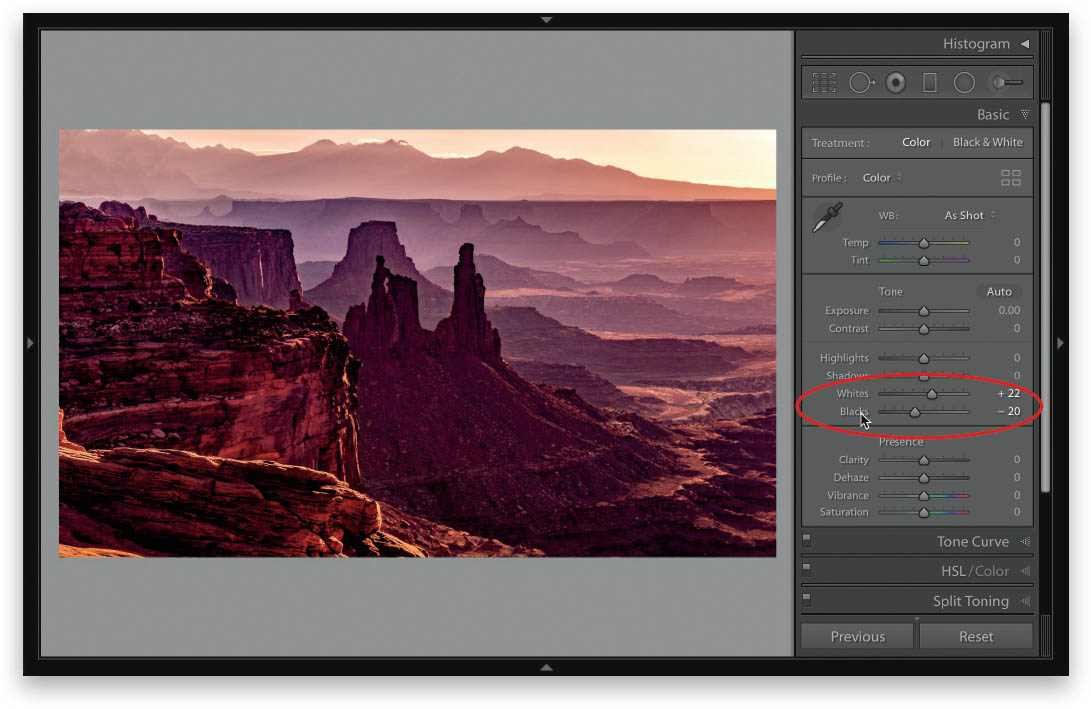
Now that the white balance is set, the next step is to expand the image’s overall tonal range (getting the most out of it without clipping the whites or blacks) by setting the white and black points. What that means is I get the whites in the image as bright as I can get them without blowing them out. Then, I get the blacks as dark as I can get them without turning them solid black. There is a manual way to do this, but thankfully, Lightroom (or Photoshop’s Camera Raw) will do this for you automatically, as long as you know the “secret handshake”: In Lightroom, press-and-hold the Shift key, then simply double-click directly on the word “Whites,” and then on “Blacks” in the Basic panel. In Camera Raw, you Shift-double-click on the slider knob itself. Either way, they both do the same thing—you’ll see the Whites and Blacks sliders move to automatically set your white and black points for you. If you don’t see a slider move very much, that’s okay, it just means the tonal range for that image is already pretty well expanded (the Blacks slider is more likely to move very little or not at all). Just in case you’re curious, the manual way of setting your white and black points is to press-and-hold the Option (PC: Alt) key, and then start dragging one of the two sliders. As you do, the screen turns black (for whites), and any areas that start to appear in white are clipping (blowing out the pixels). If you just see red, green, or blue areas appearing, it’s not as bad—you’re just clipping detail in those channels, not overall. For the Blacks slider, the screen turns solid white as you drag, and any areas that appear in black are clipping the blacks (turning them solid black, so there’s no detail in those areas).