
Sharpening Your Landscape Images
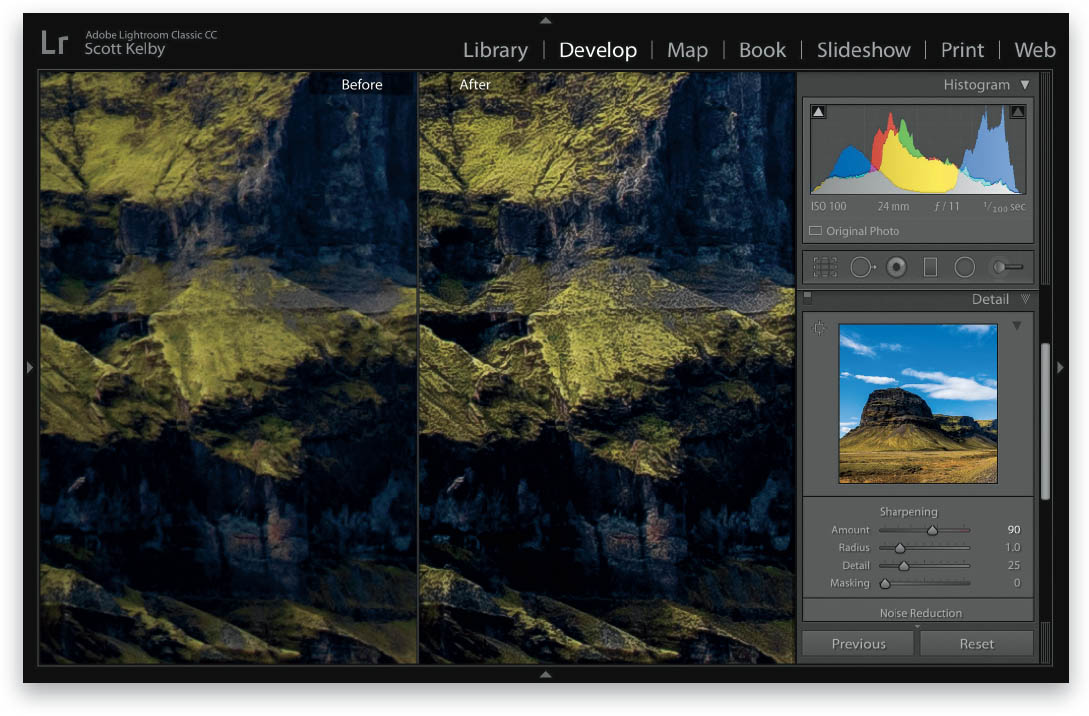
I sharpen every landscape photo—every one, without fail—and since there’s a lot of detail and edges and texture, landscape photos can usually handle having a lot of sharpening added. There are built-in presets in both Lightroom and Photoshop’s Camera Raw for sharpening, and you can find them in Lightroom in the Develop module‘s Presets panel (in the left side Panels area). Once you’re in this panel, scroll down, click on Sharpening, and you’ll see presets for Light, Medium, and Heavy. I generally use Heavy for most landscape images, but if you feel it’s a bit too much for your image, try Medium (don’t use Light—it’s too light). If you think Heavy isn’t enough, go ahead and apply it (by clicking on it), then go to the Detail panel (in the right side Panels area) and drag the Sharpening Amount slider to the right to increase it. If that doesn’t make a big enough difference, increase the Radius to 1.1 (or if you’re using a 50-megapixel or so camera, bump it up to 1.2). You can find these Sharpening presets in Camera Raw by clicking on the Presets icon (the second one from the right) beneath the histogram, and then clicking on Sharpening in the Presets panel. If you need to add some creative sharpening (sharpening added in just a few particular areas now that the whole image has a base layer of sharpening), get the Adjustment Brush (K), set all the sliders to zero, then drag the Sharpness slider to the right a bit and paint over the areas you want spot sharpened.