
Often in games, UI elements are not designed to be rectangular. Thus, a quick way to change their shape is through masking. One of the basic shapes is a circle. Therefore, in this recipe, you will learn how to make an image circular. This could be useful, for example, to surround a character icon circularly or to create special circular buttons. In order to achieve this, we will use the Mask component.
- First of all, we need to create a mask, which in this case should be circular. Since the mask is just another image, let's open a graphic program that we have. Then, we need to create a new image with the same pixels for the height and width so that the drawing canvas is a square.
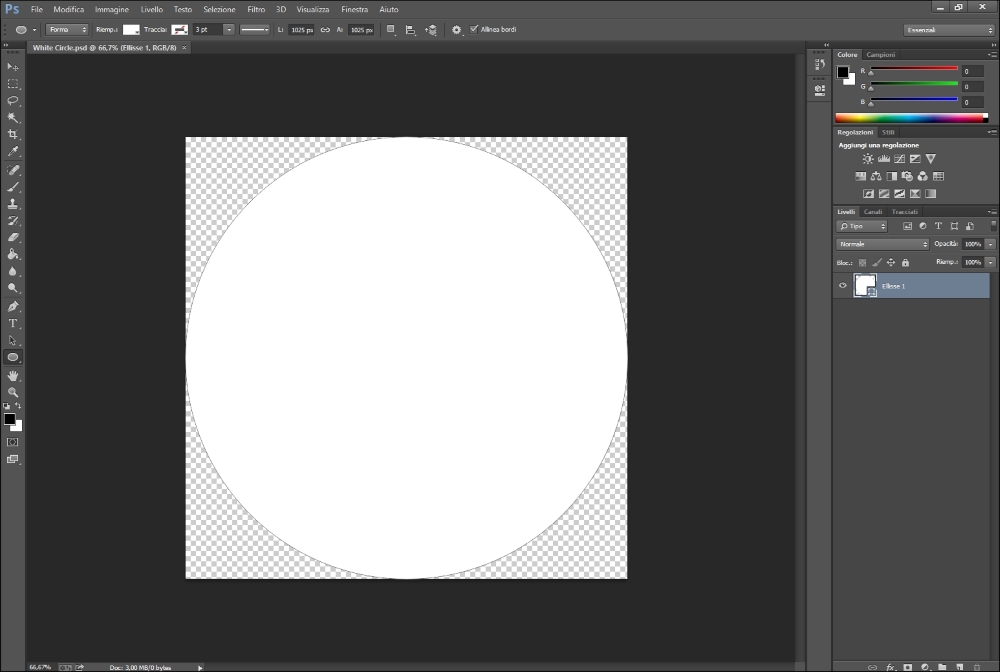
- This step and the following step depend on the graphics program that you are using. Now, we have to draw a white circle in the middle of the image.
- Furthermore, we should also ensure that the background is transparent. From the following screenshot, you can get an idea of what the final outcome will look like (the program used for this is Photoshop):
Tip
If you are using Photoshop, you can easy create this mask using the ellipse tool. While holding down the Shift key, click on the top-left corner and drag it to the bottom-right corner.
If you don't have a graphics program or you don't want to use a graphics program, you can use the image provided along with the code featured in this book.
- The next step is to import this mask into the project. To do this, right-click on the Project panel and select Import new asset.
- Unity will ask us to select the mask that we have just created. Therefore, locate the folder where you saved it and then import it.
- In order to see the settings of the imported mask as an image in the Inspector, we need to select it in the Project panel.
- Thus, if our project is not set in 2D, we should change the Texture Type in Sprite (2D and UI) in the Inspector and then click on Apply.
- Now, we need to create a new panel. We can do this by right-clicking on the Hierarchy panel and then going to UI | Panel. We should also ensure that we have it inside the Canvas object.
- Inside the Image (Script) component, we need to set our mask to the Source Image variable.
- In order to get the exact shape that we created in our graphics program, we need to bring the image back to its original proportions. This can be done by clicking on Set Native Size and then scaling uniformly (keeping Shift pressed) if needed.
- The next thing to do is transform our panel into a mask. So, we need to add the Mask (Script) component to our panel.
- Then, we need an image to put the mask on. Therefore, let's create an image inside the panel. To do this, we need to right-click on the Hierarchy panel and then go to UI | Image.
- Inside the Image (Script) component of the image, we need to select the picture that we want to mask. This can be done by dragging it into the Source Image variable of the component. As a result, it will be masked with a circle.
- If needed, we can click on Set Native Size and scale it uniformly.
- In this case, by using an ancient map, we can see what the final outcome should look like in the following picture:

As we have seen, Unity uses another image to create the mask. This is the reason the Mask (Script) component is attached to the object that has an Image (Script) component. As a result, it is possible to create any shape that we want for the mask. In fact, the only thing we need to keep in mind is that the white sections of the mask texture will be the parts that are visible.
- If you are looking for more information about the Mask component, you can refer to the Unity official documentation at http://docs.unity3d.com/Manual/script-Mask.html.