
In this recipe, you will learn how to create a 3D menu in Unity. 3D menus can provide an array of options that traditional menus cannot. For instance, 3D menus offer opportunities for UI elements to enter the game space in ways that 2D menus are unable to support. These techniques go beyond the classical UI and allow more levels of customization and player immersion within a game. In fact, a 3D UI has the potential to become very effective when animated, since we can see elements from different perspectives.
- Let's start by creating an UI panel that will be the root of our menu. As we are developing our menu, it is important to keep in mind that all additional elements that we create will become children of the root element. Right-click on the Hierarchy panel, then go to UI | Panel and rename it to MenuRoot. Of course, it is possible to resize the image and change its other settings, such as color. In the Inspector, we can make it fit the design of our game, and we can even place it wherever we want on Canvas.
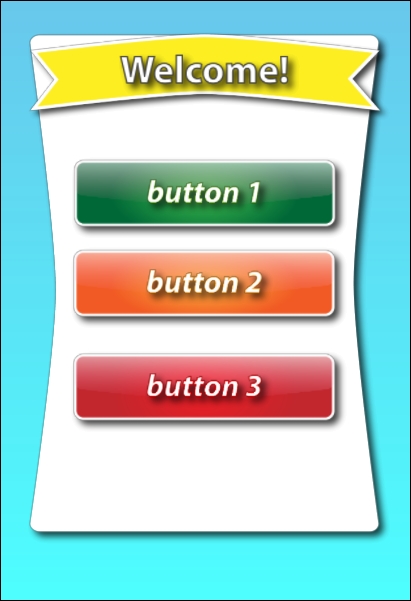
- Now, we need to add some more contents to our menu. But first, we need to have a clear idea about what our design will be. In this recipe, we are going to create a menu by following this design:

- Therefore, we need to create some other panels, as we did before, and rename them to TitlePanel, ButtonPanel1, ButtonPanel2, and ButtonPanel3.
- Right-click on each panel and navigate to UI | Text to create a Text (Script) component. To keep our components' names consistent, we should rename them to TextTitle, TextButton1, TextButton2, and TextButton3. Finally, the structure of our menu should look something like this:
- Now, it's time to take advantage of the third dimension using the z axis. In order to see this better, we can switch to 3D view (by clicking on the 2D button in the upper part of the scene view). Otherwise, we can just keep the 2D image and tweak the z axis through the Inspector. Let's slide the z axis of TitlePanel to -45. Then, we can set TextTitle to -40 on the z axis. Next, we can set the buttons a little closer to the observer. Let's set them to -80 and their text to -45. If you have already switched to 3D view, you can now see something like this:

- Thus, our menu is ready. But if we click on the play button, we don't notice any difference. This because it is still rendering as a static menu that is projected onto Canvas. This recipe is just an introduction, and it provides us with a foundation for the proceeding sections.
Usually, we are bound by the x axis and the y axis. However, with the use of 3D, it is possible to have various UI elements projected in the third dimension, by providing values for their respective z axes. We have chosen negative values because we want to project them towards the user, and by doing this, it brings them closer to the user. If we were to choose positive values, the UI elements would appear farther away from the user within the Unity scene. In fact, this will be useful in the next recipe, where the tilt effect will emphasize this effect.
Adding shadows to our menu is a great aesthetic improvement. Thus, the following section will remind us about a component that we used in Chapter 5, Decorating the UI, to quickly add shadows to improve the appearance of our menu.
We will see in the following recipes how it is possible to move UI elements and consequently the entire menu within the scene space. Furthermore, we will look at how shadows can be incorporated as a nice addition to the aesthetics of our menu, as well as emphasize the depths of certain elements. While we can draw shadows directly on our graphics (before we export them from our graphics program), we can also add shadows quickly in Unity. To do this, we will simply use the Shadow component that we covered in Chapter 5, Decorating the UI, in the Adding shadows to text recipe.
- If you want to bring this menu to life, you will have to go on with the Adding a smooth tilt effect recipe or the Creating and placing a 3D UI recipe.
- For further information about the Shadow UI Effect component, you can refer to the Adding shadows to text recipe in Chapter 5, Decorating the UI.