
Changing Your Account Picture
Your account picture appears on the Windows 8 login screen and in the upper-right corner of the Start screen. If you are using a Windows account and previously set up an image for your profile, then that image appears as your account picture. If you are using a local account or a Microsoft account with no associated picture, then the picture appears as just a plain generic image. You can easily change that generic image into a photograph of yourself or some other picture that you want to represent you. You can also switch to a different image by picking one from your Windows Pictures folder or taking a new photo through your PC's webcam. This task explains how to set up and change your Windows 8 account picture.

1 Log in to Windows: Log in with the account whose picture you wish to change.
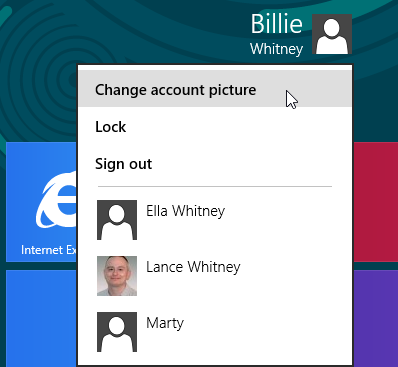
2 Access your account picture: From the Start screen, click your account name and picture in the upper-right corner. From the menu, click Change account picture.
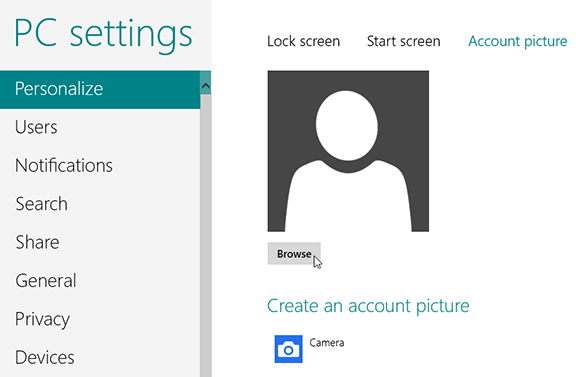
3 View pictures: The PC settings screen opens to display your current account picture. Click Browse to view other images stored in your Windows Pictures folder.

4 View local pictures: In the Windows Pictures app, you can view existing pictures stored directly in the folder.
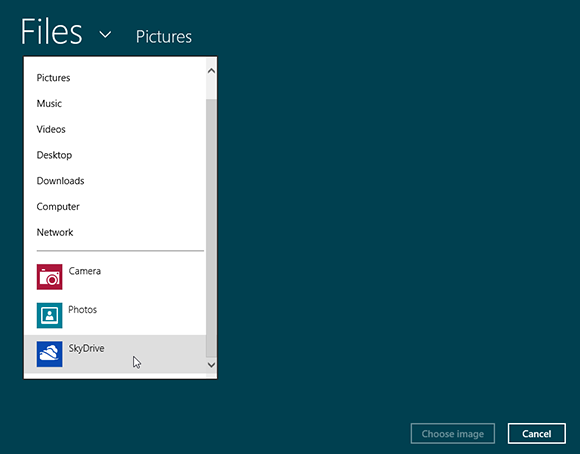
5 Find pictures from other folders: Click the Files link in the upper-left corner. A list of other folders appears. You can choose a picture from Music, your desktop, Downloads, or anywhere else on your computer. If you have a SkyDrive account, you can also click the SkyDrive icon at the bottom of the list to choose a picture from your SkyDrive storage space.
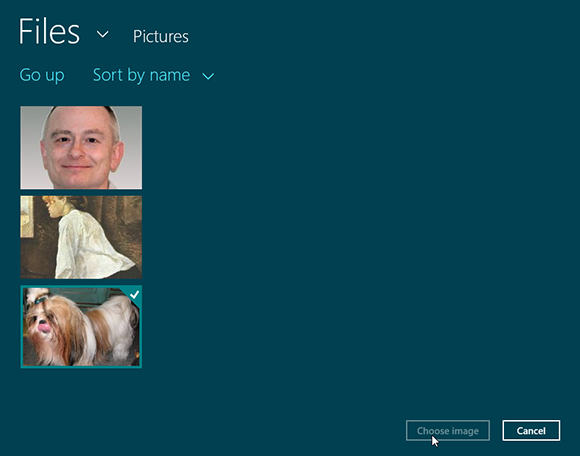
6 Pick a picture: Click on an existing picture. From the app bar, click Choose image.
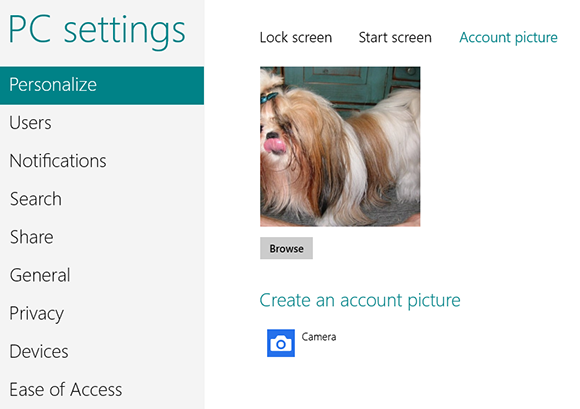
7 View new picture: The new picture replaces the older picture or generic image as your account picture.

8 Snap a picture: You can also take a new picture using the Windows Camera app. Under the Create an account picture link, click the Camera app icon. In the Camera app, click Camera options on the app bar to change the photo resolution. From there, click More to change the brightness or contrast. Click the Timer button on the app bar to set a 3-second timer. Press the spacebar or click the left mouse button to take the actual picture.
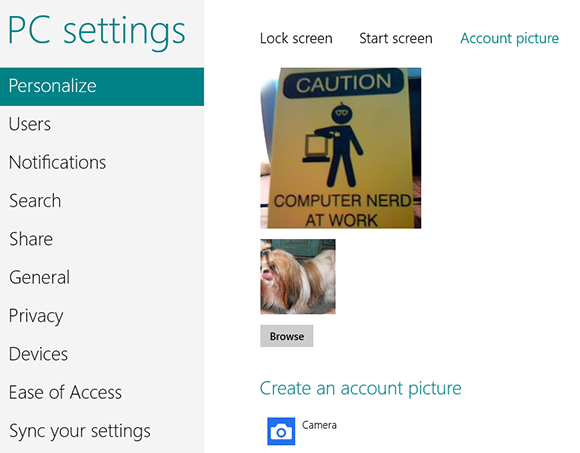
tip As you add more pictures, they display in the PC settings screen so you can easily change your account picture to a previous selection.

9 Crop or retake photo: Drag the fill handles or the sides of the picture to crop it. Move your mouse into the image and drag the cropped square to change the position. If you like the photo, click OK to make it your new account photo. If you are not happy with it, click Retake to snap another photo.
10 View new picture: The new picture replaces the older picture or generic image as your account picture.
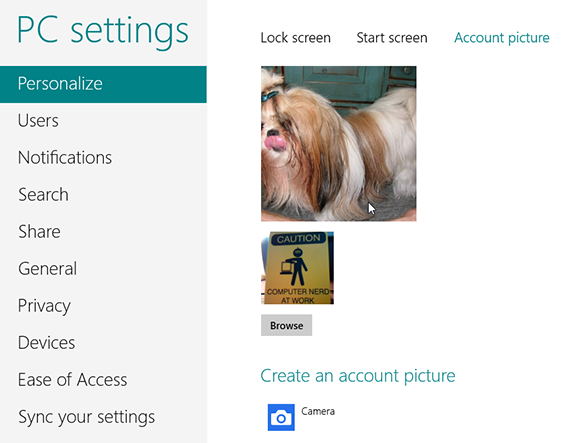
11 Change picture: The previous picture appears below. Click on that picture to switch back to it.
tip You first need to add images to your Windows Pictures folder in order to use them as account pictures.
tip If you are using a Microsoft account, the new image you choose appears on your Microsoft account page as well.
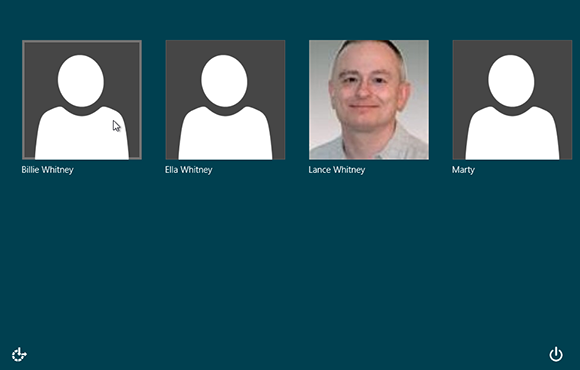
12 View picture at login: Log out of Windows. Click on the Lock screen. The photo appears as the new picture for your account.