Editing anchor points
One of the advantages of drawing with the pen tool is that it’s easy to go back and alter the paths you draw. You’ve already learned how to move anchor points, segments, and direction lines. In this section, you’ll see how easy it is to add new anchor points to an existing path, delete anchor points, and convert different anchor points from one type to another.
Adding and subtracting anchor points
You can add points to a path to increase the number of segments in the path, and you can subtract unneeded or unwanted points from a path.


Converting points
Sometimes you may want to change a curve to a corner point or vice versa. Using the convert point tool, you can easily make the adjustment.
Using the convert point tool is very much like drawing with the pen tool. To convert a curve to a corner point, you click the anchor point, and to convert a corner to a curve, you drag from the anchor point.
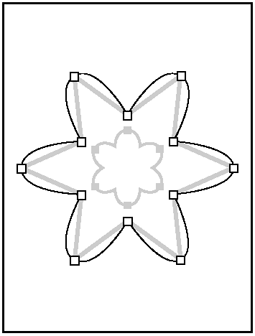
1. | In the Paths palette, select the Convert Directions path. The shaped path has both corner points and curves. You’ll start by converting the corner points to curves, and then you’ll convert the curves to corner points. |
2. | Using the direct selection tool ( |
3. | Select the convert point tool ( |
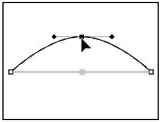
4. | Position the pointer on a point of the outer path; then click and drag clockwise to convert the point from a corner point to a curve.
|
5. | Convert the rest of the corner points to smooth points to complete the outer path.
|
6. | Using the convert point tool (
|
7. | Click the outer path with the direct selection tool (
|
8. | Select the convert point tool (
|
9. | Choose File > Close, and don’t save changes. |