
Creating a layer set and adding a layer
You can nest layers within the Layers palette. This makes it easier to manage your work and minimizes the clutter when you work on large, complex files.
1. | In the Layers palette menu, choose New Layer Set. |
2. | In the New Layer Set dialog box, type Conf Info, and click OK. |
In the Layers palette, a Conf Info folder appears above the Background layer.
Adding type layers to a flattened background
You’re now going to work on two text layers that will have identical information but in different languages.


 | If you decide later that you want to reposition the two text layers, you can select the Conf Info layer set in the Layers palette, and then use the move tool to drag both layers, as if they were linked. |
You now have an identically formatted and positioned text layer that you can simply edit to create alternative text about the conference information.
Creating alternate text and designating dictionaries
Photoshop 7.0 now includes the power of a spelling checker that can selectively reference dictionaries for various languages. You can designate entire text layers or individual words to be checked in different dictionaries. When you run the spelling checker, Photoshop automatically compares each word to the appropriate dictionary.
1. | In the Layers palette, click the eye icon ( |
2. | |
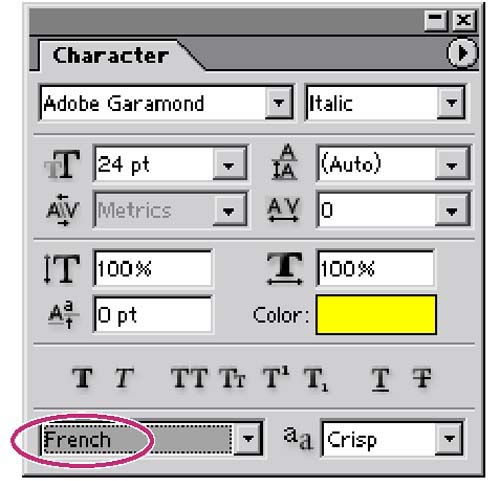
3. | Choose Window > Character to open the Character palette. |
4. | Make sure that the Les Amis des Fleurs layer is selected in the Layers palette. Then, on the dictionary pop-up menu in the lower left corner of the Character palette, select French.
|
Using the multilingual spelling checker
Now that you’ve designated the dictionaries that Photoshop will use for different text within your file, you’re ready to review the text for spelling errors.
1. | In the Layers palette, click the eye icon ( |
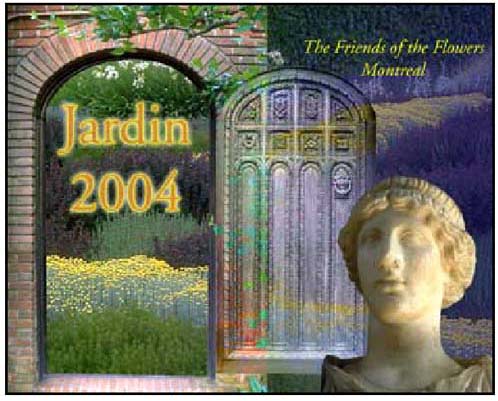
2. | Choose Edit > Check Spelling. The Check Spelling dialog box appears, indicating that the word Montreal is misspelled in French because it lacks an accent over the letter e. |
3. | Click the Change button to accept the suggested replacement, Montréal. The text in the image changes, and the display in the dialog box also changes, now indicating that the word Frinds is not in the English: USA dictionary. Notice that the Change To option is (probably) Finds—not the word you want.
|
4. | |
5. | If a message appears indicating that the spell check is complete, click OK. |
6. | |
7. | Choose File > Save to save the image with one flattened layer and two unflattened text layers.
|

Notice the change in file size in the Info bar. Although your file size has grown slightly, it is still not nearly as large as the completely unflattened project would be.
Your image for the garden event is now complete.