Chapter Seven. Creating and Formatting Type
Whether you are using type for highly artistic effect or presenting blocks of type content, Illustrator CS3 provides a dense set of tools that allow finely tuned control over the appearance of type.
Illustrator CS3 creates type in two different ways. To create type inserted at a point, you click (on a point) on the artboard and type. Type inserted at a point works best for type that will be resized, reshaped, and in general treated more like a shape than editable text (although you can edit type inserted at a point).
You create area type by first drawing a type box, and then entering text. Area type is best used for larger blocks of text that will be laid out desktop-publishing style.
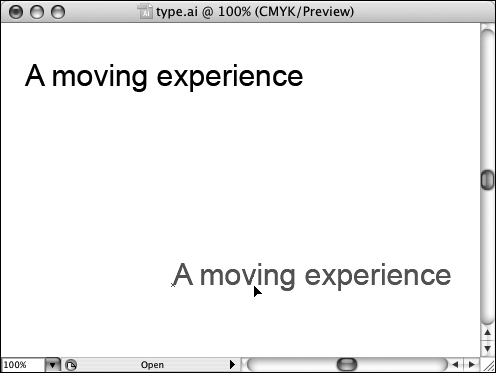
The differences between area and type inserted at a point are best illustrated by looking at what happens when you resize the respective type boxes. Type inserted at a point changes size (and shape), whereas area type just fills more, or less, of the type box.
You apply the same basic text formatting and editing techniques to both point and area type. Illustrator provides as much control over type formatting as you will find anywhere (and in fact the type formatting tools pretty much parallel those found in Adobe InDesign CS3).
With the advent of Illustrator CS, Adobe introduced a fundamentally new type engine. The new, more powerful type engine enables much better support for the vast character sets of OpenType fonts and other formatting improvements. The type engine in CS and CS3 is also, unfortunately, incompatible with the type features in earlier versions of Illustrator. Therefore, if you open a file saved to an older version of Illustrator (before CS), Illustrator CS3 will prompt you to convert this legacy type to the current type engine. You must OK this conversion to edit and work with type inherited from older Illustrator files in CS3.
#58. Creating Type Inserted at a Point
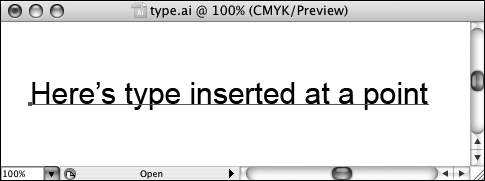
To create type inserted at a point, simply select the Type tool (press T, or select the tool in the toolbox). Click on the artboard and type. That’s it. You can define type format (font, size, and other attributes) before or after you type (Figure 58a).
Figure 58a. Inserting type at a point.
Tip
With normal Smart Guide settings, type highlights (as does every object) when you hover over it with a Selection tool. You can disable this aspect of Smart Guides by choosing Edit > Preferences > Smart Guides & Slices (Windows) or Illustrator > Preferences > Smart Guides & Slices (Mac), and unchecking the Object Highlighting check box in the Preferences dialog. Or, you can turn off Smart Guides altogether by choosing View > Smart Guides.
Note
See #60, “Defining Font and Size,” to learn to define type font and size.
To create a new paragraph, press the Return (Mac) or Enter (Windows) key. To finish entering type inserted at a point, click the Selection tool.
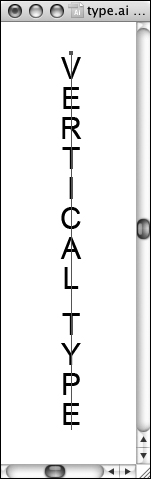
You can also generate vertical type inserted at a point—type that flows down instead of from left to right. The Vertical Type tool is located on the Type tool gallery in the toolbox. With the Vertical Type tool selected, the cursor displays as a rotated insertion point indicator. Click on the artboard and enter type (Figure 58b).
Figure 58b. Inserting vertical type at a point.
You can move type inserted at a point block by clicking and dragging. You can resize type inserted at a point quickly using the bounding box and the Selection tool, the same way you would resize any path. You can also rotate type inserted at a point using the Selection tool and the bounding box (Figure 58c).
#59. Creating Area Type
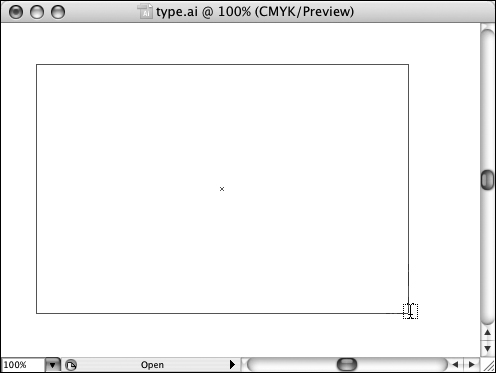
Area type is used for desktop publishing projects. It is used for large blocks of type, for type that must flow from one box to another, and for type that will flow around other objects. To start creating area type in Illustrator, select the Type tool in the toolbox, but before you type draw a marquee with the Type tool (Figure 59a).
Figure 59a. Drawing a marquee to enter area type.
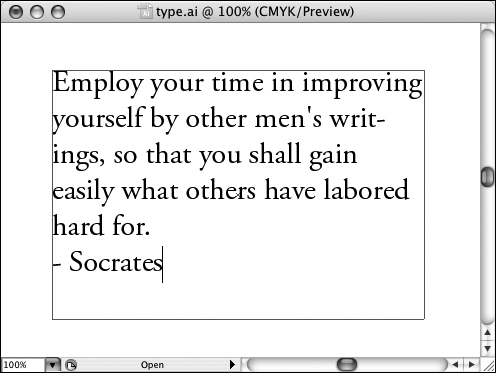
The marquee you draw defines the size of the text object. After you draw the marquee, click inside the text object (with the Type tool still selected) and enter text. The text will wrap at the edge of the defined Type text object (Figure 59b).
Figure 59b. Entering area type.
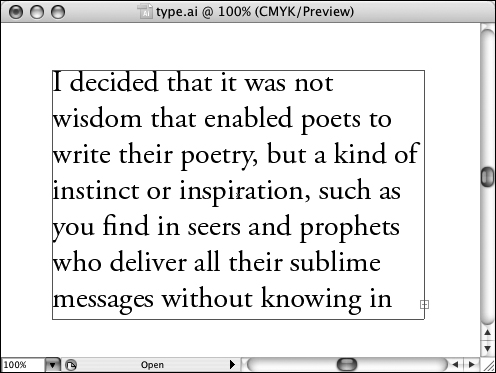
If your text does not all fit in the defined area, a red “+” sign appears in the lower-right corner of the text object (Figure 59c).
Figure 59c. Area type that does not fit in a defined area.
Note
Type inserted at a point never displays a “+” symbol because the type simply resizes to fit the text.
You can display all type in a type box by enlarging the text box. Do that by selecting the box with the Selection tool and resizing it using the bounding box as you would any object.
Note
You can also flow overflow type from one text object to another. See #70, “Linking Type Objects.”

#60. Defining Font and Size
The Control panel makes all the most useful type formatting tools (plus some you won’t use much) easily accessible in one convenient panel. To access Type formatting tools, display the Control panel (Window > Control), and click on a Type object (Figure 60a).
Figure 60a. Viewing the Control panel for type.

To apply formatting (like font or type size) to an entire text object, select the box with the Selection tool, and choose formatting options from the Control panel. To apply type formatting to some type, click and drag with the Type tool to select the type in the type box, and then apply formatting.
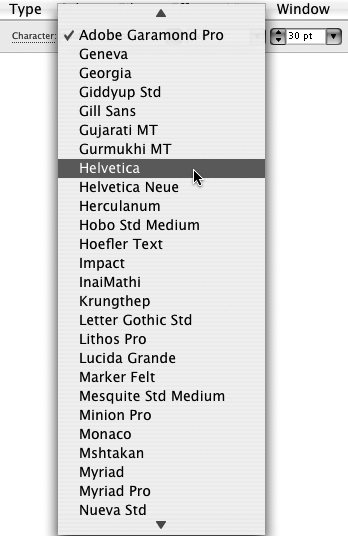
Choose fonts from the Font drop-down menu in the Control panel. If the selected typeface has styles (like italic or boldface), you can choose those styles from the Font Style drop-down menu in the Control panel (Figure 60b).
Figure 60b. Assigning a font to selected type.
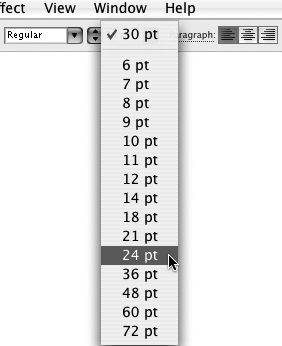
With a text object selected, or with a block of type selected within a type box, assign font size from the Font Size drop-down menu in the Control panel (Figure 60c).
Figure 60c. Choosing font size.
#61. Selecting Type
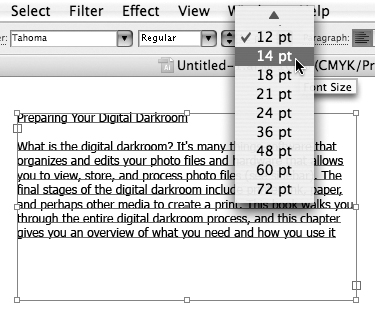
You can select either a type box or text within a type box. To select a type box, use the Selection tool. If you select an entire type box, you can move the type box, and you can apply formatting from the Control panel or different type formatting panes to the entire box of type (Figure 61a).
Figure 61a. Applying a new font size to a selected type box.
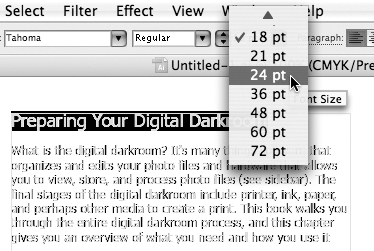
To select type within a box, you can use the Type tool. If you have Smart Guides turned on with the default preferences, then as you hover over type, the type appears highlighted, and you can click and drag to select contiguous characters within the type box. In any event, you can click and drag with the Type tool to select type. With type selected this way, any formatting you apply affects only the selected type, not the entire box of type (Figure 61b).
Figure 61b. Changing the font size for selected type.
#62. Kerning, Leading, and Tracking
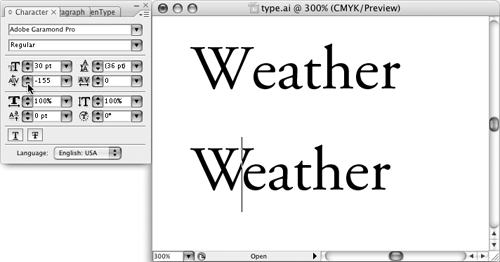
Kerning controls the space between characters. Kerning is defined by the “em” unit of measurement, which represents an approximation of the width of the letter m. Kerning is defined in units of 1/1000th of an em. Positive kerning value adds spacing and negative kerning tightens spacing, moving characters closer together (Figure 62a).
Figure 62a. Using negative kerning to move a lowercase “e” under an uppercase “W.”
Leading draws its name from predigital typesetting that used extra shims of lead (the heavy, soft metal) to create extra vertical space between lines of text. Combining 24-point leading with 12-point text, for example, produces double spacing.
Tracking defines horizontal spacing between characters and words. Measured in ems, like kerning, positive tracking values increase space and negative values crunch type together.
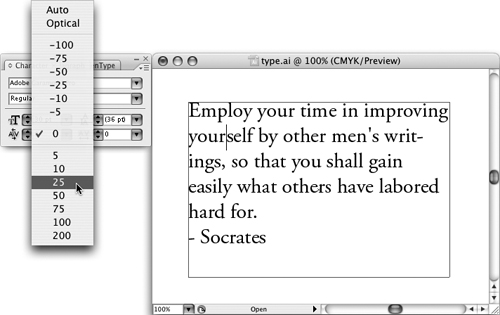
Tracking, leading, and kerning can all be defined in the Character panel, which is accessible from the link in the Control panel. To defining kerning, place the Type cursor insertion point between two characters and change the value in the Kerning slider in the Character panel (Figure 62b).
Figure 62b. Changing kerning in the Character panel.
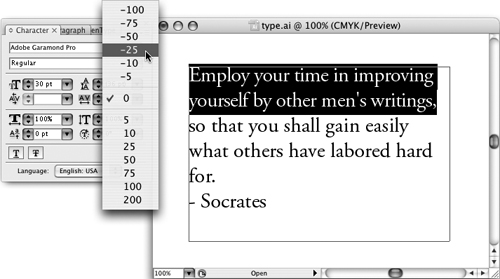
Tracking and leading can either be assigned to selected text or to an entire selected text object (Figure 62c).
Figure 62c. Applying tracking to only selected text.
#63. Scaling Type
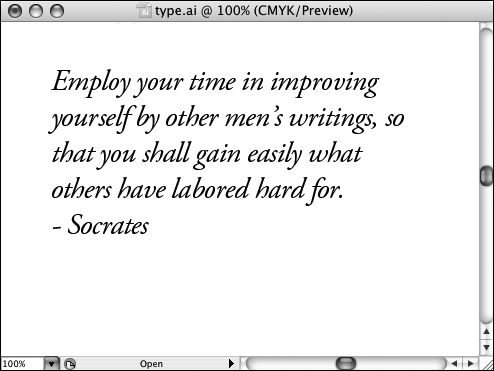
Scaling type works quite differently for point and area type. Type inserted at a point, as noted in the introduction to this chapter, resizes interactively as you change the size of the text object. This makes type inserted at a point easily scalable; you can stretch a type inserted at a point box almost like Silly Putty, stretching the type sideways, vertically, or both.
Area type is not so elastic. Normally, you change area type size by adjusting the type size (in points). Changing point size changes the size of the type, retaining the same type height-to-width ratio and preserving the transferability of the type to other applications.
You can, however, also rescale area type, in effect stretching it either horizontally or vertically. You do this with the Horizontal Scale and Vertical Scale spinners in the Character panel.
To change horizontal or vertical scale for selected type (or an entire selected text object), click the Character panel link in the Control panel. In the Character panel, increase the value of the Vertical Scale drop-down menu to stretch type vertically (Figure 63).
Figure 63. Increasing vertical scaling of type.
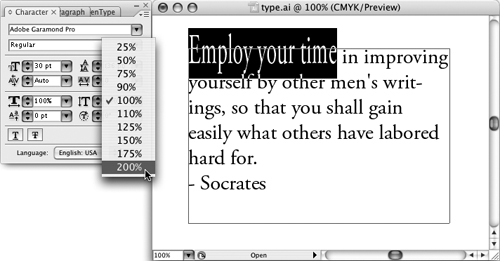
Increase the value of the Horizontal Scale drop-down menu to stretch type sideways.
#64. Applying Type Attributes
Strikethrough, underline, italic, bold, and bold italic are all available from the Character panel. You can also define custom baseline shift for subscript and superscript.
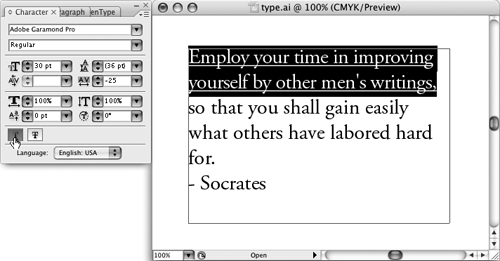
All these attributes can be applied by selecting an entire text object or selected type within a text object. Apply Strikethrough or Underlining by clicking the respective icon at the bottom of the Character panel (Figure 64a).
Figure 64a. Applying underlining in the Character panel.
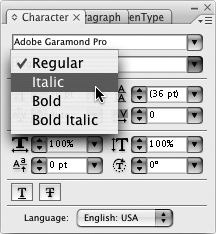
If a font supports these features, italics, boldface, and boldface and italics combined can be applied using the Font Style drop-down menu in the Character panel. Or, you can reapply Regular (no boldface or italic) from this menu (Figure 64b).
Figure 64b. Applying italics from the Font Style drop-down menu in the Character panel.
#65. Using Type Styles
Type characters can have many, many attributes. You might assign font size, color, tracking, leading, a typeface, and more to a single character or a group of characters.
You can save sets of character attributes as character styles and apply the whole style at once to selected type. The best way to create a character style is to first apply all the formatting you want to preserve to a character or a group of characters (like a word). Once you apply all the formatting you want to preserve, choose Window > Type > Character Styles to display the Character Styles panel.
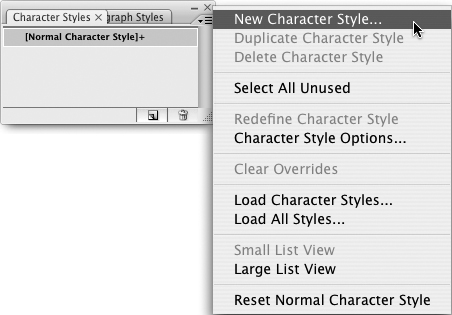
With your formatted character(s) selected and the Character Styles panel open, choose New Character Style from the Character Styles panel menu (Figure 65a).
Figure 65a. Creating a new character style.
Enter a name for your style in the Style Name box in the New Character Style dialog, and click OK to preserve the style.
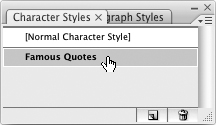
To apply a character style, select some type, and then click on the named style in the Character Styles panel (Figure 65b).
When you change a defined character style, you can apply the changes to all type to which that style was applied. To edit a defined character style, double-click on the style in the Character Styles panel. The Character Style Options dialog opens (Figure 65c).
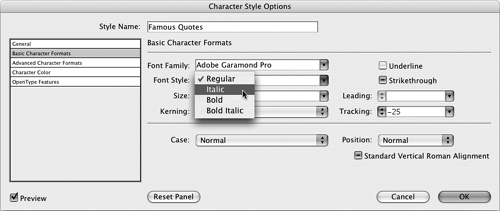
In the Character Style Options dialog, choose from the categories of attributes on the left of the dialog: General, Basic Character Formats, Advanced Character Formats, Character Color, and OpenType Features. In one or another of these categories, you’ll find options for changing any formatting applied to the character style. After you edit formatting for a character style, click OK. The new formatting attributes will be applied to all the text associated with the edited character style (Figure 65d).
Figure 65d. Changes in style definition applied to all type with the character style.
#66. Using OpenType Glyphs
Glyph refers to normal characters (like A through Z) plus noncharacter symbols like ©, ®, ™, and so on. Glyphs can be selected from character panels or defined by hard-to-remember three digit values.
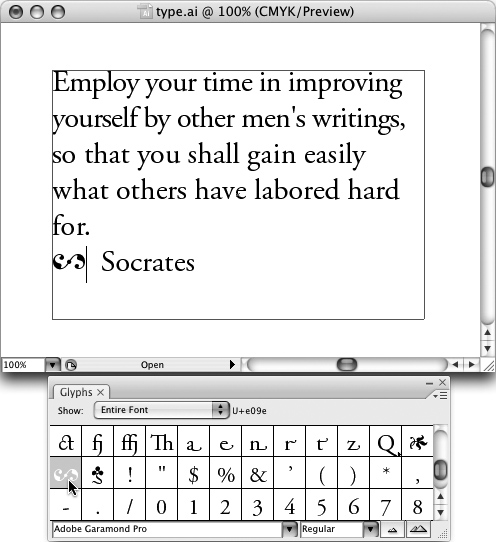
Illustrator CS3 provides features that make it easy to access a wide range of glyphs. Choose Type > Glyphs to display the Glyphs panel. The glyphs associated with the selected character set display in a character map. Double-click any glyph to insert it at the insertion point in your text (Figure 66a).
Figure 66a. Inserting a glyph.
Many typeface sets include large sets of glyphs in addition to standard characters. Some sets of fonts, such as Symbols, Wingdings, and Webdings, only include nonstandard type glyphs.
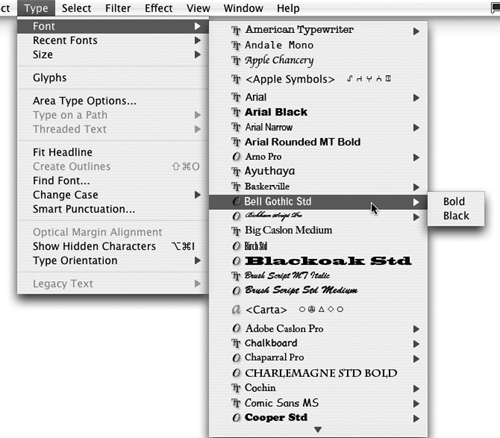
A main feature of the modern-era Illustrator type engine (introduced in CS) is the easy access to OpenType fonts. OpenType font sets include as many as thousands of glyphs, including characters and symbols. OpenType fonts are indicated in the Font menu (Type > Font) by a special icon that, unfortunately, does not display in the font list in the Control panel (Figure 66b).
Figure 66b. You need to use the font list in the Font menu to see the icon that indicates which fonts are OpenType.
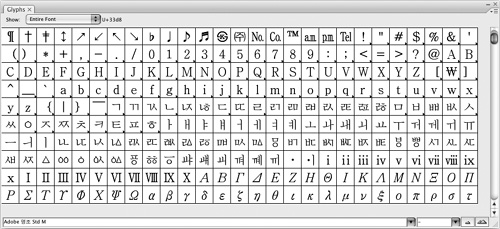
Many OpenType font sets use their capacity to include thousands of glyphs to incorporate multilingual font types. These multilingual fonts allow you, for example, to design a poster with text in Korean, English, Dutch, Vietnamese, Chinese, and Russian without changing font style (Figure 66c).
Figure 66c. Exploring multilingual OpenType fonts.
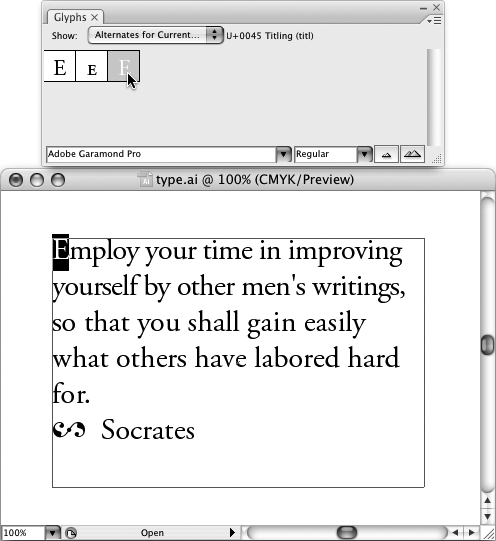
In addition to multilingual font support, OpenType font sets often provide alternate glyph options. For example, you can use one uppercase T in a font set at the beginning of paragraphs, another at the beginning of sentences, and a third version for capitalized words not at the beginning of a paragraph or sentence (Figure 66d).
Figure 66d. Choosing a special glyph.
#67. Outlining Type
When you share Illustrator files with other Illustrator designers or submit Illustrator files for embedding in publications, fonts do not necessarily travel with the file.
The safest way to preserve the look of your formatted text is to convert it to outlines. Outlined type becomes Illustrator paths. They are no longer editable type and cannot be edited with Type tools. But the converted text will appear exactly as you designed it in the target environment.
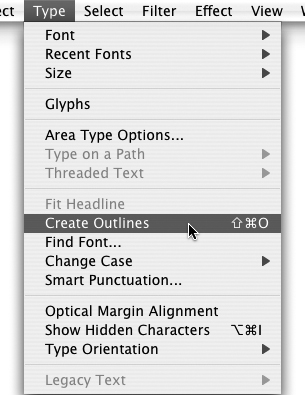
To convert type to an outline, select a text object and choose Type > Create Outlines. The result will be a group of paths (Figure 67).
Note
Outlining prevents you from editing type. It is often a good idea to save a separate version of a file with outlined type.
To move or edit individual paths within the group, ungroup the characters (Object > Ungroup).
If you do not outline type, the fonts available for assignment in Illustrator depend on the fonts installed on your system. And those fonts can be viewed on another computer only if the person looking at your Illustrator file has those same fonts installed on his or her system. That presents a problem when sharing Illustrator files or when sending illustrations to a printer.
If the person viewing your file does not have the fonts you used in your illustration, his or her system will substitute a different font or, worse yet, have trouble opening your file. If you’ve ever opened an Illustrator file from a collaborator and been prompted to OK a replacement font, you’ve seen this process in action from the receiving end. You can include (embed) required font types when you save a file, making them available to the person who opens that file.
Most typeface license agreements allow this. If they don’t, the typeface is not good for much because only you can see the fonts you assign. But you should check on what rights you have to embed fonts if you have purchased custom fonts.
When you save a file to Illustrator format, the Illustrator Options dialog defines how Illustrator will decide whether to save all the characters in the font sets used in your document or just a subset (some) of those characters. By default, Illustrator only saves a subset of the entire font sets used in your document. This minimizes file size and allows other designers to open your file without losing font display. If you do not want to save just a subset but instead save the entire set of characters in every font in your document, change the Subset Fonts When Percent Of Characters Used value to a very low percentage, like 1%.
#68. Formatting Paragraphs
Illustrator’s formatting options for paragraphs include a finely honed set of alignment options, along with left, first line left, and right indentation. You can also define a wide variety of tabs for paragraph text.
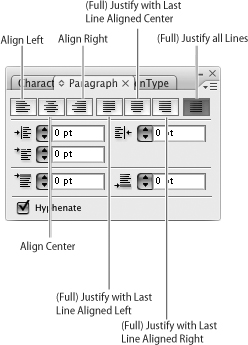
To left-, center-, or right-align a selected paragraph (or text object), click one of the three alignment tools in the Control panel. For more powerful control over alignment—and in particular for more control over full-justification options, you’ll need the Paragraph panel. Open the Paragraph panel by choosing Window > Type > Paragraph (Figure 68a).
Figure 68a. The Paragraph panel.
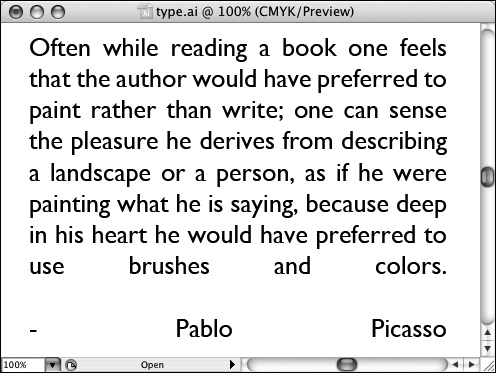
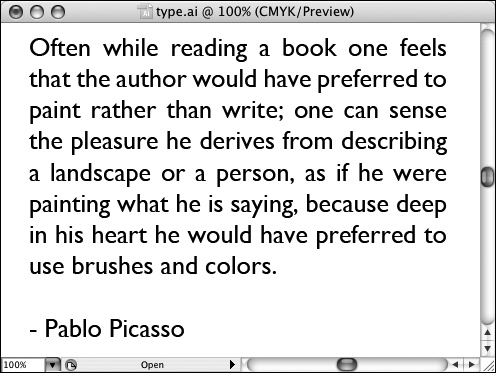
Full justification automatically stretches each line of type to extend to both (left and right) edges of a text object or column. Full justification is a widely used design tool for publications but sometimes creates awkward lines at the end of a paragraph when text is stretched too much (Figure 68b).
Figure 68b. Awkward spacing produced by full justification.
Illustrator CS introduced helpful new full-justification options that remain in CS3. The Justify Last Left, Justify Last Centered, and Justify Last Right options all assign full justification except to the last line of each paragraph, which is aligned at the left, center, or right. These options create more graceful full-justified columns of type (Figure 68c).
Figure 68c. Modifying full justification.
The Left Indent, First Line Left Indent, and Right Indent boxes in the Paragraph panel are intuitive. They are used to define spacing from the left or right edges of a text object.
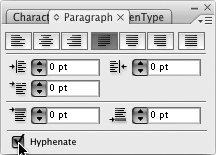
Options for setting paragraph spacing and hyphenation are available when you display options in the Paragraph panel (choose Show Options from the Panel menu).
The Space Before Paragraph box defines line spacing before the selected paragraph(s). The Space After Paragraph box defines line spacing after the selected paragraph(s). The Hyphenate check box turns on automatic hyphenation (Figure 68d).
Figure 68d. Turning on automatic hyphenation.
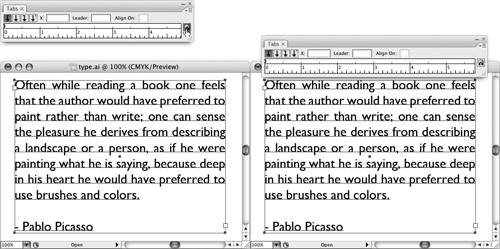
A separate Tabs panel is used to define tab settings for paragraphs. Choose Window > Type > Tabs to display this panel. Use the Tabs panel ruler to define tab locations. The panel (and thus the ruler) is resizable and can be aligned with selected text by clicking the Position Panel Above Text button on the right edge of the Tabs panel ruler (Figure 68e).
Figure 68e. Aligning the Tabs panel with a text box.
The Tabs panel ruler has four buttons to define the type of tab: Left-Justified, Center-Justified, Right-Justified, or Decimal-Justified. Select a type of tab and click the ruler to define the tab location.
The movable markers on the left edge of the ruler define first line indentation (the top marker) or paragraph indentation (the bottom marker). These options provide a graphical alternative to defining indentation in the Paragraph panel.
#69. Using Paragraph Styles
Paragraphs can, and often do, have several attributes: indentation, justification, tab settings, paragraph before and after spacing, and more. It’s very useful when managing documents with substantial amounts of type to define, apply, and then be able to revise sets of paragraph styles.
Note
For an explanation of character styles see #65, “Using Type Styles.”
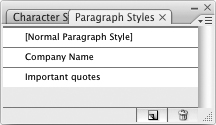
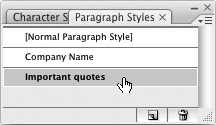
You save sets of paragraph attributes as paragraph styles in the Paragraph Styles panel. Display that panel by choosing Window > Type > Paragraph Styles (Figure 69a).
Figure 69a. The Paragraph Styles panel.
Define a paragraph style by first preparing a paragraph with all the style attributes you want to incorporate into the style. Then in the Paragraph Styles panel choose New Paragraph Style from the panel menu. Enter a name for your style in the Style Name box in the New Character Style dialog and click OK to preserve the style.
To apply a paragraph style, select a paragraph (by clicking anywhere in it with a Text tool) and click on the named style in the Paragraph Styles panel (Figure 69b).
Figure 69b. Applying a paragraph style.
When you change a paragraph style, the changes are applied to all paragraphs to which that style was applied. To edit a paragraph style, double-click on the style in the Paragraph Styles panel. The Paragraph Style Options dialog opens, displaying ten categories of formatting that can be defined (or edited) for the selected style (Figure 69c).
Figure 69c. Ten categories of style attributes in the Paragraph Style Options dialog.
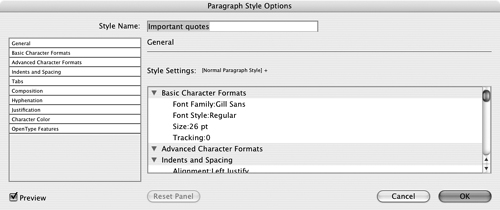
Choose from the categories of attributes and locate options for changing any formatting applied to the paragraph style. Edit formatting for any element of a paragraph style and then click OK. The new paragraph formatting attributes will be applied to all the text associated with the edited character style.
#70. Linking Type Objects
As you resize a type inserted at a point box, the type resizes to fit the box size. Not so with area type. If you make area type larger or a type box smaller, the type might not fit into the box. If that happens, a tiny plus (+) sign appears in the lower-right corner of the text object.
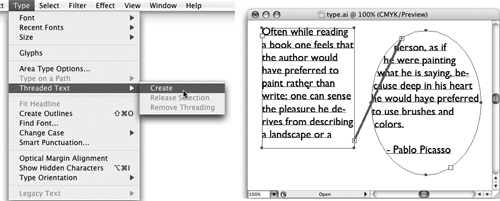
You can flow type from one text object to another. To flow type from one text object to another, follow these steps:
- Click the overflow icon at the bottom of a text object.
- Use any tool to create one or more additional closed paths or shapes.
- Use the Selection tool to select both the original text object and the new shapes.
- Select Type > Threaded Text > Create. Text flows from the text object into the new shapes (Figure 70).
Figure 70. Flowing type from a rectangular type box into an oval type box.
To flow text interactively into a newly created path, you can simply click on the plus sign (with a Selection tool). This changes the pointer to a text icon. Then you can either click on another closed path or shape to establish a link, or click and drag with the text cursor to create a new text object into which the overflow type will link.
#71. Flowing Type Around Paths
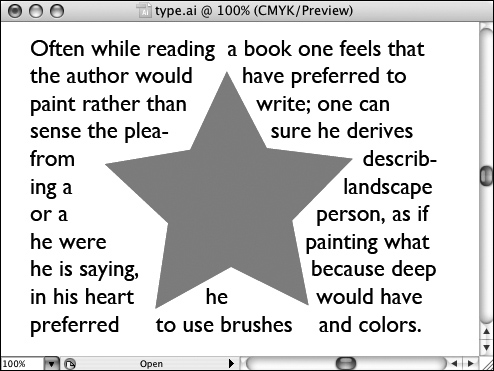
You can reshape any type box by editing the paths (the anchors) that define the type box. Area text objects are editable paths. That means you can edit the anchors and line segments that define a text object, and change how the type flows in a document. You can edit paths to create interesting type layouts, including flowing type around illustrations (Figure 71a).
Figure 71a. Flowing type around a path.
Sometimes, you will want to edit a type box (as described previously) to flow text around an object. But you can also take advantage of Illustrator’s feature for automatically wrapping text around an object. To automatically wrap text around an object, follow these steps:
- Place the object (like a vector illustration or a placed raster object) on top of the text. Select Object > Arrange > Bring to Front to be sure the artwork is on top of the type.
- Select the object around which the text will be wrapped. Then select Object > Text Wrap > Make.
- Fine-tune the wrap by choosing Object > Text Wrap > Options. In the Text Wrap Options dialog, adjust the buffer between the type and the object by changing the Offset value. Click the Preview check box to see the resulting wrap (Figure 71b).
Figure 71b. Previewing text wrap.
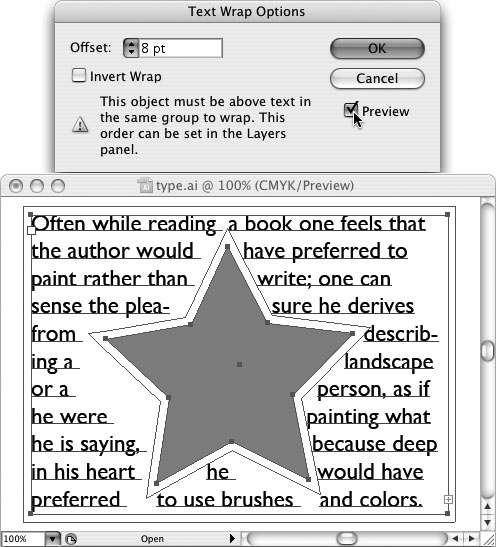
- When you refine the wrap, click OK.
Note
To release a text wrap, choose Object > Text Wrap > Release. This removes the wrapping attributes from the wrapping shape, and the text resumes its prewrap layout.
#72. Placing Type on Paths
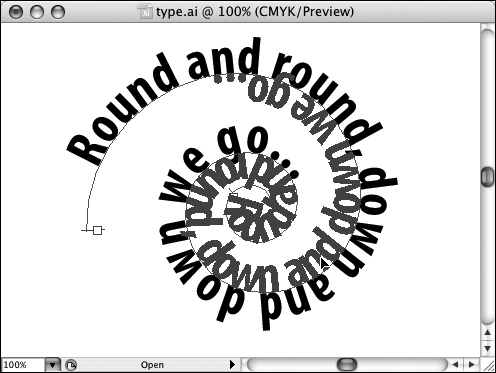
One of the more exciting things you can do with type is to align it on a path. Type aligned on a path is used for headlines, for poster art, and for other illustration projects with a small amount of type (Figure 72a).
Figure 72a. Type aligned to a path.
You place type on a path with the Path Type tool, following these steps:
- Create the path along which you will align type.
- Select the Type on Path tool from the Type tool gallery and click on the path to which you want to align type.
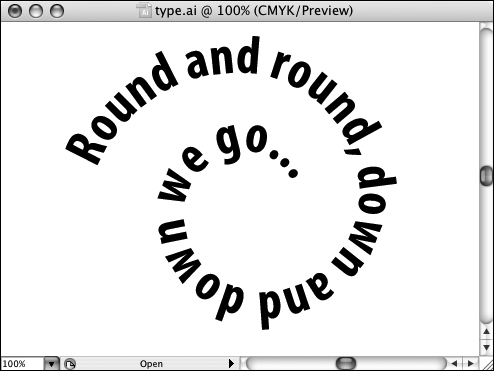
- Type (or paste) text. The text aligns to the path (Figure 72b).
Figure 72b. Typing along a path.
The path along which type is aligned can be edited.
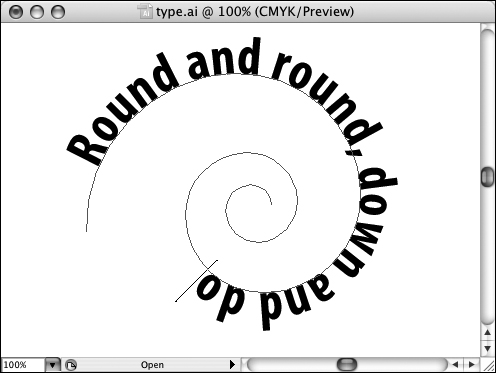
To adjust the placement of selected type on a path, use the Selection tool to drag the vertical bar cursor that appears at the beginning of the text to reposition the text (Figure 72c).
Figure 72c. Adjusting the placement of type on a path.
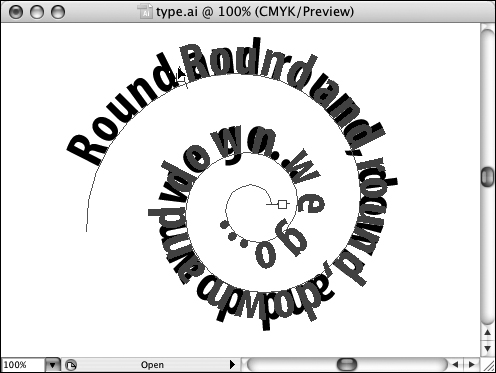
You can click and drag on the center vertical bar cursor that appears when the path text is selected to “flip” the orientation of the text on the path vertically (Figure 72d).
Figure 72d. Flipping text along a path.
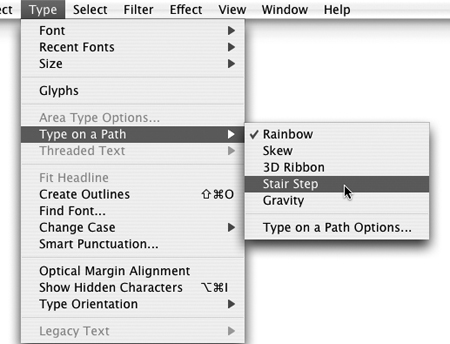
Illustrator CS3 has five options for controlling the flow of text on a path. With Path type selected, you adjust the alignment of type by choosing Type > Type on a Path and selecting one of the five options (Figure 72e).
Figure 72e. Five options for aligning type on a path.