
The full form of IDE is Integrated Development Environment.
IDE uses a Compiler to translate code in a simple language that the computer understands. Compiler is the program that reads all your code and translates your instructions to your microcontroller. In case of the Arduino IDE, it also verifies if your code is making sense to it or not. Arduino IDE is like your friend who helps you finish your homework, reviews it before you give it for submission, if there are any errors; it helps you identify them and resolve them.
I am sure by now things look too technical. You have been introduced to SO many new terms to learn and understand. The important thing here is not to forget to have fun while learning. Understanding how the IDE works is very useful when you are trying to modify or write your own code. If you make a mistake, it would tell you which line is giving you trouble. Isn't it cool?
The Arduino IDE also comes with loads of cool examples that you can plug and play. It also has a long list of libraries for you to access. Now let us learn how to get the library on to your computer. Ask an adult to help you with this section if you are unable to succeed.
Note
Make a note of the following answers in your inventor's notebook before downloading the IDE. Get your answers from google or ask an adult. What is an operating system? What is the name of the operating system running on your computer? What is the version of your current operating system? Is your operating system 32 bit or 64 bit? What is the name of the Arduino board that you have?
Now that we did our homework, let us start playing!
Let us now, go further and understand how to download something that's going to be our playground for the following chapters. I am sure you'd be eager to see the place you'll be working in for building new and interesting stuff!
For those of you wanting to learn and do everything my themselves, open any browser and search for Arduino IDE followed by the name of your operating system with 32 bits or 64 bits as learnt in the previous section. Click to download the latest version and install!
Else, the step-by-step instructions are here:
- Open your browser (Firefox, Chrome, Safari):

- Go to http://www.arduino.cc/ as shown in the following screenshot:

- Click on the Download section of the homepage, which is the third option from your left as shown in the following screenshot:

- From the options, locate the name of your operating system, click on the right version (32 bits or 64 bits) Then click on Just Download after the new page appears:

Note
Don't know whether your computer is 64 bits or 32 bits? Use the power of Google to find out! If your system is in fact 32 bits, you will not be able to run a 64-bit IDE on it; if you however have a 64-bit machine, you will still be able to run a 32-bit Arduino IDE on it. I would recommend to double check it and run the right version.
- After clicking on the desired link and saving the files, you should be able to double click on the Arduino icon and install the software. If you have managed to install successfully, you should see the following screens. If not, go back to step 1 and follow the procedure again. The next screenshot shows you how the program will look like when it is loading:

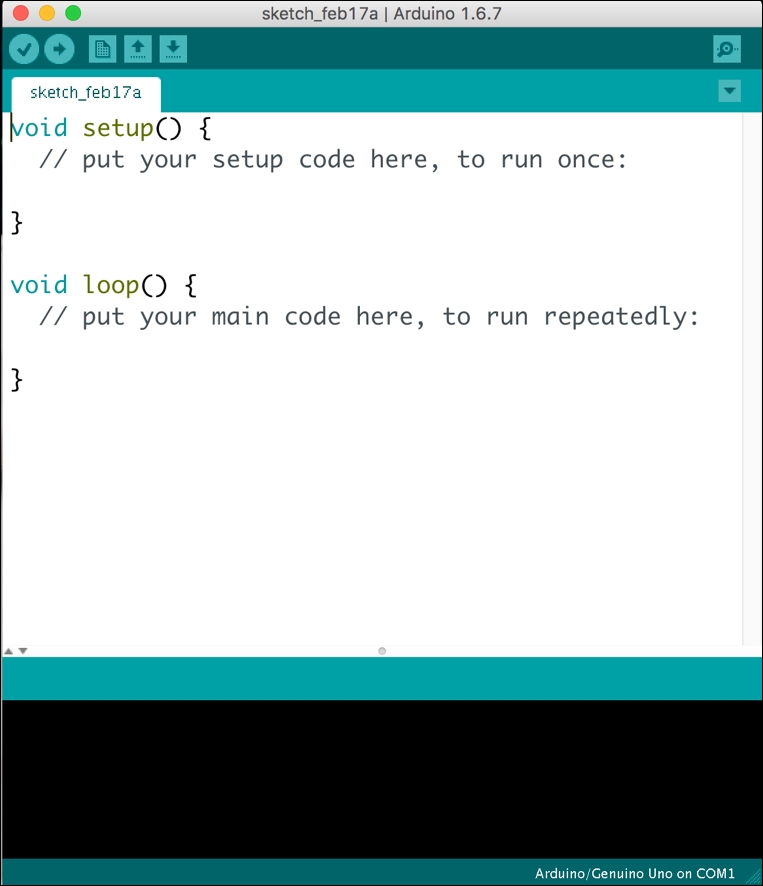
This is how the IDE looks when no code is written into it:
Your first program
Now that you have your IDE ready and open, it is time to start exploring. As promised before, the Arduino IDE comes with many examples, libraries, and helping tools to get curious minds such as you to get started soon. Let us now look at how you can access your first program via the Arduino IDE.
A large number of examples can be accessed in the File | Examples option as shown in the following screenshot:

Just like we all have nicknames in school, a program, written in in processing is called a sketch. Whenever you write any program for Arduino, it is important that you save your work. Programs written in processing are saved with the extension .ino.
The name ino is derived from the last 3 letters of the word ArduINO.
Now ask yourself why do so many extensions exist. An extension gives the computer, the address of the software which will open the file, so that when the contents are displayed, it makes sense.
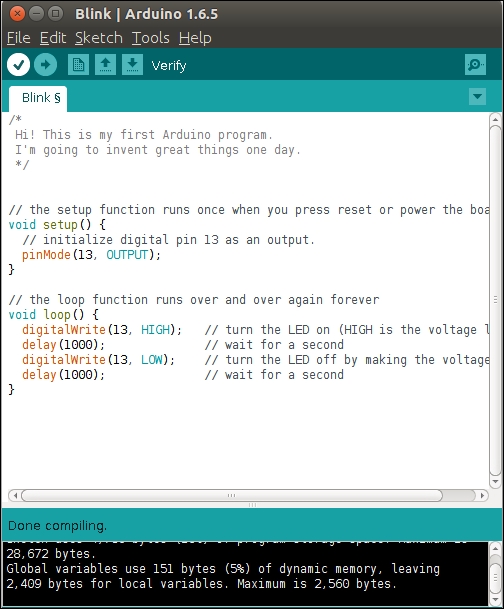
As we learnt above, that the program written in the Arduino IDE is called a sketch. Your first sketch is named 'blink'. What does it do? Well, it makes your Arduino blink! You will learn about the hardware in the next chapters, but for now, we can concentrate on the code.
Click on File | Examples | Basics | Blink. Refer to next image for this.

When you load an example sketch, this is how it would look like. In the following image you will be able to identify the structure of code, recall the meaning of functions and integers from the previous section.

We learnt that the Arduino IDE is a compiler too! After opening your first example, we can now learn how to document the steps while writing code, so that when we visit back our own code after a long while, we are able to easily understand the steps. The comments are for the human readability only, hence we can hide the information from the microcontroller by using symbols as following:
/* your text here*/
An alternative to this is as follows:
// your text here
Comments can also be individually inserted above lines of code, explaining the functions. It is good practice to write comments, as it would be useful when you are visiting back your old code to modify at a later date.
Try editing the contents of the comment section by spelling out your name. The following screenshot will show you how your edited code will look like.

Now that you have your first complete sketch in the IDE, how do you confirm that your micro-controller has understood exactly what to do?
You do this, by clicking on the easy to locate Verify button with a small ![]() .
.
f you see that the IDE displays the message Done compiling (as shown in the following image.) You have successfully written and verified your first code. If not, read the message that the IDE displays and search online to understand more.
Congratulations, you did it!
As we learnt, it is very important to save your work. We now learn the steps to make sure that your work does not get lost.
Now that you have your first code inside your IDE, click on File | SaveAs....
The following screenshot will show you how to save the sketch:

Give an appropriate name to your project file, and save it just like you would save your files from Paintbrush, or any other software that you use.
The file will be saved in a .ino format.
