
In this recipe we'll learn how to export a high-resolution image of the content being drawn on screen using the ci::gl::TileRender class. This can be very useful when creating graphics for print.
We'll start by creating a simple scene and drawing it on screen. Next, we'll code our example so that whenever the user presses any key, a save file dialog will appear and a high-resolution image will be saved to the specified path.
The TileRender class can create high resolution images from anything being drawn on screen using OpenGl calls.
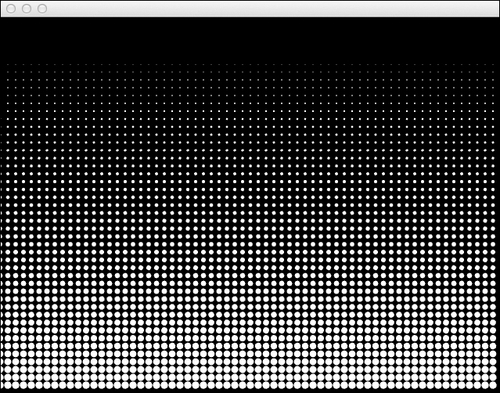
To save an image with TileRender we must first draw some content on screen. It can be anything but for this example let's create a nice simple pattern with circles to fill the screen.
In the implementation of your draw method write the following code:
void MyApp::draw()
{
  gl::clear( Color( 0, 0, 0 ) );
gl::color( Color::white() );
for( float i=0; i<getWindowWidth(); i+=10.0f ){
for( float j=0; j<getWindowHeight(); j += 10.0f ){
float radius = j * 0.01f;
gl::drawSolidCircle( Vec2f( i, j ), radius );
        }
    }
}
Remember that this could be anything that is drawn on screen using OpenGl.
We will use the ci::gl::TileRender class to generate high-resolution images of our OpenGL rendering.
- Include the necessary headers by adding the following at the top of the source file:
#include "cinder/gl/TileRender.h"
#include "cinder/ImageIo.h"
- Since we'll save a high-resolution image whenever the user presses any key, let's implement the
keyUpevent handler by declaring it in the class declaration.void keyUp( KeyEvent event );
- In the
keyUpimplementation we start by creating aci::gl::TileRenderobject and then set the width and height of the image we are going to create. We are going to set it to be four times the size of the application window. It can be of any size you want, just take in to account that if you don't respect the window's aspect ratio, the image will become stretched.gl::TileRender tileRender( getWindowWidth() * 4, getWindowHeight() * 4 );
- We must define our scene's
ModelviewandProjectionmatrices to match our window. If we are using only 2D graphics we can call the methodsetMatricesWindow, as follows:tileRender.setMatricesWindow( getWindowWidth(), getWindowHeight() );
To define the scene's
ModelviewandProjectionmatrices to match the window while drawing 3D content, it is necessary to call the methodsetMatricesWindowPersp:tileRender.setMatricesWindowPersp( getWindowWidth(), getWindowHeight() );
- Next we'll draw our scene each time a new tile is created by using the method
nextTile. When all the tiles have been created the method will returnfalse. We can create all the tiles by redrawing our scene in awhileloop while asking if there is a next tile, as follows:while( tileRender.nextTile() ){ draw(); } - Now that the scene is fully rendered in
TileRender, we must save it. Let's ask the user to indicate where to save by opening a save file dialog. It is mandatory to specify an extension for the image file as it will be used internally to define the image format.fs::path filePath = getSaveFilePath();
- We check if
filePathis not empty and write the tile render surface as an image using thewriteImagemethod.if( filePath.empty() == false ){ writeImage( filePath, tileRender.getSurface() ); } - After saving the image it is necessary to redefine the window's
ModelviewandProjectionmatrices. If drawing in 2D you can set the matrices to their default values by using the methodsetMatricesWindowwith the window's dimensions, as follows:gl::setMatricesWindow( getWindowWidth(), getWindowHeight() );
The ci::gl::TileRender class makes it possible to generate high-resolution versions of our rendering by scaling individual portions of our drawing to the entire size of the window and storing them as ci::Surface. After the entire scene has been stored in individual portions it is stitched together as tiles to form a single high-resolution ci::Surface, which can then be saved as an image.