Enabling and Creating a Site
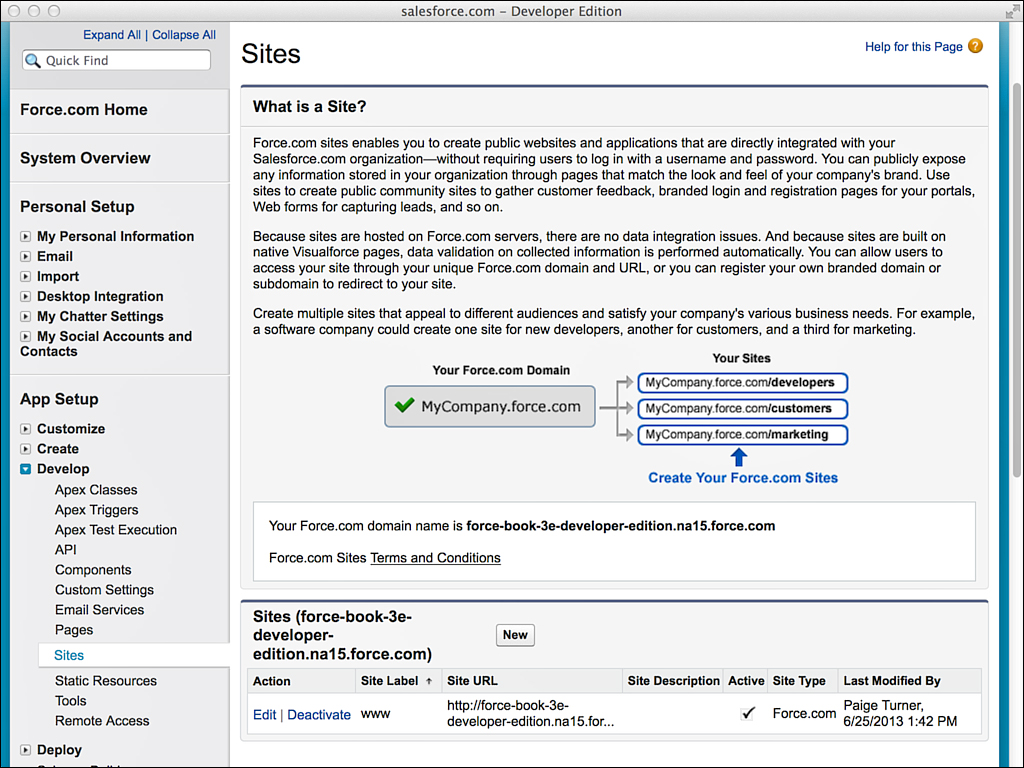
To enable Force.com Sites for the first time in your organization, go to the App Setup area and click Develop, Sites. You should see the screen shown in Figure 7.2.
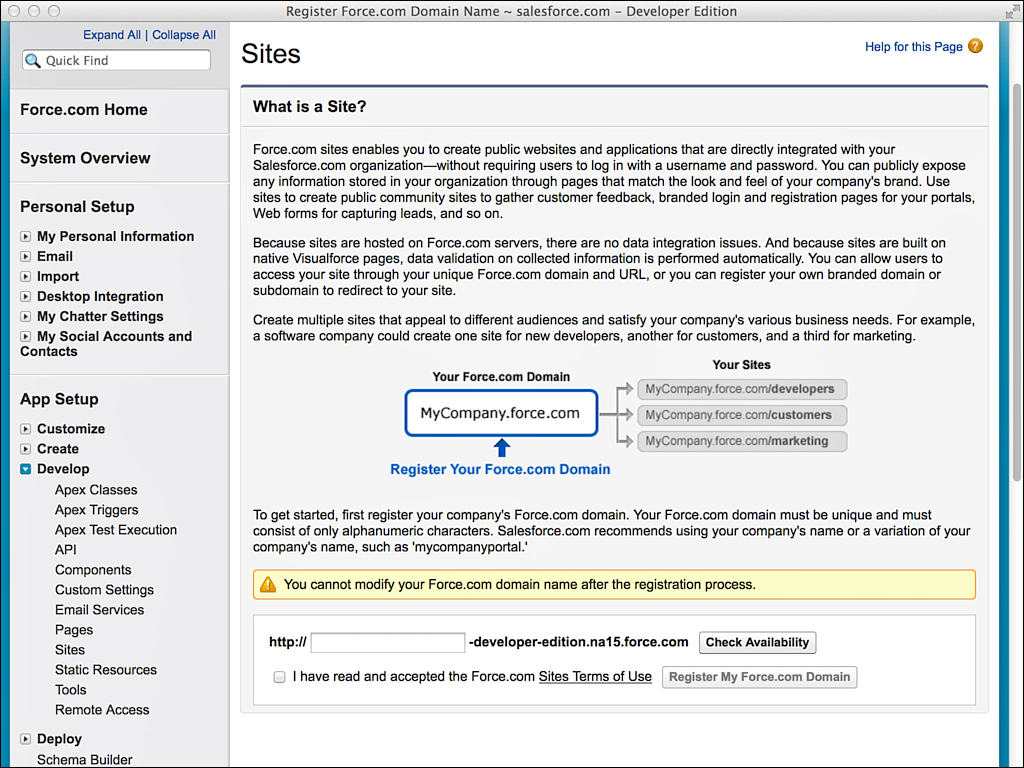
You must pick a Force.com domain name to continue. A domain name provides a unique, root address for all of your sites. You can remap this address to your own brand-name address (not Force.com) by configuring a CNAME alias on your domain hosting provider.
Enter your domain name, select the box to indicate that you’ve read the terms of use, and click the Check Availability button. After your domain name has been accepted, you can define your first site. Adding a site also creates a number of sample components, pages, and controllers in your organization.
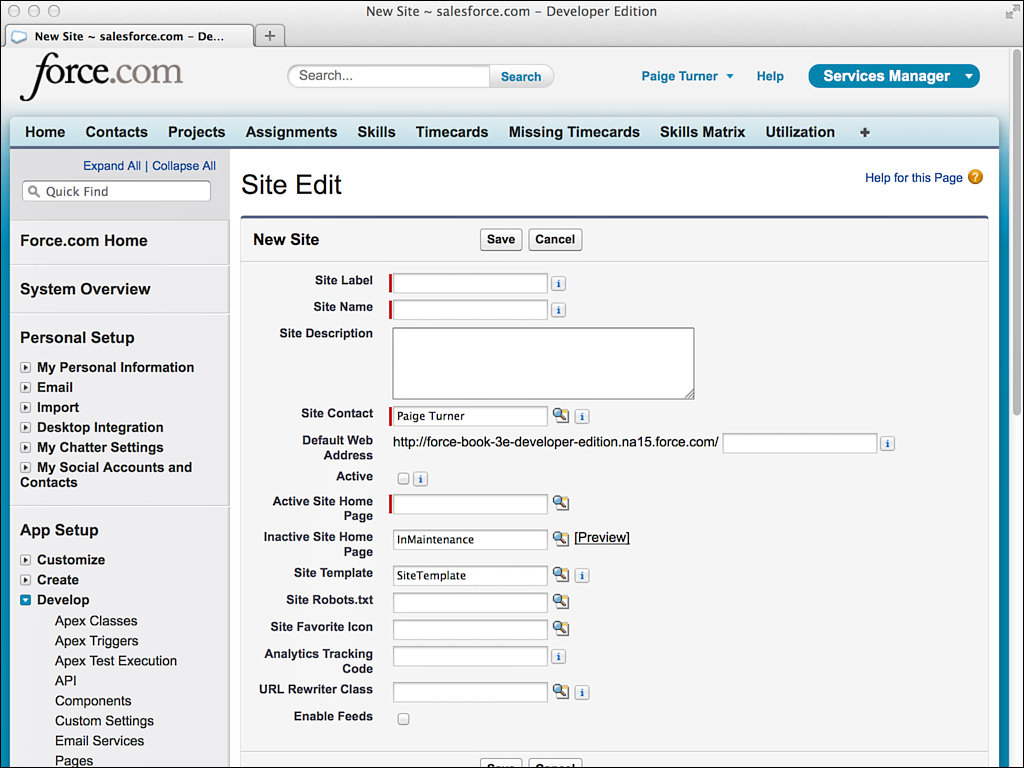
To create a site, go to the App Setup area; click Develop, Sites; then click the New button. You should see a page like Figure 7.3. Provide a label and name for the site, such as www. The label is shown in the list of sites and clicking on it allows you to edit the site’s properties. Set the Active Site Home Page setting to UnderConstruction. This is a standard placeholder page provided with Force.com to let visitors know that the site is not available yet.
After your first site is defined, the main Sites page should look as shown in Figure 7.4.