
Beginning a Painting
Template line drawings of each animal are provided with most of the demonstrations in this book. You can use these templates or create your own sketches.
TRANSFERRING YOUR SKETCH
Whether you use the template or a sketch of your own, use a piece of tracing paper and a fine-point black marker to trace the image.
You can enlarge or reduce the size of the image to fit your panel with a copy machine or an opaque projector. If you use a photocopy, blacken the back of the copy with a no. 2 pencil, then tape the copy to your panel and trace the image with a pencil. You’ll need to bear down with a fair amount of pressure, but this should result in transferring the graphite from the back of your photocopy onto the panel. Lift the tracing or copy paper occasionally to make sure you are pressing down hard enough and are getting the complete image. If your tracing comes out too dark (so that it will show through the paint), use a kneaded eraser to lighten it.
If you use an opaque projector, you can trace the sketch directly onto the panel from the projected image. This is a little more difficult than you might think, since you have to stand to one side so you don’t block the light from the projector.
DOING AN UNDERPAINTING
Once you have a pencil sketch on your panel, you are ready to do the underpainting. Neutral colors such as Burnt Umber or Payne’s Gray, thinned with water, are good for this. As a rule of thumb, use Burnt Umber for brown or warm-colored animals—such as a chestnut horse—and Payne’s Gray for gray, black or white animals—such as a dalmatian.
Squeeze out some of the underpainting color onto your palette, then mix it with a small amount of the water on the palette’s surface. You want the paint to be thin but not too runny. Begin to paint, not worrying much about detail at this point. Just establish the main lines and the lights and darks. The purpose of the underpainting is to give you a rough guide to go by when you begin painting in full color.
GENERAL STEPS FOR COMPLETING THE PAINTING
Once you have finished the underpainting, you are ready to apply the darkest value colors. This is followed by the middle value and then the lightest value colors. You will start with a small amount of detail, building upon this and adding more detail with each step. Doing a realistic painting is basically a process of refining as you go along and building upon what you’ve already done. In the final step, you will paint the finishing details.
THICKNESS OF THE PAINT
When painting with acrylics, use just enough water so that the paint flows easily. You will usually need to apply two to three layers to cover an area adequately. Since the paint dries so quickly, this is easily accomplished. In general, shadows are painted fairly thin, while highlighted areas benefit from a little more thickness, which makes them stand out.
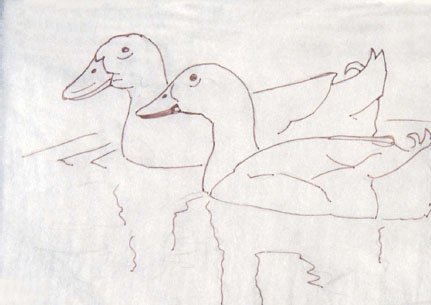
Transferring Your Sketch
With homemade carbon paper positioned underneath, the sketch is easily traced onto the panel.
Make Your Own Carbon Paper
Make your own carbon paper by blackening the back of a blank piece of tracing paper with a no. 2 pencil. You can use this homemade carbon paper over and over.