
When working on large projects, it's important to keep all of your content organized. With that in mind, it's a good idea to keep your levels organized as well. In this section, we will learn how we can use Groups to make your life easier. This will allow you to easily manage multiple Actors at once.
This recipe assumes that you have a project open with a level created. I have provided a sample level that will be used for this demonstration (ModernHouseBase). It is included in the Example Code that you can access from Packt's website at http://www.packtpub.com. If you are not familiar with building levels, feel free to follow the instructions for the Building a Room recipe from Chapter 2, Level Design – Building Out Levels or Greyboxing.
Let's see just how easy it is to create a group:
- The first group we are going to make is for the second floor of our house. With that in mind, go back to the four viewport view by clicking on the top-right minimize button.
- From the Front (also seen as World Outliner in future version of UE4) viewport, click and drag from the top-left of the house to the floor of the second floor/ceiling of the first floor. Once finished, hold the Shift button and select any items you may have missed in either the viewport or in Scene Outliner (also seen as World Outliner in future version of UE4), and remove the two brushes used for the fireplace as well as particle systems.

Selecting items on the second floor
- With the items you want to create selected, right-click and select Group or press Ctrl + G.
- Now deselect the items and then click on one of them again. You'll notice now that all of the objects are selected if you select any of the items.
When you create a
Group, an object of theGroupActortype is created inside the Scene Outliner (in our case, it’s namedGroupActor5, but it may be a different number in your case). Just like selecting any of the objects in the group, selecting theGroupActorobject will automatically select all of the others as well.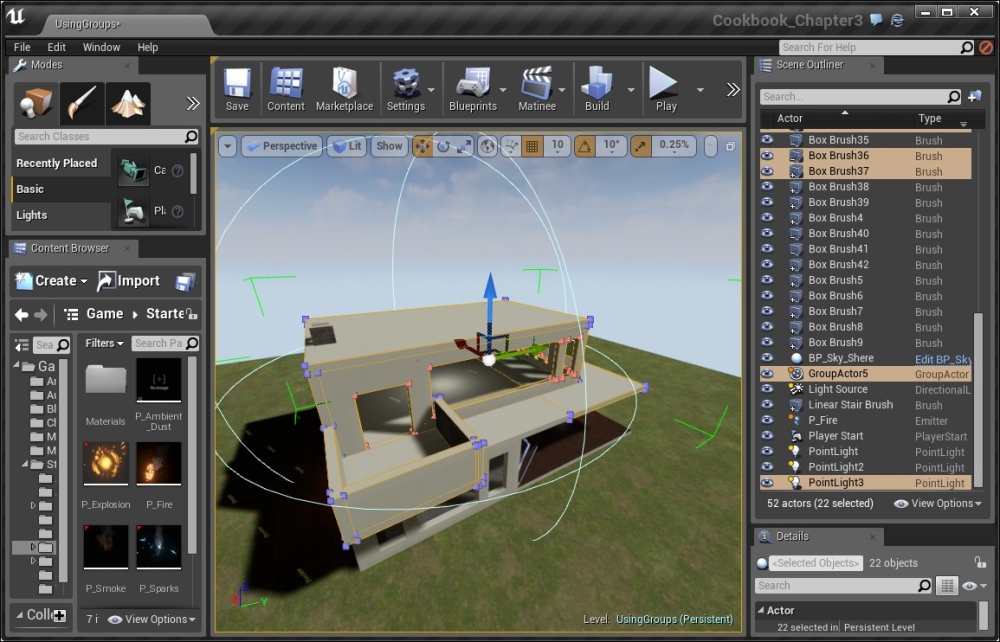
- One of the useful properties of having a group is that you can hide the meshes by hitting the H key or pressing the eye icon to the right of the actor's name in the Scene Outliner or by right-clicking and navigating to Visibility | Hide Selected.
- Another thing that you can do to make it easier to tell which group objects are attached is to rename the objects as the name of our group. To do this, go to the Details tab and select those brushes. Then, at the top, change the name of the objects to
2nd Storyby either double-clicking on the name in the Scene Outliner tab or selecting the object/objects in it. After that, press F2 and edit the name. You can also rename the objects via the Details tab at the top: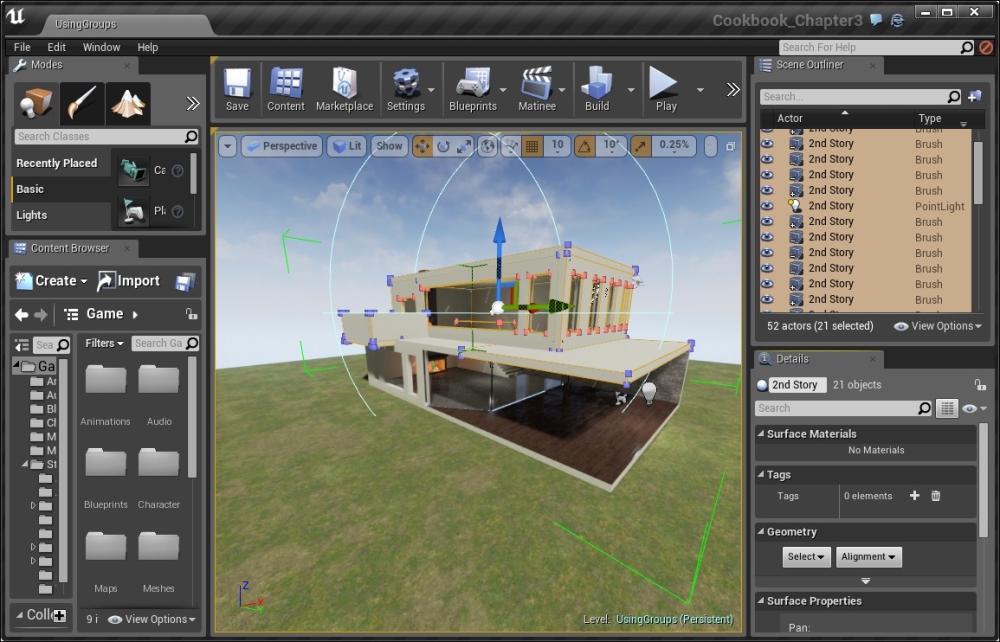
Renaming objects as name of a group
With this, we now have a good foundation of how we can use Groups to make our levels nicer!
Note
For more information on Grouping, refer to https://docs.unrealengine.com/latest/INT/Engine/Actors/Grouping/index.html.
Alternatively, you may also create a folder in the Scene Outliner tab and put levels inside that. That way you can organize scene contents in whichever way you'd like.