For our first Blueprint, let's make use of the Level Blueprint system to create a simple action of a flickering light. Often a staple of horror games, lights that flicker can cause fear in players of not being able to see certain things for a random period of time.
Before we start working within the Unreal Editor, we will need to have a project to work with:
- Open up the Unreal Editor by clicking on the Launch button from the Unreal Engine Launcher.
- Start a new project from the Project Browser tab by selecting the New Project tab. Select First person and make sure that With Starter Content is selected and give the project a Name (
Cookbook_Chapter8). Once you are finished, click on Create Project. - After the project is opened, go to the
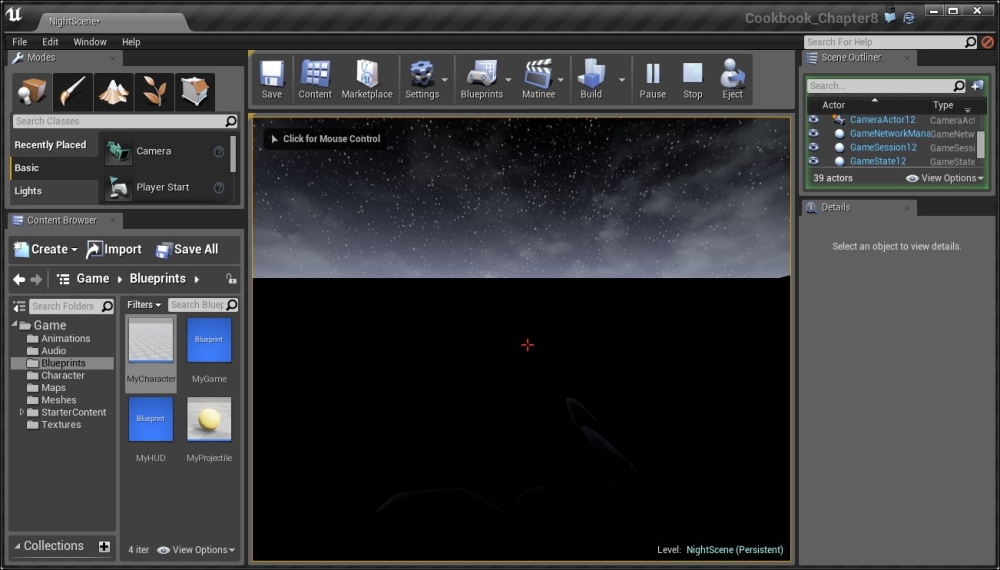
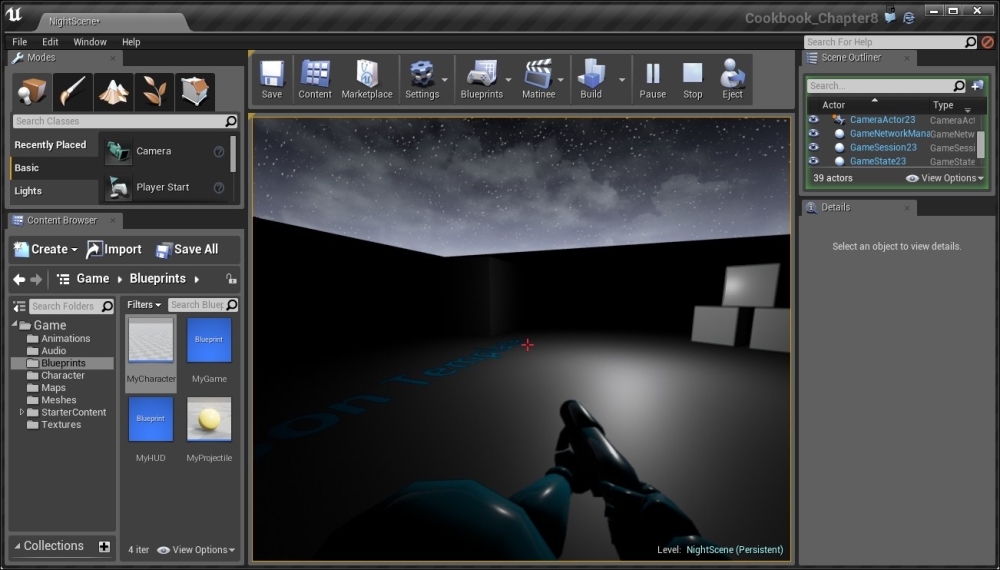
Example Codefolder, drag and drop the NightScene map provided into your project folder and open it:
In the middle of the map, you'll notice that there is a light. We're going to make this randomly start to flicker for a time:
- For a light to change and work correctly with lighting, the first thing we will need to do is change its Mobility to Movable on the far right. While this may imply the object will move, this is also a way of saying we want the ability to make properties (such as the Light's Intensity) modifiable while the game is running.
- After this, move down and under Light, notice the value of the Intensity property. Note that when modified, it makes the light brighter or darker.
- Click on PointLight to select it and then from the top panel, go to Blueprints | Open Level Blueprint.

This panel consists of a number of parts that will look familiar to those who have worked with UE3's Kismet system. The EventGraph on the right-hand side will contain the events and functions (which I'll sometimes also refer to as actions), which are called inside the game. Think of this in terms of when something happens (the events), we will do something (the functions).
- From here, when we right-click within the main graph area in the center of the Event Graph tab, we will see a context menu pop up. In the search bar, search for
Begin Playand select the Event Begin Play event. This event occurs whenever the game starts, so as soon as the player is spawned, whatever functions are called from it, will happen.
Adding the Event Begin Play event to the level blueprint
- Next, we want to modify the light. To do this, we will right-click and select Create a Reference to PointLight.
This will create a variable that is a reference to the object in the scene. We can use this variable in the function's parameters.
- Click and drag the blue wire from the right-side of the point light and drag out to place a new node. The menu that pops up will only show the actions, which can use the point light. From here, type in
Intensityand select the Set Intensity (Light Component) function. - After this, connect the output (white arrow on the right-hand side) of the Event Begin Play node to the input of the Set Intensity function.

Connecting the output of the Event Begin Play node to the input of the Set Intensity function
You'll notice that the function (note the fancy f icon on the left-hand side) has two properties, the Target and the New Intensity. This will change the PointLight (Target) to whatever the value on New Intensity is.
- Click on the Compile button to commit our changes and then, back in the editor, hit the Play button.
Starting the game after compiling
You'll notice that now the world is pitch black. This is because the value of Set Intensity is now set to
0. If you have the Level Blueprint window open and then hit the Play button again, you'll actually see the action being executed:
Execution in the level blueprint
- Of course, we don't want it to be set to 0. We want it to flicker with random values, so let's create a new variable to be our new intensity. Drag out from the New Intensity arrow toward the left, and you'll see a number of different functions that return a float value. In the search bar, look for
Randomand from the list, select Random Float in Range. Under Max, put in 2000.
Setting a random intensity in the level blueprint
Note
To move around the Level Blueprint's Event Graph window, right-click and hold, then drag. To zoom in and out, use the mouse wheel. To drag individual elements around left-click and drag them. For more hotkeys and information on moving around Blueprints, refer to https://docs.unrealengine.com/latest/INT/Engine/Blueprints/UserGuide/CheatSheet/index.html.
Now if you were to play the game, you should notice that the light has a different brightness every time we play it. However, if we want the light to flicker, we should change the intensity value a lot of times as long as the game is running.
- To the right of the Set Intensity function, right-click and create a Delay function node. Then, connect the exec output of Set Intensity to the input (left-hand side) of the Delay action. Then connect the Completed output to the input of the Set Intensity function.

Creating a loop for the Set Intensity function to be called every 0.2 seconds
This is effectively creating a loop, causing the Set Intensity function to be called after every
.2seconds. If you hit the play button to see the actions executed, you'll notice that the actions are continuously happening, and in the game, you'll see that the values are indeed changing, but we notice that it will always change at a fixed rate which is predictable. A flickering light would be nicer to not be as static in terms of when the value changes so players are unsure as to when it will happen.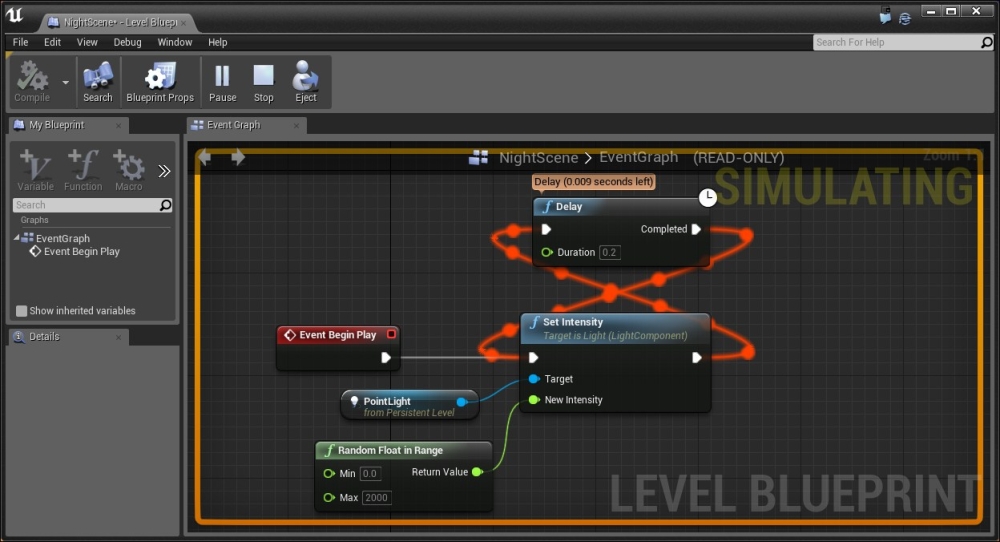
Executing the flickering effect
- For the sake of readability, move the Delay action to the right of the Set Intensity function. Doing the same steps as before, create another Random Float in Range for the Delay action's Duration variable with a value between
0and0.2. - When working on scripting like this, it is also a good idea to comment your code. This will help people looking at your code (including your future self) to find things more easily.
- To do this, do a marquee selection around the entire blueprint by clicking slightly on the top-left of the Event Begin Play action. Then, drag to the right and down until all of the actions are selected and right-click on one of the functions. From here, select Create Comment from Selection. Name the box that was created,
Flashing Light, and press Enter.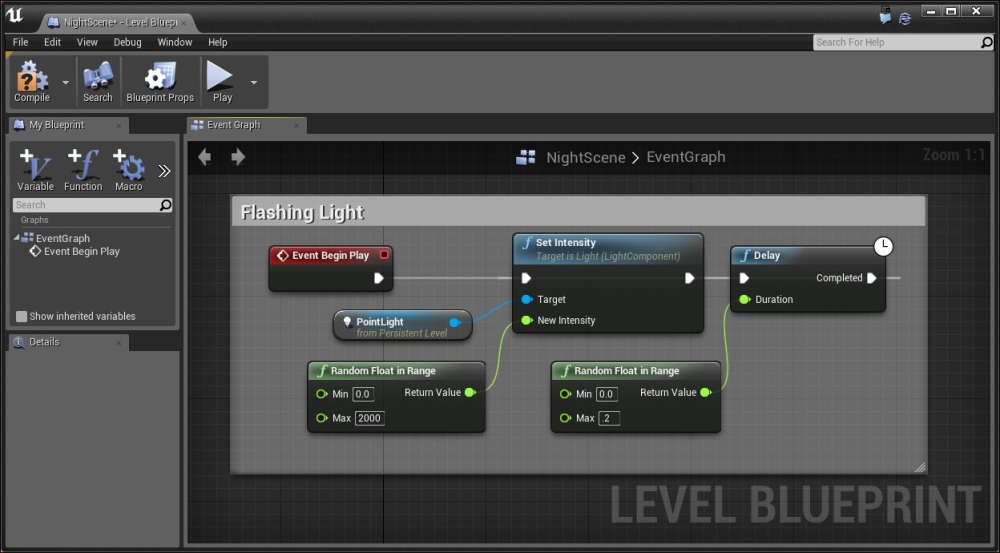
Adding comments to the script
- Save your level and hit the Play button!
With that, our flickering light is working correctly and it's looking good!