Of course, there are many other things that we can do inside Blueprints instead of flickering a light. Another example would be to open a door when we get near it making use of Matinee.
Before we start working within the Unreal Editor, we will need to have a project to work with which contains the Starter Content that Epic provides. After the project is opened, go to the Example Code folder and drag and drop the HouseExample map provided into your project folder and open it.

In order to have our doors open, we will want them to be animated. To do this, we will use Unreal's Matinee system:
- Select both doors and ensure that the Mobility section is set to Movable. If this is not done, you may have errors in Matinee when we say we want to move them.
Currently, our doors do not have collision. Let's fix this by looking at the common reasons for why things cannot be working correctly.
- Back in the Details tab, go into Collision and note that Collision Presets is set to BlockAll. This means that if the object has collision data, anything will collide with it.
- The key thing to note is that the object will only collide if there is collision data. Let's check this now. Scroll up to the Static Mesh component and double-click on the door to open up the Static Mesh Editor.

Opening the Static Mesh Editor
Inside this editor, you can modify any properties that are part of this mesh, including the materials used and the way it reacts to shadows.
Note
For more information on the Static Mesh Editor, refer to https://docs.unrealengine.com/latest/INT/Engine/Content/Types/StaticMeshes/Editor/index.html.
- There's currently no collision on this object, so let's add it. Go to Collision and select Add Box Simplified Collision, and with that, you'll notice that there are green lines over the edge, which is correct enough for a simple model like this.
- Click on the Save button and exit the Static Mesh Editor.
Now, if we play the game, you'll notice that we can no longer walk through it!

Playing the game after adding collision to it
- Now that the doors are ready, let's learn how to animate them. From the main toolbar, navigate to Matinee | Add Matinee.

Opening up the Matinee Editor
Once this is created, there is a new Actor added to our SceneOutliner called
MatineeActor1, and the Matinee Editor opens up.Note
For information on the Matinee Editor and what each section is for, refer to https://docs.unrealengine.com/latest/INT/Engine/Matinee/UI/index.html.
- Back in the main editor, click on the left door and then open up the Matinee Window again. From the Tracks tab, right-click and select Add New Empty Group and give it a name—
Door1. Once this is created, right-click on Door1 and select Add New Movement Track.This is letting Matinee know that we want to modify the movement (position, rotation, and scale) of the door object during our animation. It's also worthwhile to note that if the door is not a moveable object, Unreal will automatically change it to one at this point.
- Next, we want to do the same thing with the right door. Select it in the main editor and then back in the Matinee Editor, right-click and create a new group with a movement track.

Adding the movement track
Animations are done in terms of keyframes. You can already see one created on each Movement track with those red triangles. This current animation lasts for 5 seconds (which you can see with the 5.00 value where the edges are). Use the mouse wheel to zoom in and out).
- Click on the gray area where the time is to show a spot on the timeline. Move it to around
1.5seconds. Then, select each Movement track individually and click on Add Key on the top-left (or press Enter). To see the animation with the playback system, also move the green highlighted timeline to 1.5 seconds.
Setting a new keyframe at 1.5 seconds
This is stating that in 1.5 seconds, I want these objects to be somewhere else and I want the computer to intelligently move between the two values (also known as a tween).
- Now, select the key on the Door1 Movement and move back into the game. Switch to the Rotation tool (E) and then rotate the door to open
120degrees.
Rotating a door
- Next, select the key on Door2 and do the same in the other direction. If you move the timebar between the two keys, you should notice that it parts way between opening the door.

Rotating the other door
- When our Matinee is completed, close the editor.
We now want this animation to play whenever we get near the door, so with that in mind, we can use Box Trigger to detect when we are near.
A trigger is something that detects collision, but unlike other things, with collider, it does not attempt to block the player from entering it. This is used often in games for the events that happen when something enters an area. If you've played a first person shooter, you may notice a trigger being used whenever you see a group of enemies spawning to attack the player because you entered an area.
- Go to the Modes tab and then select Basic and drag and drop Box Trigger into the scene where the door is. Scale and translate it until it covers the door and the space ahead and behind it.
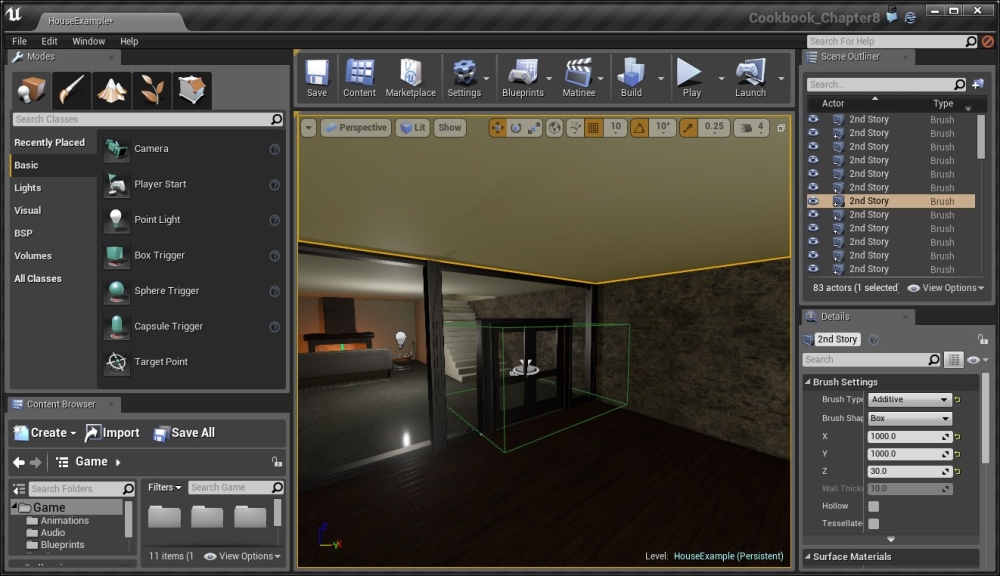
Setting a box trigger at the doors
- In the Scene Outliner tab, select our
TriggerBoxactor and scroll down to Blueprint. From here, select Add Level Events for TriggerBox and from the popup, select Add OnActorBeginOverlap. This will be called whenever our TriggerBox has been overlapped by another object. - While we are here, also add an event for OnActorEndOverlap.
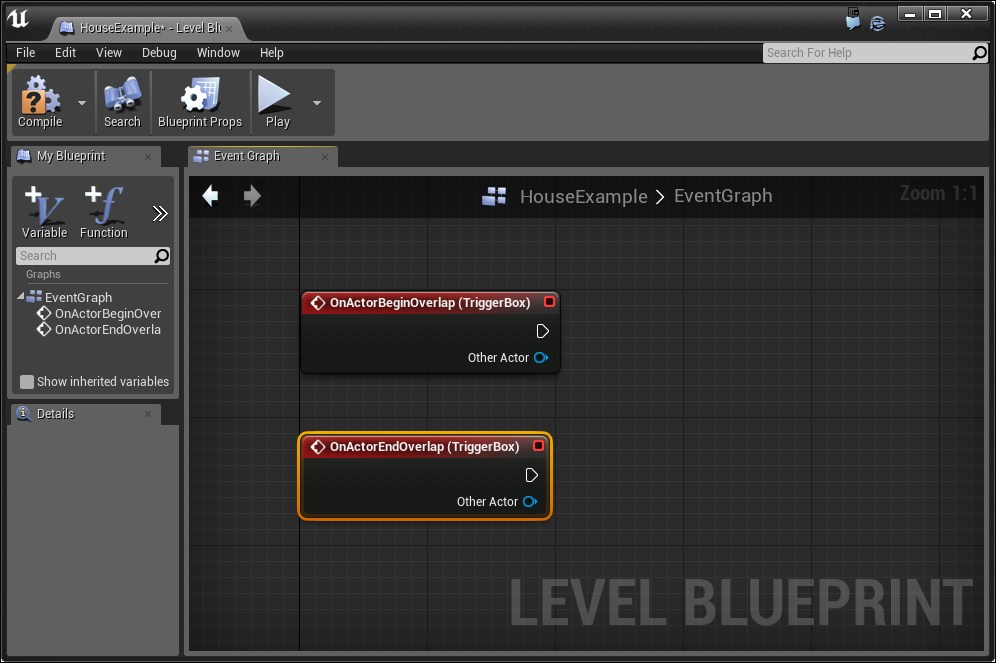
- We want to play our Matinee when we collide with the trigger, so from the Scene Outliner tab, go to
MatineeActorand drag and drop it into the Blueprints window. Then, drag from its blue line to bring up the possible functions that use it and search for Play. Connect the output from BeginOverlap to the input of Play. - With that in mind, extend from the Matinee actor once again and search for Reverse. Connect the output from EndOverlap to the input of Reverse.

- Hit the Compile button and play the game.

With this, you have learned to use Triggers to modify things that happen in the game!
Note
For simple animations, such as the one done here, it's also possible to make use of UE4's Timelines. For a tutorial on that, visit https://docs.unrealengine.com/latest/INT/Engine/Blueprints/UserGuide/Timelines/Examples/OpeningDoors/index.html.
For additional examples on how to use Matinee to do different things, refer to https://docs.unrealengine.com/latest/INT/Engine/Matinee/HowTo/index.html.