
Once we have our level at a point where it needs to be polished, one of the first things we can do is add meshes to decorate the level and make it feel more lived in. It's actually quite simple to do, so let's get started!
This recipe assumes that you have a project open with the Sample Assets included as well as a room created with Geometry Brushes (BSP). I have provided a sample level that will be used for this demonstration (ModernHouseBase), which is included in the Example Code that you can access from Packt's website at http://www.packtpub.com. If you are not familiar with building levels using BSP, feel free to follow the instructions for the Building a Room recipe from Chapter 2, Level Design – Building Out Levels or Greyboxing.
To open up the level files, create a new project with Starter Content included and then move the Maps folder (or just the .umap file) into your project's Content folder. You can easily access this folder from the Unreal Editor by going to the Content Browser tab and then right-clicking on the Game folder and selecting Open with Explorer.

Now that we have our level open, let's start off by placing a single static mesh into our level:
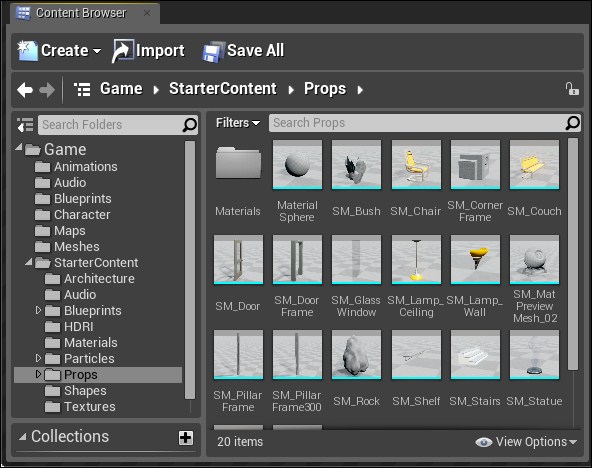
- Open the Content Browser tab. We first need to find the mesh that we want to use. If you have Starter Content added, the meshes are located in the
StarterContentPropsfolder.With the folder open, you'll see a preview of all of the meshes that you can work with, with a light blue border around them.
Note
You can modify the size of the images by going to View Options and modifying the Scale slider. There are a number of other options that you can use as well to customize the Content Browser tab to your liking, such as changing View Type of the contents from the default Tiles to List or Columns.
For more information on customizing the Content Browser UI, refer to https://docs.unrealengine.com/latest/INT/Engine/Content/Browser/UI/index.html.
- Click on the
SM_Chairmesh and then drag it into the level on the wooden floor of our level. Once here, release it to place the mesh into the world.
Placing a chair mesh on the level's floor
- Let's add one more mesh to our level in another way. Select the
SM_TableRoundobject in the Content Browser tab and then right-click inside the level, near the table. From here, go to Place Actor | SM_TableRound.
With this, we've learned two ways to add a static mesh to our level!
Note that just like working with brushes, whenever an object is selected, the Details panel will fill itself with information about the actor that was added. From here, we can modify the Scale, Location, and Rotation values of the added meshes and can also change the Mobility of that mesh from Static to Moveable, which we will use later.