
Now that we have some hills going on, let's add some holes, making use of an additional tool, the Flatten tool.
You will need to have a landscape created for this recipe. If you need assistance with this, check out the Creating a landscape recipe earlier in this chapter.
With the knowledge of how to start a workflow, we can now apply that by quickly creating a level!
- In the Landscape Mode tab, click on the Sculpt tool tab and select the Flatten tool.
- Check the Flatten Target selection and put in
-100. By default, the Flatten tool will flatten to the middle of the map, but this allows us to pick a new position for it to go to. - Next, we want to increase Tool Strength to
.8to make it easier to dig out the river by clicking and dragging around wherever we want water to be placed.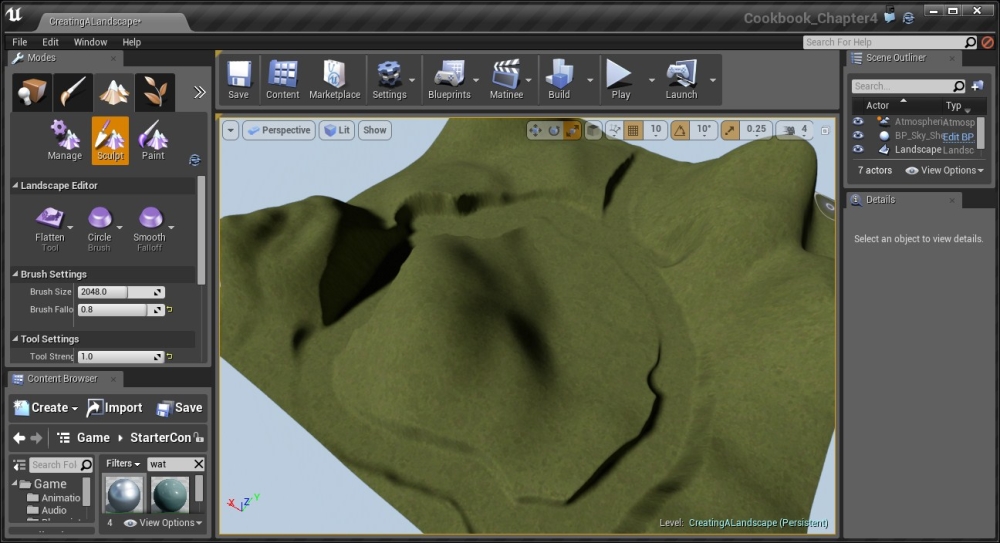
Note
There are a lot of other sculpting tools that can be used for other own purposes, but we don't have enough room to cover them all. For more information on all of the Sculpt mode tools, refer to https://docs.unrealengine.com/latest/INT/Engine/Landscape/Editing/SculptMode/index.html.
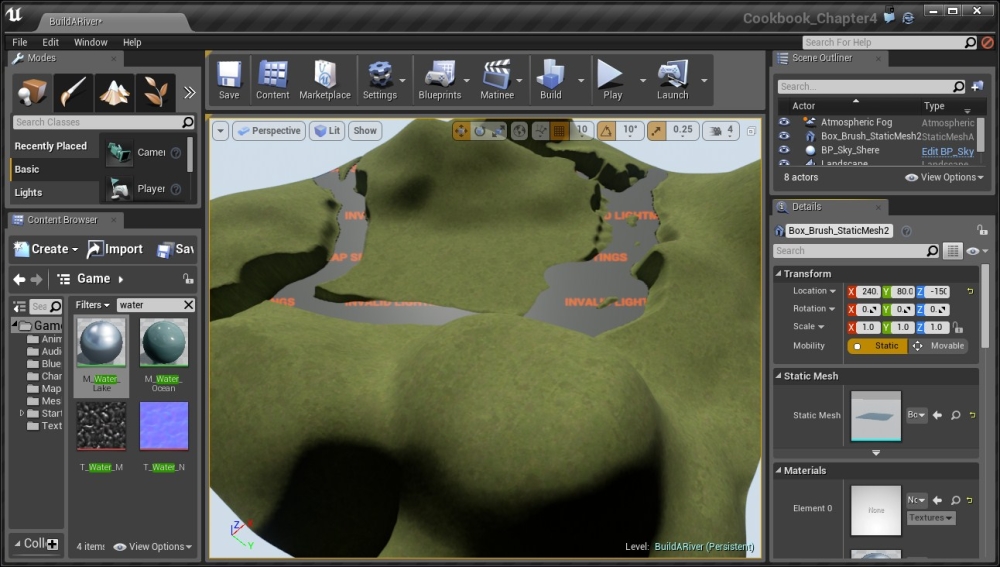
- Now that we have the ground for the river to be placed, we need to get our water placed in the world. In the Modes tab, select the Place mode and drag and drop a BSP
Boxobject into the world. Under the X and Y axis, set the size to50000, just like our terrain, and shift it so that it is centered in the world, being above the water but below our normal terrain. - Then, go to the
Materialsfolder and drag and drop theM_Water_Lakematerial to the Details tab under the Element 0 property of Surface Materials.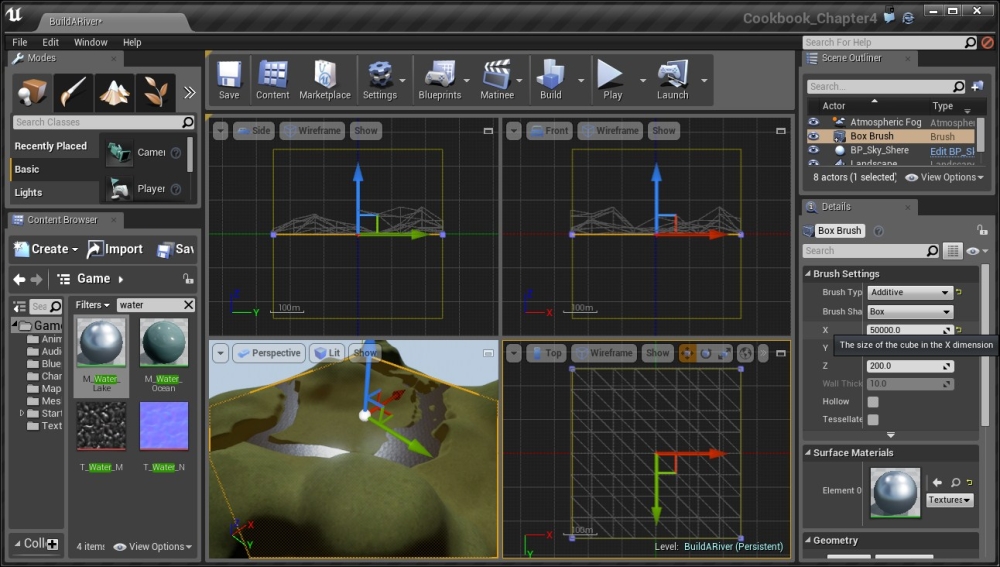
- Play the game and move over the water.
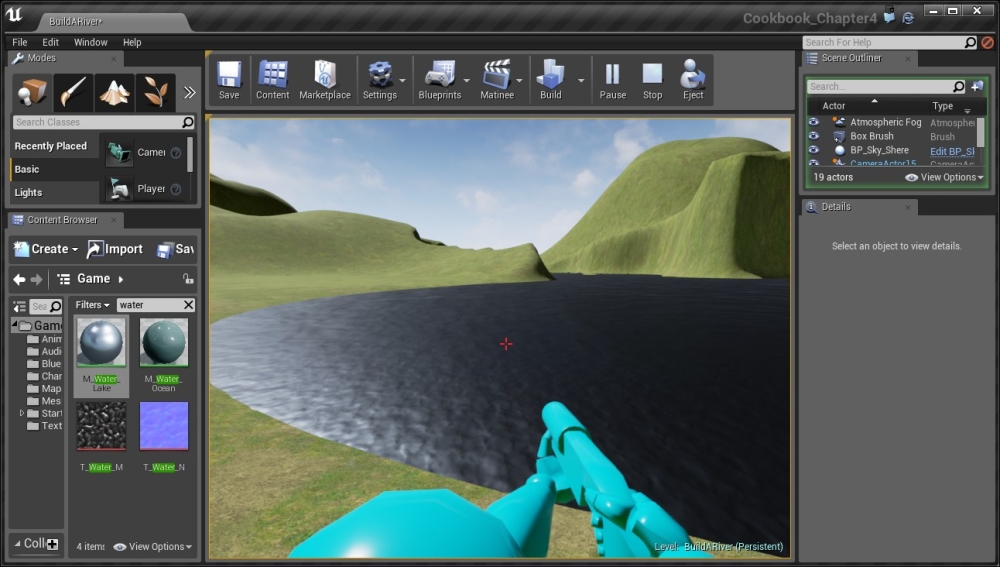
Playing the game with water in the world
- This is looking really nice, except that we can currently walk on water. That's because brushes always have collision. But, we can fix this by converting the BSP into a static mesh.
- Select the
Box Brushobject from the Scene Outliner tab and under the Details panel, go to Brush Settings and click on the little arrow at the bottom of the part to show the extended options. Once here, click on the Create Static Mesh option.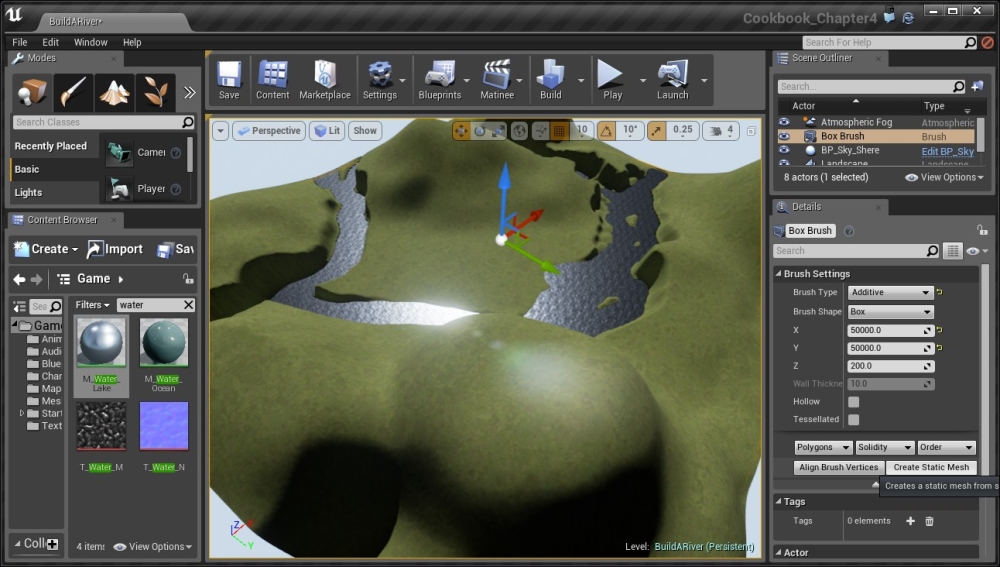
Option to convert object into a static mesh
- It will ask where you want to save it. Click on Create Static Mesh once again and it will finally convert the object into a static mesh.
The river object is now converted into a static mesh
But you will see that on the geometry, it says
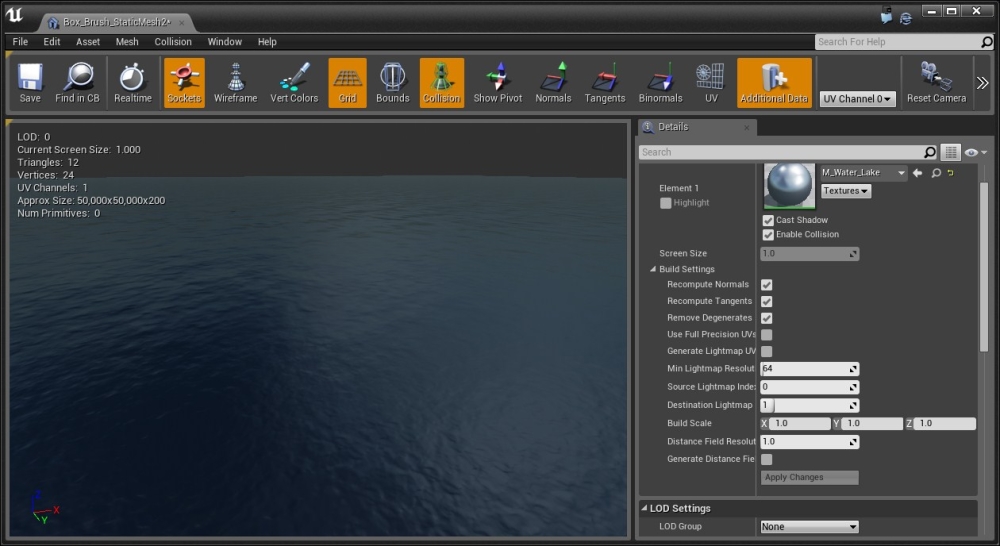
Invalid Lighting Settings, as seen in the preceding image. To fix this, go to the mesh's location in the Content Browser tab and double-click on it to open up the Static Mesh Editor. - Inside the Static Mesh Editor, in the Details tab, go to the LOD Settings section and expand Build Settings if it isn't expanded already. From here, uncheck the Generate Lightmap UVs option and then click on Apply Changes:
- Finally, exit the Static Mesh Editor and go back into the Unreal Editor and select the mesh once more. From the Details tab, change Collision to
NoCollision.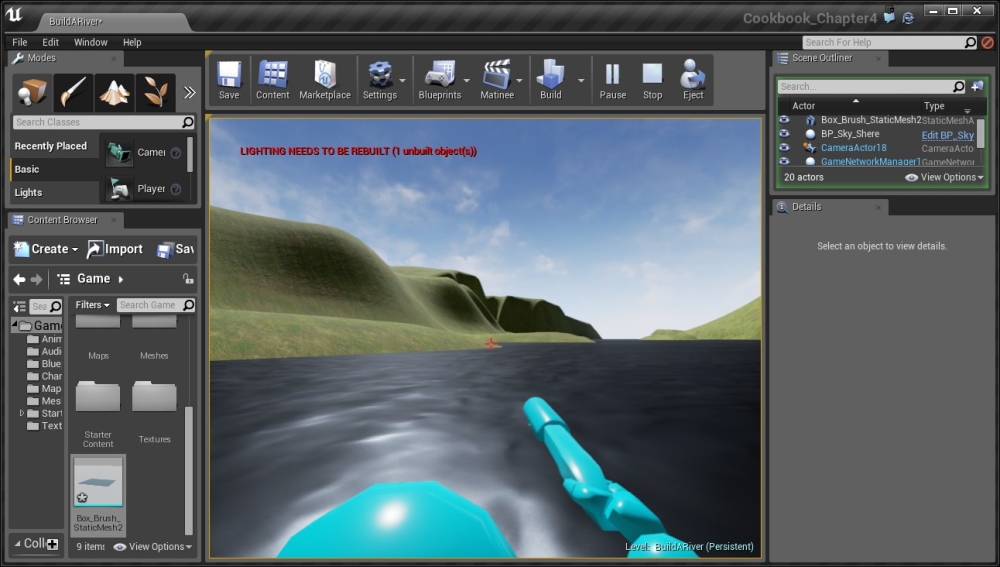
Playing the game with the removed collision allows the player go down into the water
Now you can go down into the water with no issues! It's looking pretty awesome!
Note
Another cool way of creating rivers is making use of the Landscape Splines tool. You can learn more about it at https://docs.unrealengine.com/latest/INT/Engine/Landscape/Editing/Splines/index.html