Now that we have an understanding of what Matinee is, let's start building our first cutscene!
Before we start working, you should have a level opened and entered the Matinee Editor. For assistance with this, check out the An introduction to Matinee recipe.
In order to create a cutscene, you need to perform the following steps:
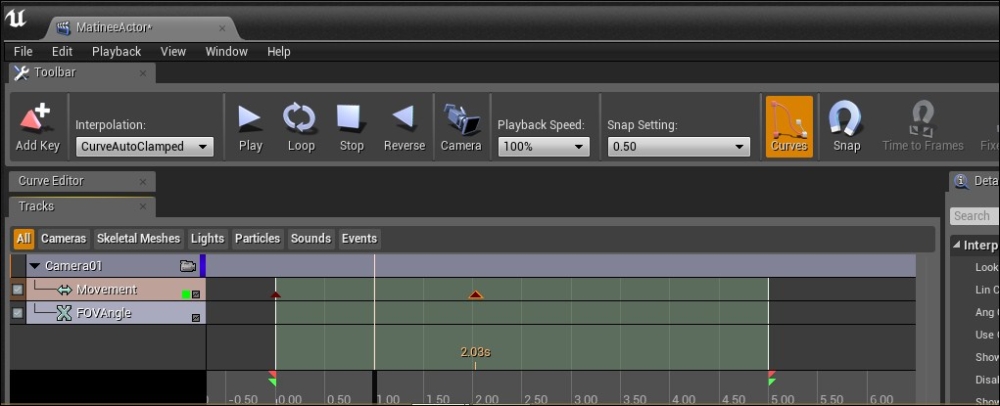
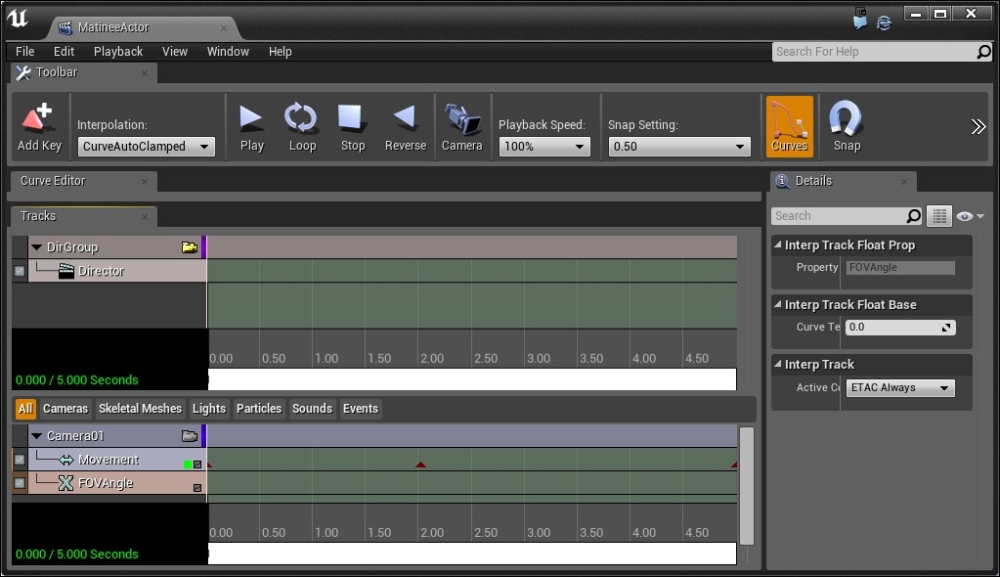
- Matinee animates movable objects over time, but it needs to know what objects to animate and what properties of them to change. Under the Tracks tab on the left-hand side, right click and select Add New Camera Group. Once there, it will ask you for the name of your group; we will call it
Camera01.When doing this, a camera is automatically created in the scene at the current position of the user camera within the editor.
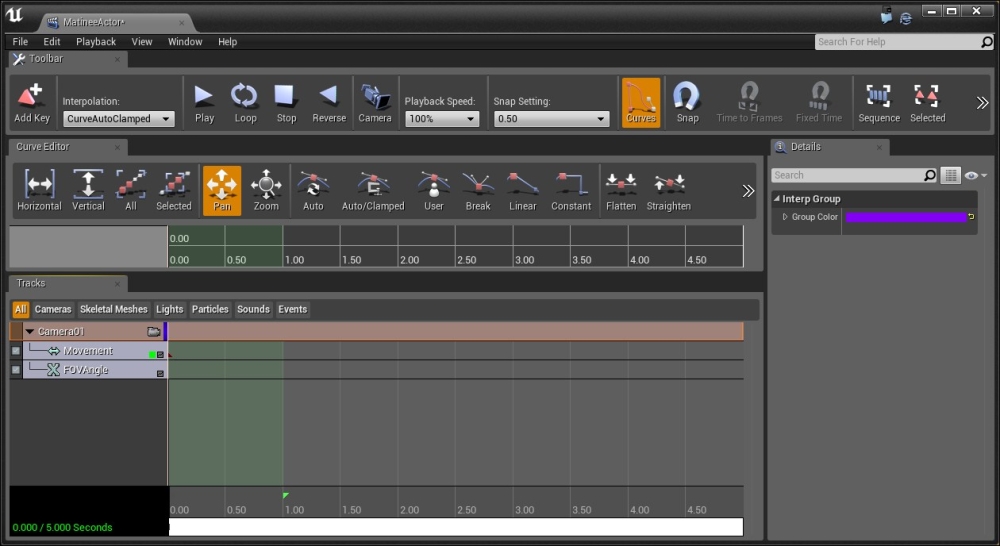
Camera group added to the Tracks tab
At the bottom of the track, you'll notice a series of numbers separated by lines. This represents the time that has passed from the beginning of the animation. Use the mouse wheel, scrolling in and out, to zoom/rescale the timeline.
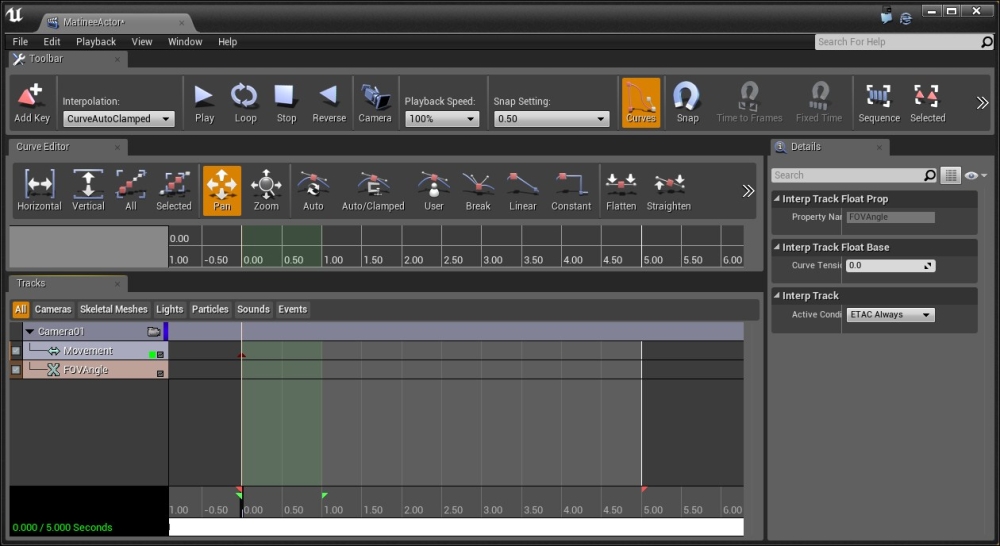
Rescaling the timeline
The bright red triangles at the bottom symbolize the size of the entire animation and you can click and drag them to modify its length. The green ones are used to determine which part will you see when you play in the editor.
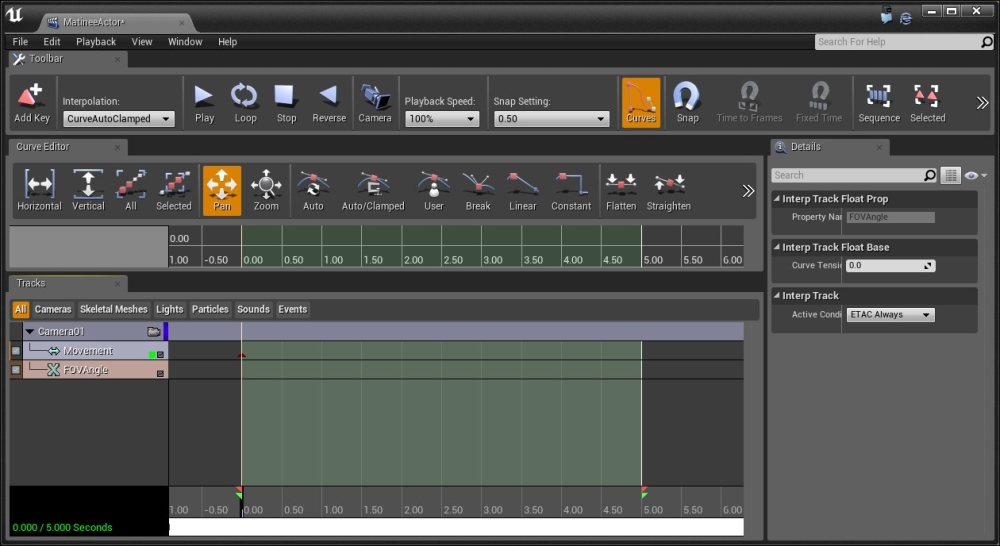
Dark red triangle showing key frame
Next, you may notice the dark red triangle at the
0.00time marker under the Movement row in the tracks. This is known as a key frame, which is a point in time at which we want our Actor to be at a certain value. The first one is automatically created for us, and basically stands for the starting point. - Now drag the time bar to the
2.00second mark so that we can add a key there. Then, click on the Movement part of our Camera01 group and then press the Add Key button on the top-left of the Toolbar tab to add a key.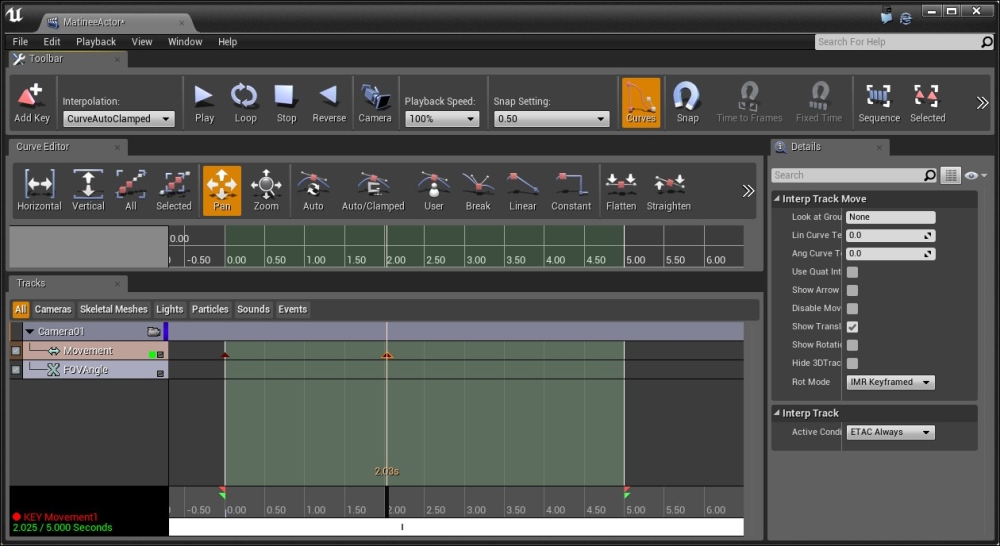
- With the key selected (it is outlined), minimize the Matinee Editor and move back to the main editor.
- You will notice that you have
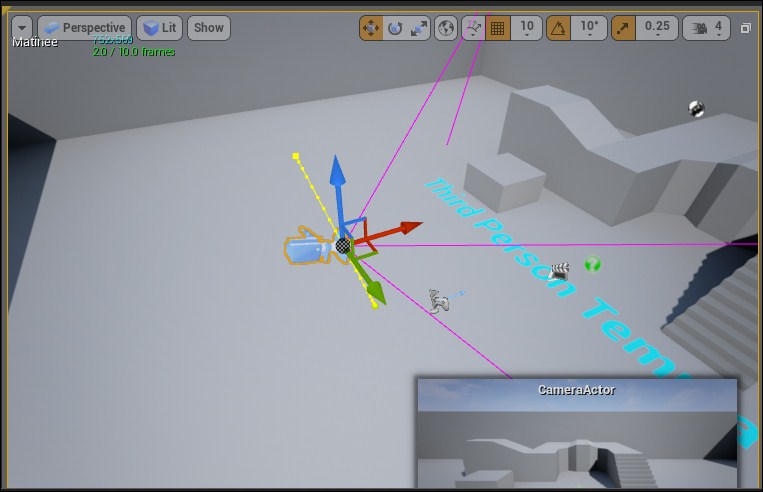
CameraActorselected in the Scene Outliner tab. Either way, double-click on it inside the Scene Outliner tab to zoom to its position. At this point, we can move our camera to modify its position. I will move the actor down in the Z axis, and you should notice a line moving to show the transition between the two.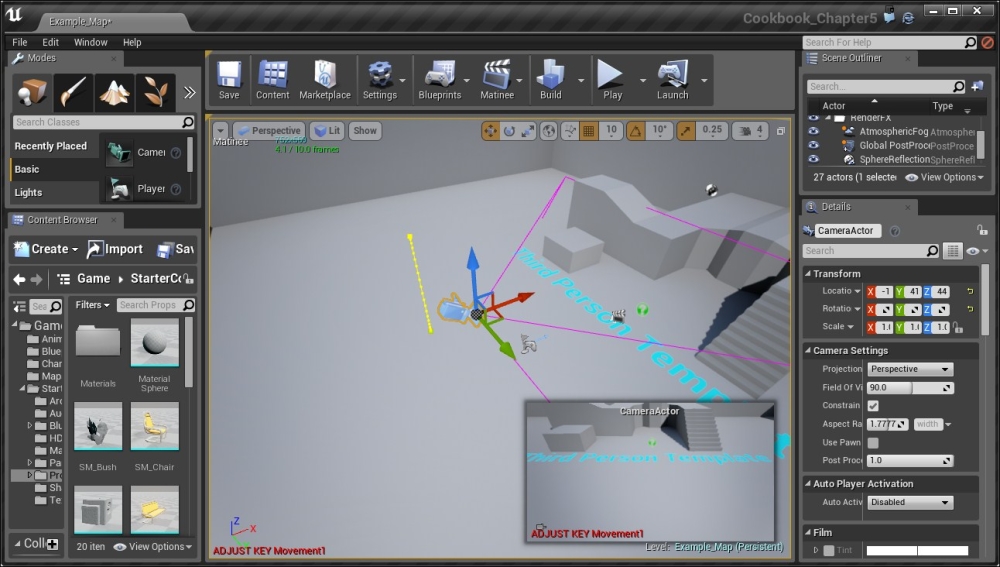
Modifying position of the CameraActor object
- We can also modify the rotation, which we will do next to make it seem like we are landing in front of the player.
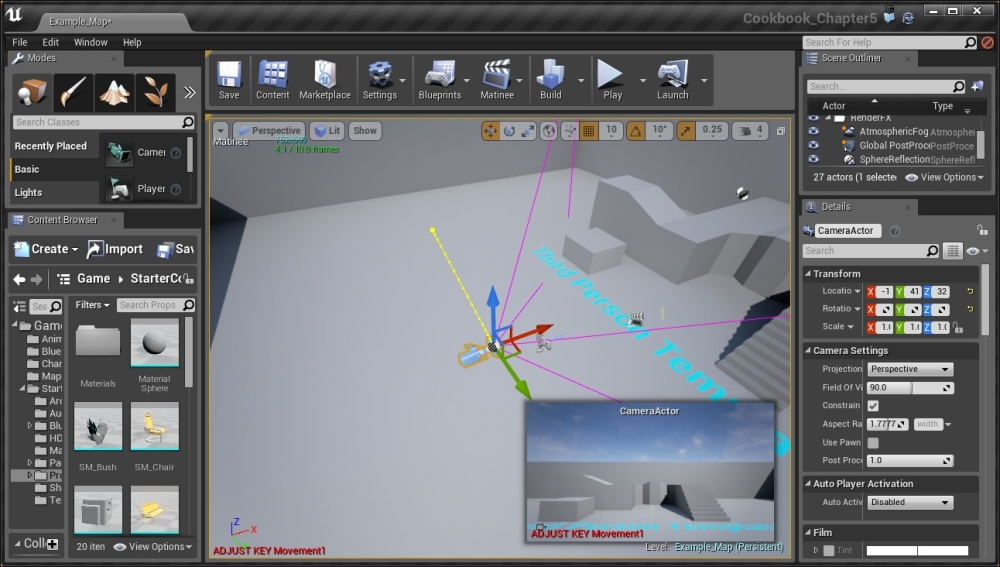
Modifying the rotation of the CameraActor object
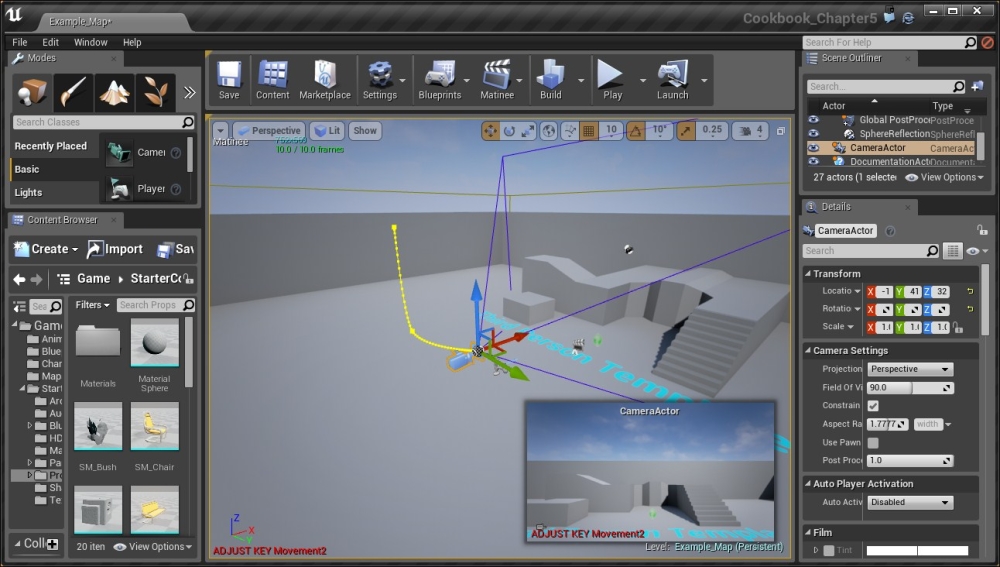
If you have both the editors up at the same time, you'll notice that you can move the time bar and see the transition and exactly how it is done. You can also press the Play and Loop buttons to watch it in real time. For instance, when the editor shows it at this time…
…the editor window will look similar to this:
- After creating this first key frame, we want to add another one at the end of the animation to bring the camera forward, so we can create another key by pressing the Enter key. After this, right-click on the newly created key and select Set Time and under New Time, put in
5.This can be nice when you know how exactly you want things to change. Play around with the key frames, adding and modifying them, until you get whatever animation you want to have.
- Lastly, by default, Unreal will use whatever camera is attached to the player. We need to use something called a director group in order to dictate which camera we should be using at what time. So with that in mind, right-click underneath the Camera01 section under the Tracks tab and select Add New Director Group.
Creating a director group
- With this in mind, we now have a DirGroup control in place with no key frames. Move the time bar to
0, select the Director property for modification, and create a new key by clicking on Add Key in the top-left of the screen. Once there, it will ask which camera you wish to use. SelectCamera01and press Ok.You may notice that on the top-left of each group, there is a camera icon on the far right of the different groups with the DirGroup currently being selected. This shows which camera you are currently looking at in the Game viewport in the main editor. This can be nice for visualizing what you are doing.
- When the animation is over, we want to return the control of the camera back to the player, so create a new key at the end of the animation and change it to use
DirGroup. This will instantly change back to the player's camera, but we can also add in a transition by right-clicking on the key and selecting Set Transition Time and putting in1for the amount of time in seconds we want the transition for.