
In this recipe,we'll start by drawing a simple animation and learning how to export it to video. We will create a video where pressing any key will start or stop the recording.
You must have Apple's QuickTime installed. Make sure you know where you want your video to be saved, as you'll have to specify its location at the beginning.
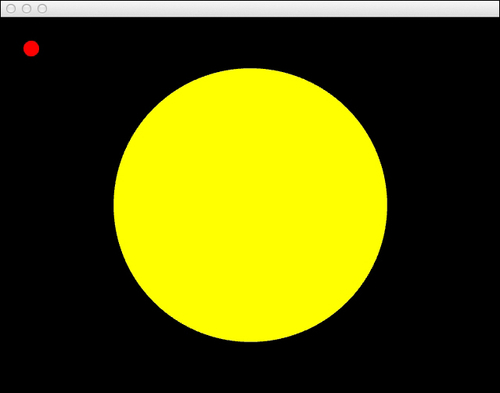
It could be anything that is drawn using OpenGl but for this example, we'll create a yellow circle at the center of the window with a changing radius. The radius is calculated by the absolute value of the sine of the elapsed seconds since the application launched. We multiply this value by 200 to scale it up. Now add the following to the draw method:
gl::clear( Color( 0, 0, 0 ) );
float radius = fabsf( sinf( getElapsedSeconds() ) ) * 200.0f;
Vec2f center = getWindowCenter();
gl::color( Color( 1.0f, 1.0f, 0.0f ) );
gl::drawSolidCircle( center, radius );
We will use the ci::qtime::MovieWriter class to create a video of our rendering.
- Include the OpenGl and QuickTime files at the beginning of the source file by adding the following:
#include "cinder/gl/gl.h"
#include "cinder/qtime/MovieWriter.h"
- Now let's declare a
ci::qtime::MovieWriterobject and a method to initialize it. Add the following to your class declaration:qtime::MovieWriter mMovieWriter; void initMovieWriter();
- In the implementation of
initMovieWriterwe start by asking the user to specify a path using a save file dialog and use it to initialize the movie writer. The movie writer also needs to know the window's width and height. Here's the implementation ofinitMovieWriter.void MyApp::initMovieWriter(){ fs::path path = getSaveFilePath(); if( path.empty() == false ){ mMovieWriter = qtime::MovieWriter( path, getWindowWidth(), getWindowHeight() ); } } - Lets declare a key event handler by declaring the
keyUpmethod.void keyUp( KeyEvent event );
- In its implementation we will see if there is already a movie being recorded by checking the validity of
mMovieWriter. If it is a valid object then we must save the current movie by destroying the object. We can do so by calling theci::qtime::MovieWriterdefault constructor; this will create a null instance. IfmMovieWriteris not a valid object then we initialize a new movie writer by calling the methodinitMovieWriter().void MovieWriterApp::keyUp( KeyEvent event ){ if( mMovieWriter ){ mMovieWriter = qtime::MovieWriter(); } else { initMovieWriter(); } } - The last two steps are to check if
mMovieWriteris valid and to add a frame by calling the methodaddFramewith the window's surface. This method has to be called in thedrawmethod, after our drawing routines have been made. Here's the finaldrawmethod, including the circle drawing code.void MyApp::draw() { gl::clear( Color( 0, 0, 0 ) ); float radius = fabsf( sinf( getElapsedSeconds() ) ) * 200.0f; Vec2f center = getWindowCenter(); gl::color( Color( 1.0f, 1.0f, 0.0f ) ); gl::drawSolidCircle( center, radius ); if( mMovieWriter ){ mMovieWriter.addFrame( copyWindowSurface() ); } } - Build and run the application. Pressing any key will start or end a video recording. Each time a new recording begins, the user will be presented with a save file dialog to set where the movie will be saved.
The ci::qtime::MovieWriter object allows for easy movie writing using Apple's QuickTime. Recordings begin by initializing a ci::qtime::MovieWriter object and are saved when the object is destroyed. By calling the addFrame method, new frames are added.
You can also define the format of the video by creating a ci::qtime::MovieWriter::Format object and passing it as an optional parameter in the movie writer's constructor. If no format is specified, the movie writer will use the default PNG codec and 30 frames per second.
For example, to create a movie writer with the H264 codec with 50 percent quality and 24 frames per second, you could write the following code:
qtime::MovieWriter::Format format;
format.setCodec( qtime::MovieWriter::CODEC_H264 );
format.setQuality( 0.5f );
format.setDefaultDuration( 1.0f / 24.0f );
qtime::MovieWriter mMovieWriter = ci::Qtime::MovieWriter( "mymovie.mov", getWindowWidth(), getWindowHeight(), format );
You can optionally open a Settings window and allow the user to define the video settings by calling the static method qtime::MovieWriter::getUserCompressionSettings. This method will populate a qtime::MovieWriter::Format object and return true if successful or false if the user canceled the change in the setting.
To use this method for defining the settings and creating a movie writer, you can write the following code:
qtime::MovieWriter::Format format;
qtime::MovieWriter mMovieWriter;
boolformatDefined = qtime::MovieWriter::getUserCompressionSettings( &format );
if( formatDefined ){
mMovieWriter = qtime::MovieWriter( "mymovie.mov", getWindowWidth(), getWindowHeight(), format );
}
It is also possible to enable multipass encoding. For the current version of Cinder it is only available using the H264 codec. Multipass encoding will increase the movie's quality but at the cost of a greater performance decrease. For this reason it is disabled by default.
To write a movie with multipass encoding enabled we can write the following:
qtime::MovieWriter::Format format;
format.setCodec( qtime::MovieWriter::CODEC_H264 );
format.enableMultiPass( true );
qtime::MovieWritermMovieWriter = ci::Qtime::MovieWriter( "mymovie.mov", getWindowWidth(), getWindowHeight(), format );
There are plenty of settings and formats that can be set using the ci::qtime::MovieWriter::Format class and the best way to know the full list of options is to check the documentation for the class at http://libcinder.org/docs/v0.8.4/guide__qtime___movie_writer.html.