
In this chapter, we will learn how to illuminate a 3D scene using OpenGL lights.
Include the necessary files to use OpenGL lights, materials, and draw. Add the following code to the top of the source file:
#include "cinder/gl/gl.h"
#include "cinder/gl/Light.h"
#include "cinder/gl/Material.h"
Also add the following using statements:
using namespace ci;
using namespace ci::app;
using namespace std;
We will use the default OpenGL light rendering methods to illuminate our scene. We will use the ci::gl::Material and ci::gl::Light classes, which are wrappers around the OpenGL functionality.
- Declare
ci::gl::Materialto define the material properties of the objects being drawn andci::Vec3fto define the lights position.gl::Material mMaterial; Vec3f mLightPos;
- Let's set the materials
Ambient,Diffuse,Specular,Emission, andShininessproperties by adding the following code in thesetupmethod:mMaterial.setAmbient( Color::black() ); mMaterial.setDiffuse( Color( 1.0f, 0.0f, 0.0f ) ); mMaterial.setSpecular( Color::white() ); mMaterial.setEmission( Color::black() ); mMaterial.setShininess( 128.0f );
- In the
updatemethod, we will use the mouse to define the light position. Add the following code in theupdatemethod:mLightPos.x = getMousePos().x; mLightPos.y = getMousePos().y; mLightPos.z = 200.0f;
- In the
drawmethod, we will begin by clearing the background, setting the window's matrices, and enabling reading and writing to the depth buffer.gl::clear( Color::black() ); gl::setMatricesWindowPersp( getWindowWidth(), getWindowHeight() ); gl::enableDepthWrite(); gl::enableDepthRead();
- Let's create an OpenGL light using a
ci::gl::Lightobject. We will define it as aPOINTlight and set its ID to0. We will also set its position tomLightPosand define its attenuation.gl::Light light( gl::Light::POINT, 0 ); light.setPosition( mLightPos ); light.setAttenuation( 1.0f, 0.0f, 0.0f );
- Let's enable OpenGL lighting, the previously created light, and apply the material.
glEnable( GL_LIGHTING );
light.enable();
mMaterial.apply();
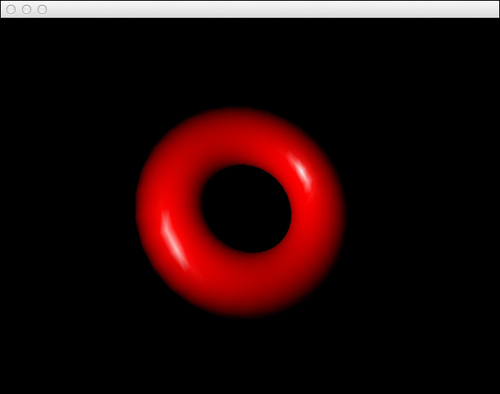
- Let's draw a rotating
Torusat the center of the window and use the elapsed seconds to rotate it. Add the following code to thedrawmethod:gl::pushMatrices(); gl::translate( getWindowCenter() ); float seconds = (float)getElapsedSeconds() * 100.0f; glRotatef( seconds, 1.0f, 0.0f, 0.0f ); glRotatef( seconds, 0.0f, 1.0f, 0.0f ); gl::drawTorus( 100.0f, 40.0f, 30, 30 ); gl::popMatrices();
- Finally, disable the light:
light.disable();
- Build and run the application; you will see a red rotating torus. Move the mouse to change the lights position.
We are using the ci::gl::Material and ci::gl::Light objects, which are helper classes to define the properties of lights and materials.
The material properties defined in the setup method, work in the following ways:
|
Material Property |
Function |
|---|---|
|
How an object can reflect light that comes in all directions. | |
|
How an object reflects light that comes from a specific direction or position. | |
|
The light that an object will reflect as a result of diffuse lighting. | |
|
Light emitted by the object. | |
|
The angle that the object will reflect specular light. Has to be a value between 1 and 128. |
The material ambient, diffuse, and specular colors will multiply with the ambient, diffuse, and specular colors coming from the light source, which are all white by default.
It is possible to define three different types of lights. In the previous example, we defined our light source to be of type ci::gl::Light::POINT.
Here are the available types of light and their properties:
We also defined the attenuation values. Lights in OpenGL allow for defining the values for the constant attenuation, linear attenuation, and quadratic attenuation. These define how the light becomes dimmer as the distance from the light source increases.
To illuminate geometry, it is necessary to calculate the normal for each vertex. All shapes created using Cinder's commands have their normal calculated for us, so we don't have to worry about that.
It is also possible to define the ambient, diffuse, and specular colors coming from the light source. The values defined in these colors will multiply with the correspondent colors of the material.
Here are the ci::gl::Light methods that allow you to define the light colors:
|
Method |
Light |
|---|---|
|
Color of the ambient light. | |
|
Color of the diffuse light. | |
|
Color of the specular light. |
It is possible to create more than one light source. The amount of lights is dependent on the implementation of the graphics card, but it is always at least 8.
To create more light sources, simply create more ci::gl::Light objects and make sure each gets a unique ID.