
We are ready to get to the main event of the chapter! In this recipe, we deal with the installation and configuration of SharePoint 2010 itself.
Download SharePoint Server 2010 from your MSDN subscription, or type in sharepoint server 2010 trial download into your favorite search engine to download the 180-day trial from the Microsoft site.
There are a few pre-requisites that need to be in place before the actual installation of SharePoint 2010. So, let us prepare a few ingredients for our recipe in advance.
From Internet Explorer in the virtual machine:
- Use your favorite search engine to find ado.net data services update for .net framework 3.5 sp1. Look for the Download Details link, which should be the first result (on the Microsoft site). This update is required in order to enable the REST - based data services that SharePoint 2010 relies upon.
- Look for the x64 version and download it from the Microsoft site to the desktop of the virtual machine. Now, launch the installation.
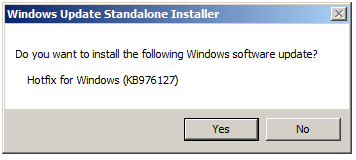
- Click Yes when prompted with Do you want to install the following Windows software update?, which is shown in the following screenshot:
It is now time for our second coffee break. Click Close after the Installation Complete screen appears. We are nearly there! We are going to get into the SharePoint 2010 setup in order to install the required pre-requisites. If you have the MSDN software, you will be provided with an ISO image that you can attach to the virtual machine. If you downloaded it from Microsoft as a trial, download it to your virtual machine settings and sharing a folder from the host machine. Double-click the EXE file to launch the installation. Ensure your virtual machine has internet connectivity (test by using Internet Explorer to navigate to http://www.microsoft.com). Run Splash.hta.
Installing the SharePoint 2010 pre-requisites:
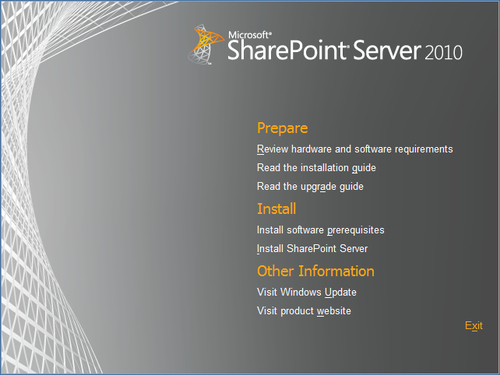
- Click on the Install Software Prerequisites link. Once you click on this link, you will see the following screen:
- On the Microsoft SharePoint 2010 Products Preparation Tool - Welcome screen, click Next.
- On the License Terms for Software Products screen, select the I accept the terms of the License Agreement(s) checkbox and click Next.
- It is now time for our third coffee break. Watch for any prompts to reboot the server.
- On the Installation Complete screen, click Finish.
Now, let's get to the main recipe for which you have patiently been waiting for!
Here is your recipe to install SharePoint 2010:
- From the virtual machine CD Drive, run
Splash.hta - Click on the Install SharePoint Server link.
- On the Enter your product key screen, enter either your MSDN software key or your trial license key.
- On the Read the Microsoft Software License Terms screen, select the checkbox I accept the terms of this agreement and click on Continue.
- On the Choose a file location screen, click Install Now. The Installation Progress screen will show the proceeding of the installation.
- Fourth coffee break? You might want to consider switching to decaf.
- Note! This is a good time to actually take a snapshot of your virtual machine (or back it up), as this can be a good a starting point if in the future you have to set up another separate development machine.
- When you see the Run Configuration Wizard, leave the checkbox Run the SharePoint Products Configuration Wizard selected and click Close.
- On the SharePoint Products Configuration Wizard or the Welcome screen, click Next.
- Click Yes to the warning regarding services that may need to be restarted.
- On the Connect to a Server Farm screen, choose the option to Create a new server farm and click Next.
- On the Specify Configuration Database Settings screen, specify your machine name in the Database Server text field. Use the SP_AppPool account, which was previously set up, and specify your password in the Password field of the Database Access Account section and click Next.

- On the Specify Farm Security Settings screen, choose a passphrase of Password1 (or the same as you have used for the Administrator account) and click Next.
- On the Configure SharePoint Central Admin Web Application Page, select the checkbox Specify port number and enter the value 9999 (or a different port number of your preference). Leave the default authentication provider as NTLM and click Next.
- On the Completing the SharePoint Products Configuration Wizard, click Next.
- You are probably sick of coffee by now. Please take the time to check your e-mail, voice messages, Facebook, Twitter, and Linked In.
- On the Configuration Successful screen, click Finish.
Configure SharePoint 2010 via the Initial Farm Configuration Wizard:
- Internet Explorer will open and navigate to the adminconfigintro.aspx page in Central Administration or the Initial Farm Configuration Wizard
- On the Help make SharePoint better screen, select the option No, I don't wish to participate and click OK.
- On the How do you want to configure your SharePoint farm? screen, click on Start the Wizard.
- On the next screen in the Service Account, select Use existing managed account and ensure that the SP_AppPool account is selected. In the Services section, de-select Access Services and Word Automation Services and click Next
- You are almost there! Reward yourself with a quick online match in your favorite game on your favorite console while you wait for the configuration to complete.
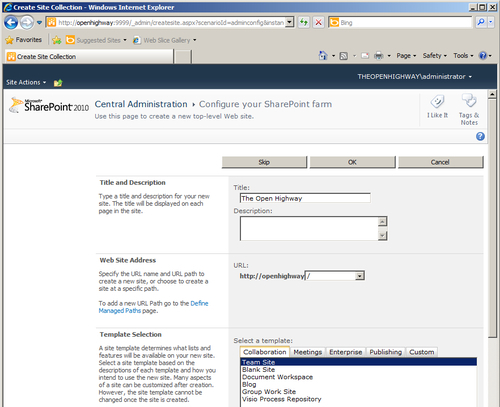
- The wizard will have created a web application using the machine name, in my case, http://openhighway. You now get to create your very first Site Collection. Choose a title based on your company name (in my case, The Open Highway), choose the Team Site template and click OK, as shown in the following screenshot:
- Your hard and patient work is rewarded with the This completes the Farm Configuration Wizard screen!
- Click on the Site URL to open and test that your new Team Site (and therefore SharePoint 2010) is operating correctly. DO NOT DESPAIR OR PANIC if you receive a rather nasty looking Error screen!
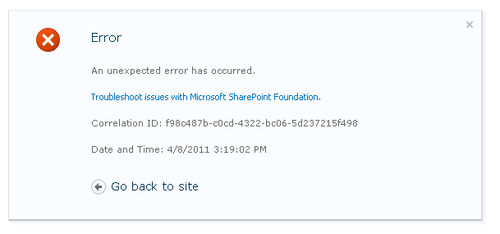
- Many times in a development machine, depending on the resources assigned to it and the power of the desktop/laptop you are running with - navigation to the URL will simply TIME OUT. Breathe deeply. Refresh the browser. See! There is your Team Site. Congratulations! Bookmark this URL in your Internet Explorer favorites. The following screenshot shows my Team Site:

Congratulations! You have successfully installed and configured SharePoint Server 2010 and are ready for our next step to install Microsoft Office and your development tools.
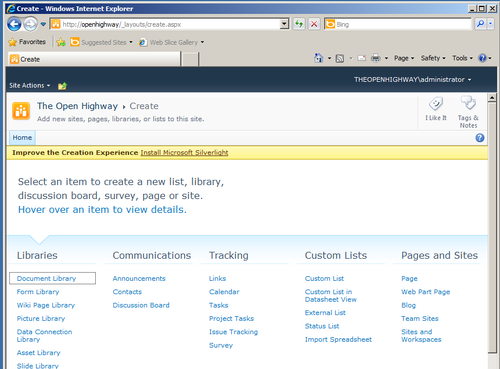
From the home page of your Team Site, click on the Site Actions menu and select More Options. If you are prompted with the following screen with the Install Microsoft Silverlight link, then click on the link and take the opportunity now to install it! The user interface of SharePoint 2010 relies on Silverlight in many cases:
When the Silverlight install downloads, click Run on the security warning on the Install Silverlight dialog and then click Install Now, as shown in the following screenshot:
