
In Chapter 4, Development with SharePoint Designer 2010, we explored the use of the XSLT List View Web Part, a very specialized and powerful Web Part for use with SharePoint lists and libraries. At the base of this Web Part is the Data Form Web Part. This more fundamental Web Part can still easily make use of SharePoint's List and Library data, but it can also make direct use of external data connections to relational databases, REST Services, web services, or even plain old XML files.
In this recipe, we will use two connected Data Form Web Parts. One will display the list of publishers directly from the pubs database, and the second connected list will show the books (publications) from the selected publisher.
Ensure SharePoint Designer 2010 has been opened to the Chapter 6 URL:
- From the Navigation section, under Site Objects, choose Data Sources.
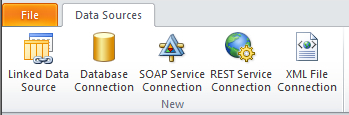
- From the Data Sources tab in the ribbon, click on Database Connection, as shown in the following screenshot:
- On the Data Source Properties window, click on the Configure Database Connection button.
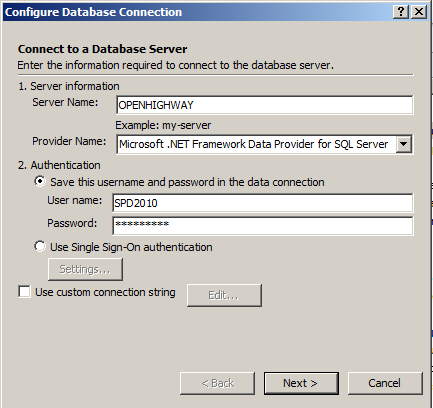
- On the Configure Database Connection screen, enter your server name (in my case, it is OPENHIGHWAY). In the Authentication section, fill in the user name SPD2010 (the one we set up earlier in the SQL Server database), and Password1 for the password, as shown in the following screenshot. Click OK on the warning: This information will be stored in the connection string. and click Next. Please wait patiently! There will be no feedback while you are waiting for the next screen:
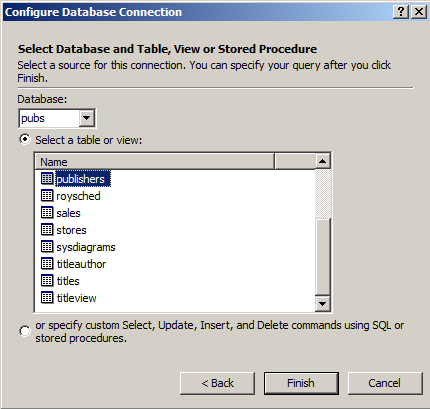
- In the Select Database and Table screens, choose the pubs database from the drop-down and choose the publishers table. Then click Finish:
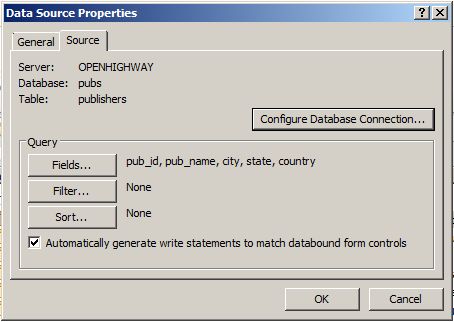
- The Data Source Properties screen should now appear as follows. Click the OK button, as shown in the following screenshot:
- Repeat steps 2 to 6 exactly, except that in step 5, choose the titles table. When done, your database connections section should appear as follows:

In this recipe, we will use the external Publishers data directly with a new SharePoint web page. Carry out the following steps to complete this recipe:
- Ensure SharePoint Designer 2010 has been opened to the Chapter 6 URL.
- From the Navigation section, under Site Objects, choose Site Pages.
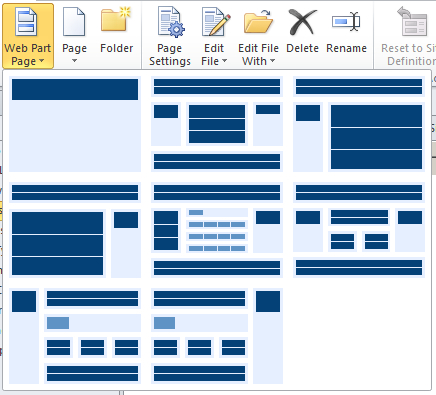
- From the Pages tab in the ribbon, choose Web Part Page from the Page drop-down, and choose the very first template (top left), as shown in the following screenshot:
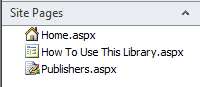
- Rename the new page to Publishers.aspx. When you click on Publishers.aspx, it will open as a tab. In the Customization section, click on Edit File.
- Click inside the PlaceHolderMain (you will find this inside the page body area; if not, then put the view into split mode and search for this text). On the Insert tab of the ribbon, click the Data View drop-down and choose More Data Sources, as shown in the following screenshot:
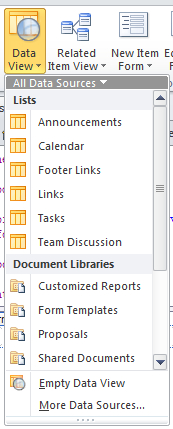
- On the Data Sources Picker window, scroll down to Data Connections and choose publishers.
- Click underneath the publishers table, and repeat steps 6 and 7; except that this time, we choose titles.
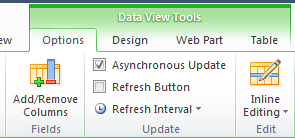
- Click anywhere on the titles table. On the Data View Tools Options tab, click on the Add/Remove Columns button on the ribbon, as shown in the following screenshot:
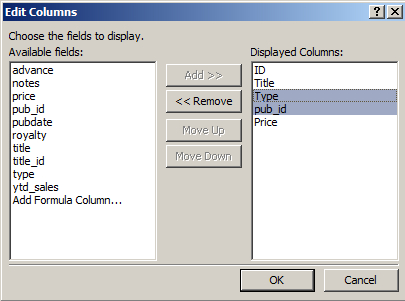
- Select Type and pub_id and click the Remove button and then click OK, as shown in the following screenshot:
- Change some of the column headers to be more readable. You can do so by clicking on the current title and then replacing the text.
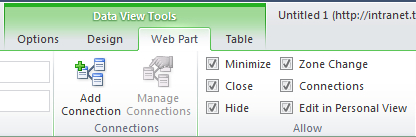
- Now we are going to connect the two Web Parts together so that they can interact. Click anywhere in the publishers table. In the Data View Tools Web Part on the ribbon, click on Add Connection:
- The Web Part Connection Wizard will now be displayed. Just click Next, as shown in the following screenshot:

- On the next page of the wizard, choose Connect to a Web Part on this page and click Next.
- On the next page, leave the defaults (Target Web Part: titles on pubs and Target action: Get Filter Values From) and click Next.
- Here is where we make the connection. Scroll down until you see pub_id in the Inputs column (right-hand side). In the Columns in publishers on pubs section, choose pub_id and click Next, as shown in the following screenshot:

- On the next screen, leave the default selection of pub_id for Create hyperlink on and click Next.
- On the final screen of the Wizard, click Finish.
- Save your work. In the Site Pages section on the left-hand side of the screen, right-click on Publishers.aspx and choose Preview in browser, as shown in the following screenshot:
- When the page shows in the browser, click on the first few publisher ID links and note that the Titles Web Part shows the publications for the selected publisher, as shown in the following screenshot:
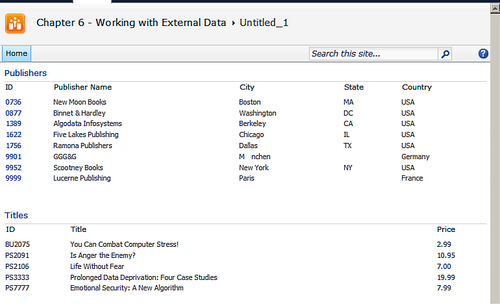
Congratulations! You have used the Data Form Web Part in order to not only display information directly from an external source, but also to use SharePoint Web Parts to connect Publishers and Titles to work together interactively.