
Camera RAW
All digital cameras capture in RAW but only digital SLRs and the medium to high end ‘prosumer’ cameras offer the user the option of saving the images in this RAW format. Selecting the RAW format in the camera instead of JPEG or TIFF stops the camera from processing the color data collected from the sensor. Digital cameras typically process the data collected by the sensor by applying the white balance, sharpening and contrast settings set by the user in the camera’s menus. The camera then compresses the bit depth of the color data from 12 to 8 bits per channel before saving the file as a JPEG or TIFF file. Selecting the RAW format prevents this image processing taking place. The RAW data is what the sensor ‘saw’ before the camera processed the image, and many photographers have started to refer to this file as the ‘digital negative’. This digital negative allows you to take control over the conversion process to access maximum quality.
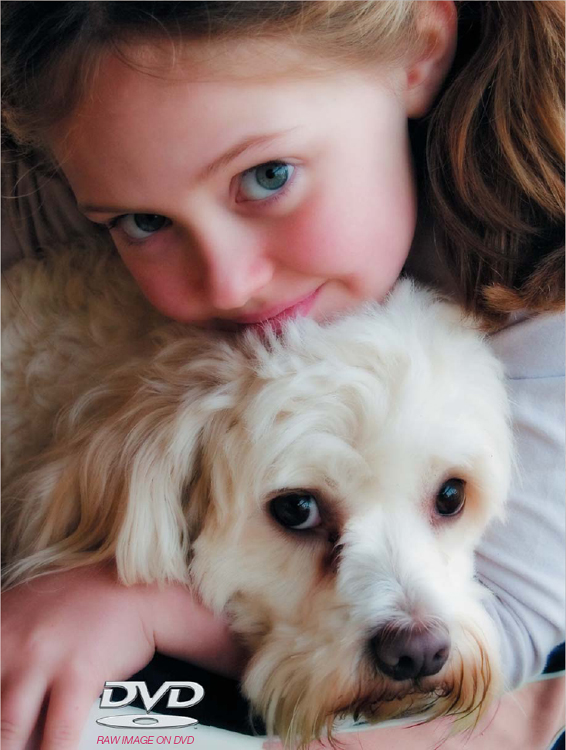
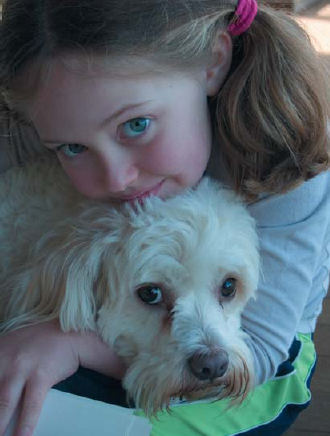
For maximum quality choose to save your files using the camera RAW format. This image was further edited in the main editing workspace using techniques from the Hue and Saturation and Glamor Portrait projects
White balance, brightness, contrast, saturation and sharpness can all be assigned as part of the conversion process in Adobe camera RAW rather than in the camera. Performing these image-editing tasks on the full high-bit RAW data enables you to achieve a higher quality end result. After the image has been processed in the camera RAW dialog box the file is then opened into the image-editing workspace and the RAW file closes and remains in its RAW state, i.e. unaffected by the processing procedure. Although the camera RAW dialog box appears a little daunting at first sight, it is reasonably intuitive and easy to master.
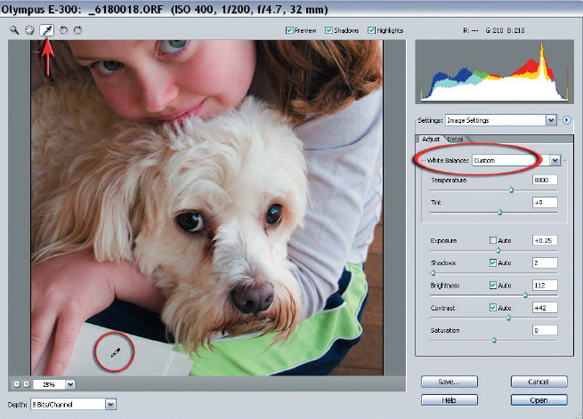
1. Open the RAW file from the supporting DVD. Set the white balance by choosing one of the presets from the drop-down menu. If none of the presets adjusts the color to your satisfaction you can manually adjust the Temperature and Tint sliders to remove any color cast present. The Temperature slider controls the blue/yellow color balance whilst the Tint slider controls the green/magenta balance. Moving both the sliders in the same direction controls the red/cyan balance. Alternatively you can simply click on the ‘White Balance’ eyedropper in the small tools palette (top left-hand corner of the dialog box) and then click on any neutral tone you can find in the image. In this image click on the white paper the girl is holding.
Note > Although it is a ‘White Balance’ you actually need to click on a tone that is not too bright. Clicking on a light or mid gray is preferable. A photographer looking to save a little time later may introduce a ‘gray card’ in the first frame of a shoot to simplify this task.
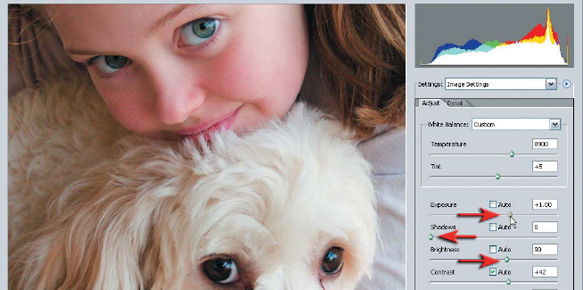
2. Set the tonal range of the image using the Exposure, Shadows and Brightness sliders. These sliders behave like the input sliders in the Levels dialog box and will set the black and white points within the image. The Brightness slider adjusts the midtone values in a similar way to the Gamma slider when using Levels dialog. When tall peaks appear at either end of the histogram you will lose shadow, highlight or color detail when you export the file to the main editing software. Careful adjustment of these sliders will allow you to get the best out of the dynamic range of your imaging sensor, thereby creating a tonally rich image with full detail.
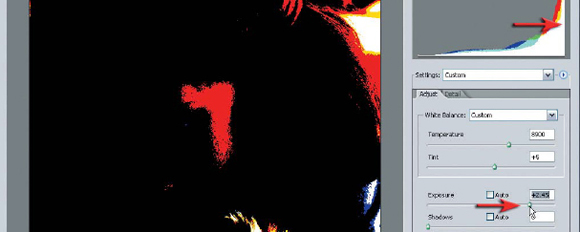
PERFORMANCE TIP
Hold down the Alt key when adjusting either the Exposure or Shadows slider to view the point at which highlight or shadow clipping begins to occur (the point at which pixels lose detail in one or more channels). Alternatively you can check the ‘Shadows’ and ‘Highlights’ boxes above the main image window instead of holding down the Alt key.
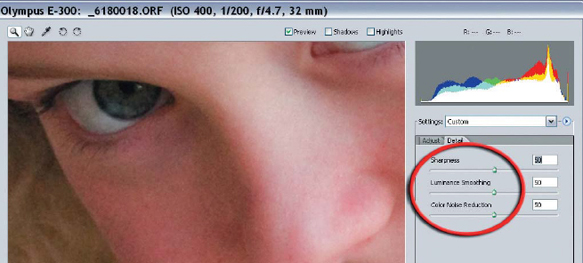
3. Set the image to 100% and click on the Detail tab to access the sharpness and noise reduction controls. The Luminance Smoothing and Color Noise Reduction sliders (designed to tackle the camera noise that occurs when the image sensors’ ISO is high) should only be raised from 0 if you notice image artifacts such as noise appearing in the image window.
In the project image the sensor was set to 400 ISO on a budget DSLR. Both luminance and color noise are evident when the image is set to 100%. With more expensive DSLR cameras set to 100 ISO it is common to leave all three sliders set to 0. It is recommended that you only perform a gentle amount of sharpening in the RAW dialog box if you intend to selectively sharpen the image in the main image-editing workspace (see ‘Project 7 - Sharpening’ for localized sharpening techniques that are unavailable in the camera RAW dialog box).
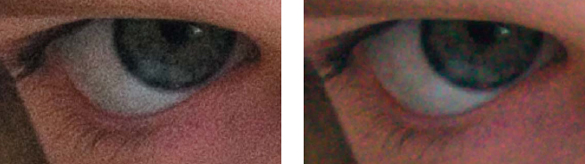
PERFORMANCE TIP
The Luminance Smoothing and Color Noise Reduction sliders can remove subtle detail and color information that may go unnoticed if the photographer is not careful to pay attention to the effects of these sliders. Zoom in to take a closer look, and unless you can see either little white speckles or color artifacts set these sliders to 0.
4. The only step that remains is to select the ‘Depth’ in the lower left-hand corner of the dialog box and then click OK. If the user selects the 16 Bits/Channel option, the 12 bits per channel data from the image sensor is rounded up – each channel is now capable of supporting 32,769 levels instead of 256. Many of the advanced editing features are unavailable in 16 Bits/Channel mode so the user may choose to elect for the 8 Bits/Channel option now. This is OK so long as the tonality (black and white points) and color have been corrected in the camera RAW dialog box

If the color and tonal information is edited significantly in the main editing space, with the files in 8 Bits/Channel mode, the final quality will be compromised. If the digital image has been corrected sufficiently for the requirements of the output device in the RAW dialog box the file can be edited in 8-bit mode with no apparent loss in quality.

PERFORMANCE TIP
Adobe has created a universal RAW file format called DNG (Digital Negative) in an attempt to ensure that all camera RAW files (whichever camera they originate from) will be accessible in the future. The save option in the camera RAW dialog box gives you access to convert your camera’s RAW file to the Adobe Digital Negative format with no loss of quality. The conversion will ensure that your files are archived in a format that will be understood in the future. Expect to see future models of many digital cameras using this DNG format as standard. One thing is for sure - RAW files are a valuable source of the rich visual data that many of us value, and so the format will be around for many years to come.