
Doing something well is half the battle. Selling it is the other half. That means getting in from of a room and telling people how great your idea is. Humans are visual animals. They react to pictures much better than words, which is the reason people use slide presentations.
LibreOffice Impress lets you create great multimedia slides containing not only words and pictures but animation and sound. In this chapter, you’ll create a presentation called “How to Make Great Presentations.”
In this chapter, you’ll learn the following:
How to make slides
How to add graphics
How to animate the elements of a slide
How to create slide transitions
How to use the presenter’s console
What you’ll not learn is how to include meaningful content in your presentation. But given the quality of most presentations, decent content is not a requirement.
Creating a Presentation
Start LibreOffice and select File ➤ New ➤ Presentation. A blank presentation will appear and immediately be covered up by the Select a Template dialog , as shown in Figure 6-1.
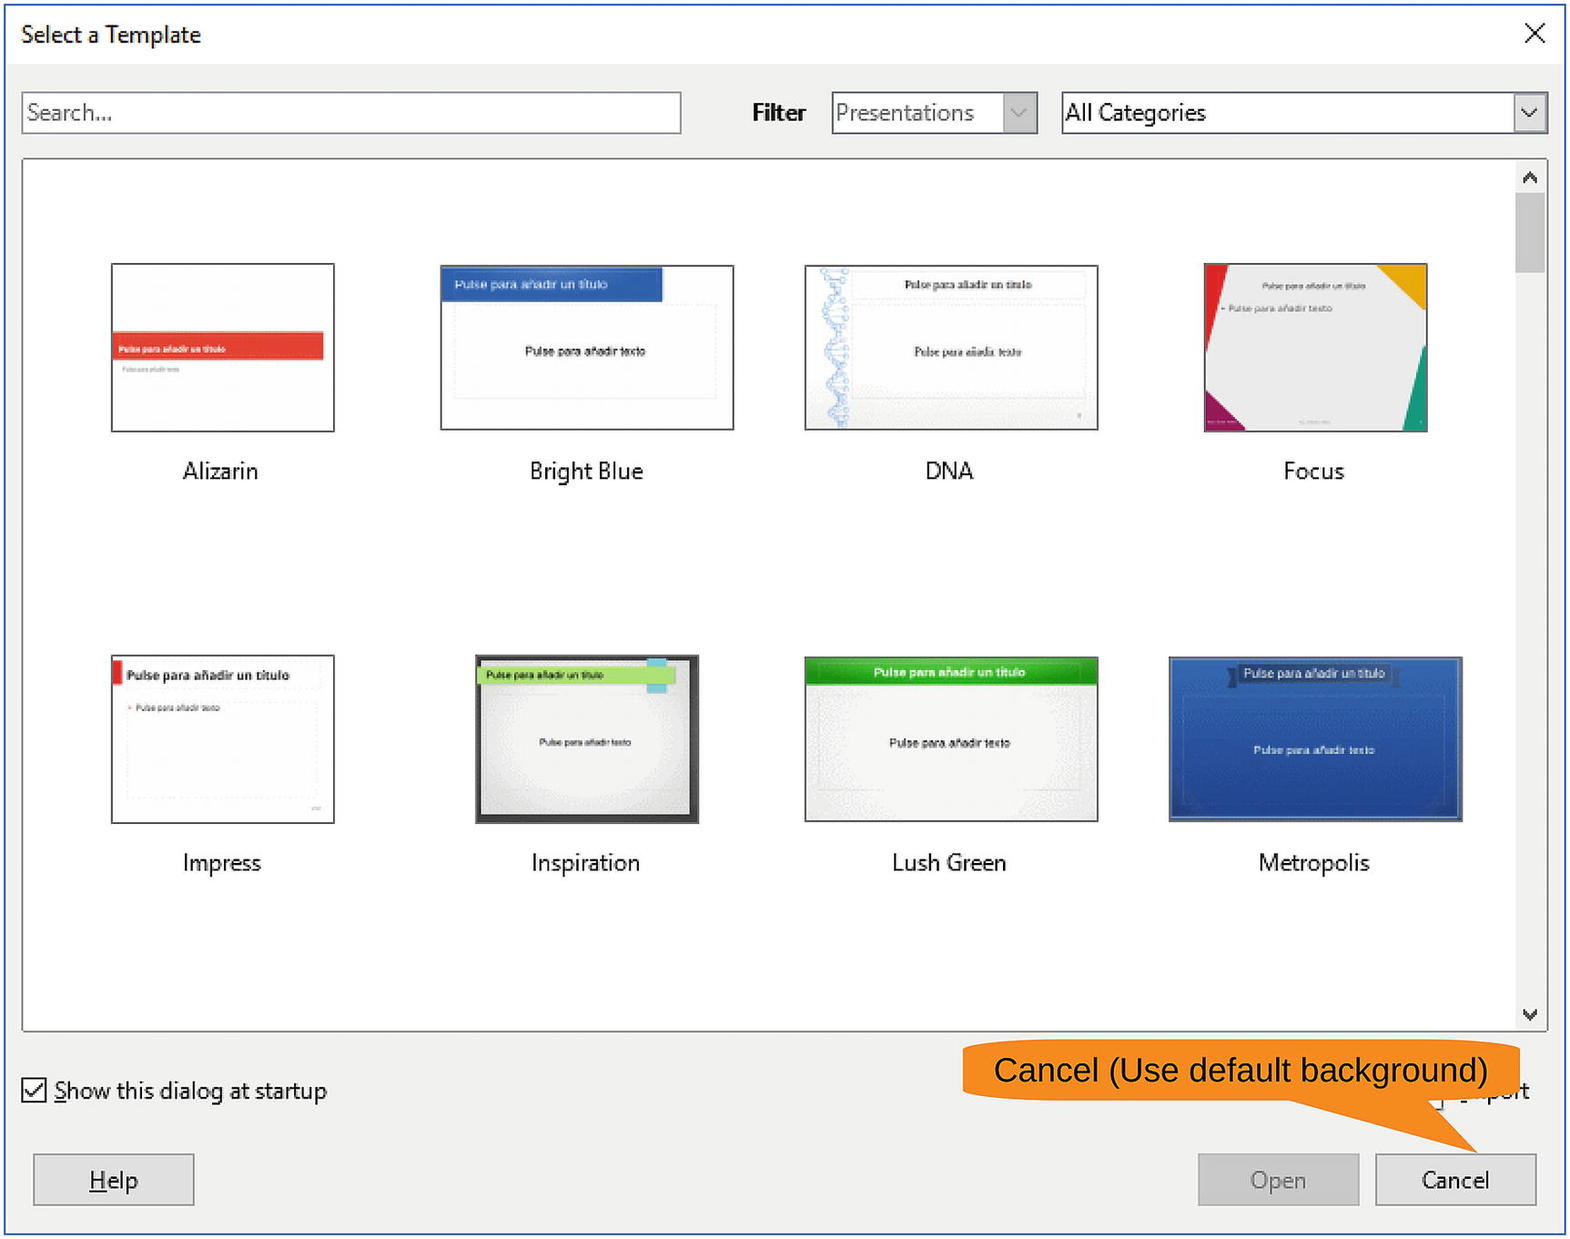
Figure 6-1 Selecting a template
LibreOffice comes with a nice set of good-looking templates. More are available from various web sites on the Internet. All have one thing in common, which is a fancy background that makes the presentation look good.
Unfortunately, this fancy background obscures the various elements described in this book, and for the purpose of illustrating the features of LibreOffice, a blank background is better. So, click Cancel to start with a clean slate. The result, in all its boring glory, looks like Figure 6-2 .
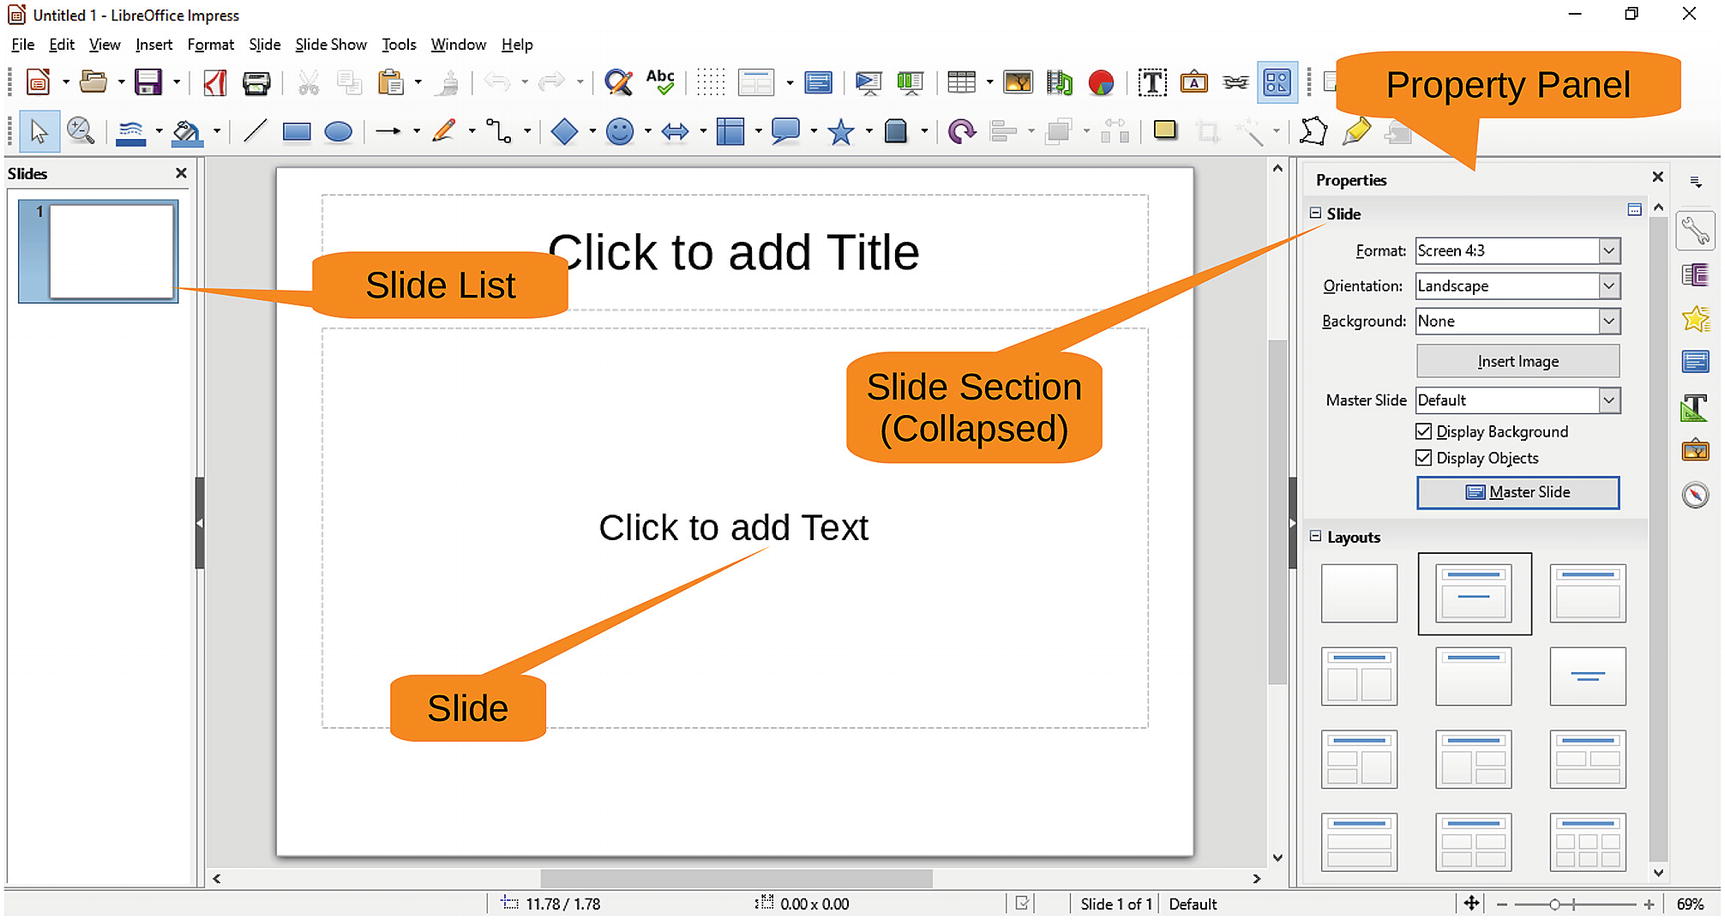
Figure 6-2 Initial Impress screen
On the left you’ll see the list of slides. In this case, one slide is in the list. In the middle is the slide itself. On the right is the Properties panel. Since you don’t care about the Slide section of this panel, click the minus (-) sign next to the word Slide to collapse the section , as shown in Figure 6-3.
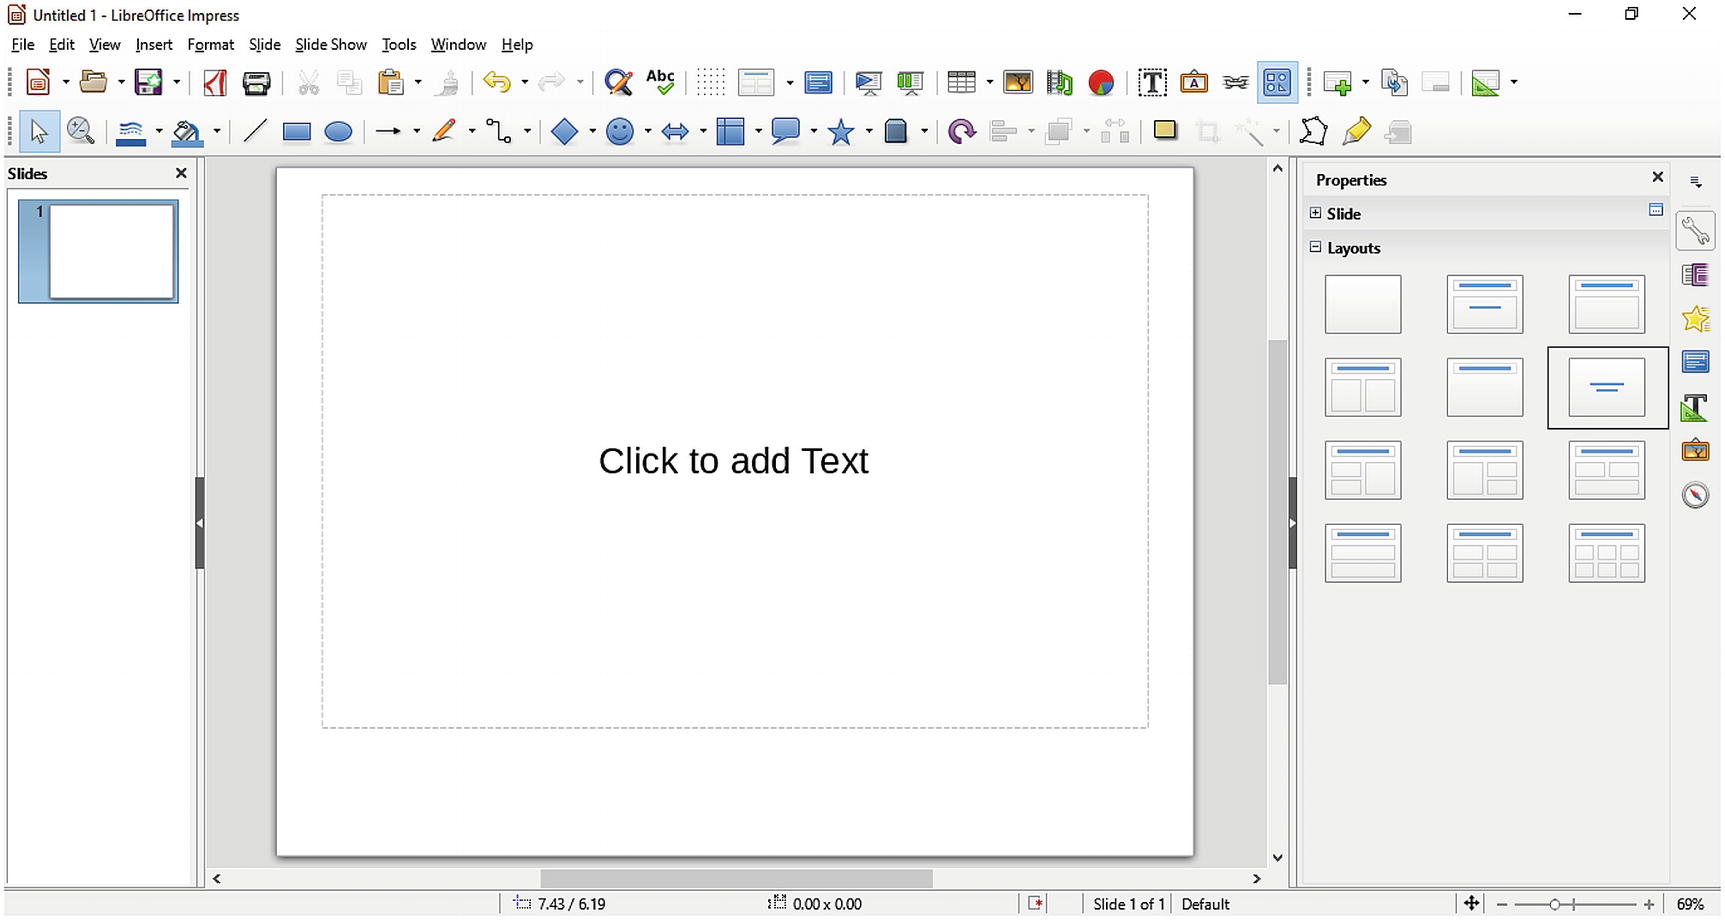
Figure 6-3 Section collapsed
The Properties panel on the right shows the various layouts available. This is the title slide, so let’s select the layout with the big title in the middle. Next, click in the middle of the slide where the helpful message “Click to add Text” appears and enter the title Great Presentation.
The default font size leaves a lot of white space around the text. This is not a great presentation; it’s a great presentation! So, to show your greatness, you need to drag the cursor over the text to select it and then click the Increase Font Size icon a number of times until the title matches the greatness of your ego. Figure 6-4 shows just how big our ego is.

Figure 6-4 Expanding the font size to fit our ego
Adding Graphics
A big font doesn’t show the true greatness, though. Let’s add some graphics to make things better. Click the triangle next to the arrow icon to bring up a selection of arrows. Click the big right arrow and then drag the mouse diagonally to draw a big arrow, as shown in Figure 6-5.

Figure 6-5 Creating the arrow
The arrow doesn’t point to the big title. Let’s fix that now. Right-click the arrow and select Position and Size , as shown in Figure 6-6.
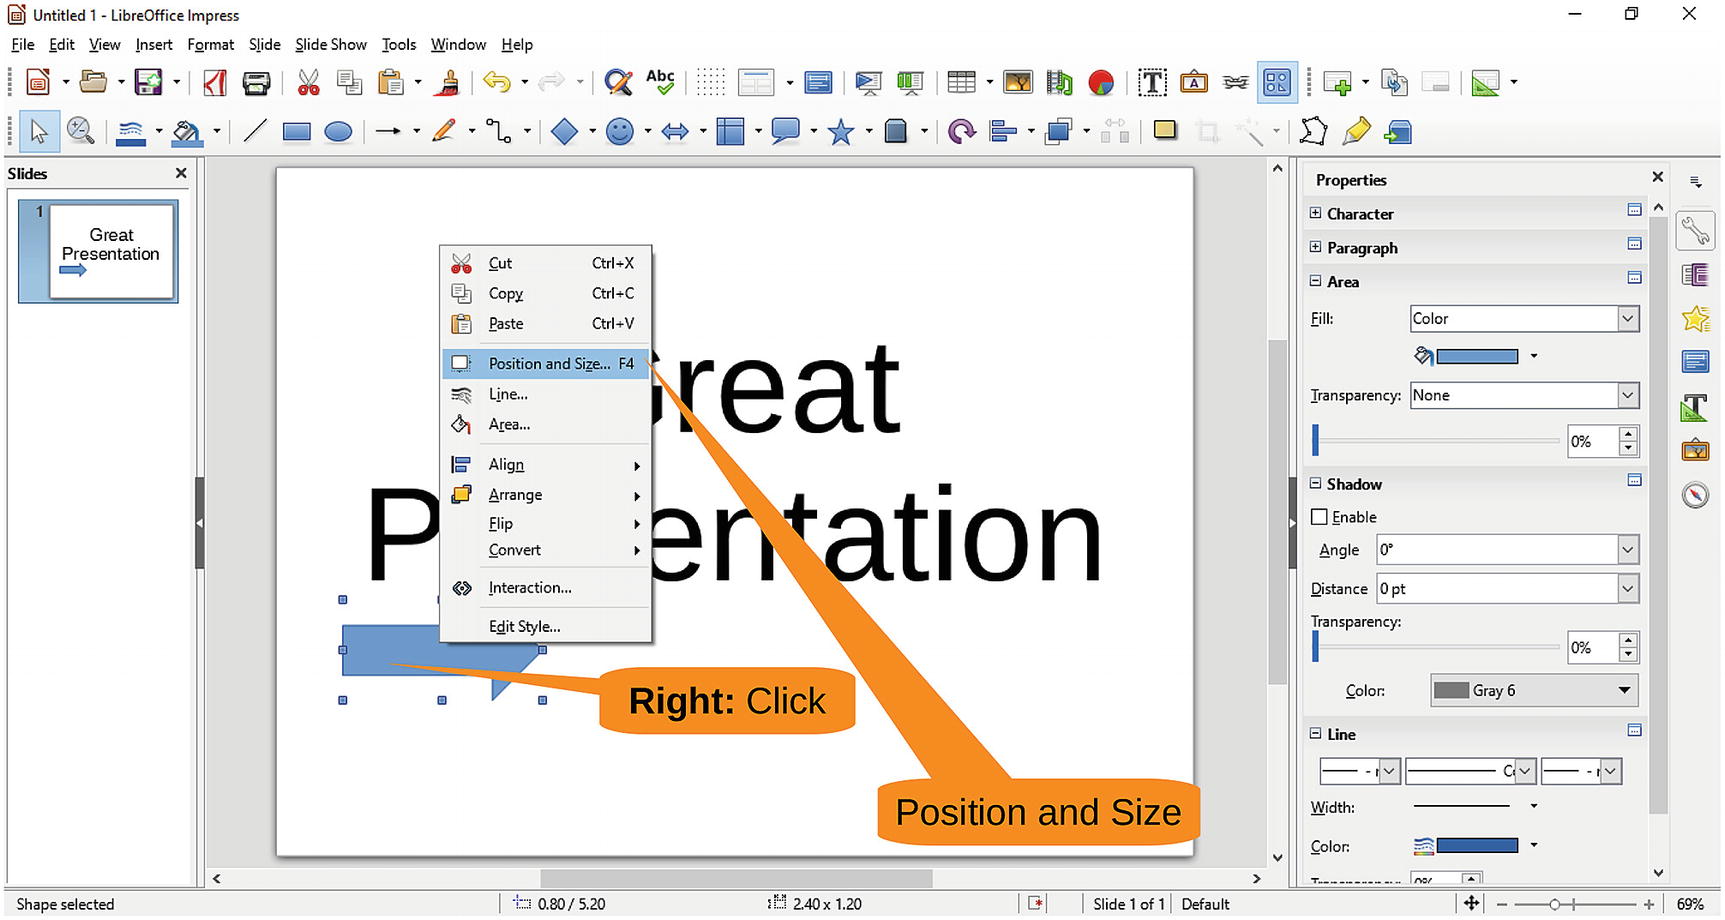
Figure 6-6 Position and Size menu item
A Position and Size dialog (Figure 6-7) appears. Click the Rotation tab , go down to the “Default settings” circle, and drag the indicator up so the arrow points to the title. Then click OK to set the rotation.
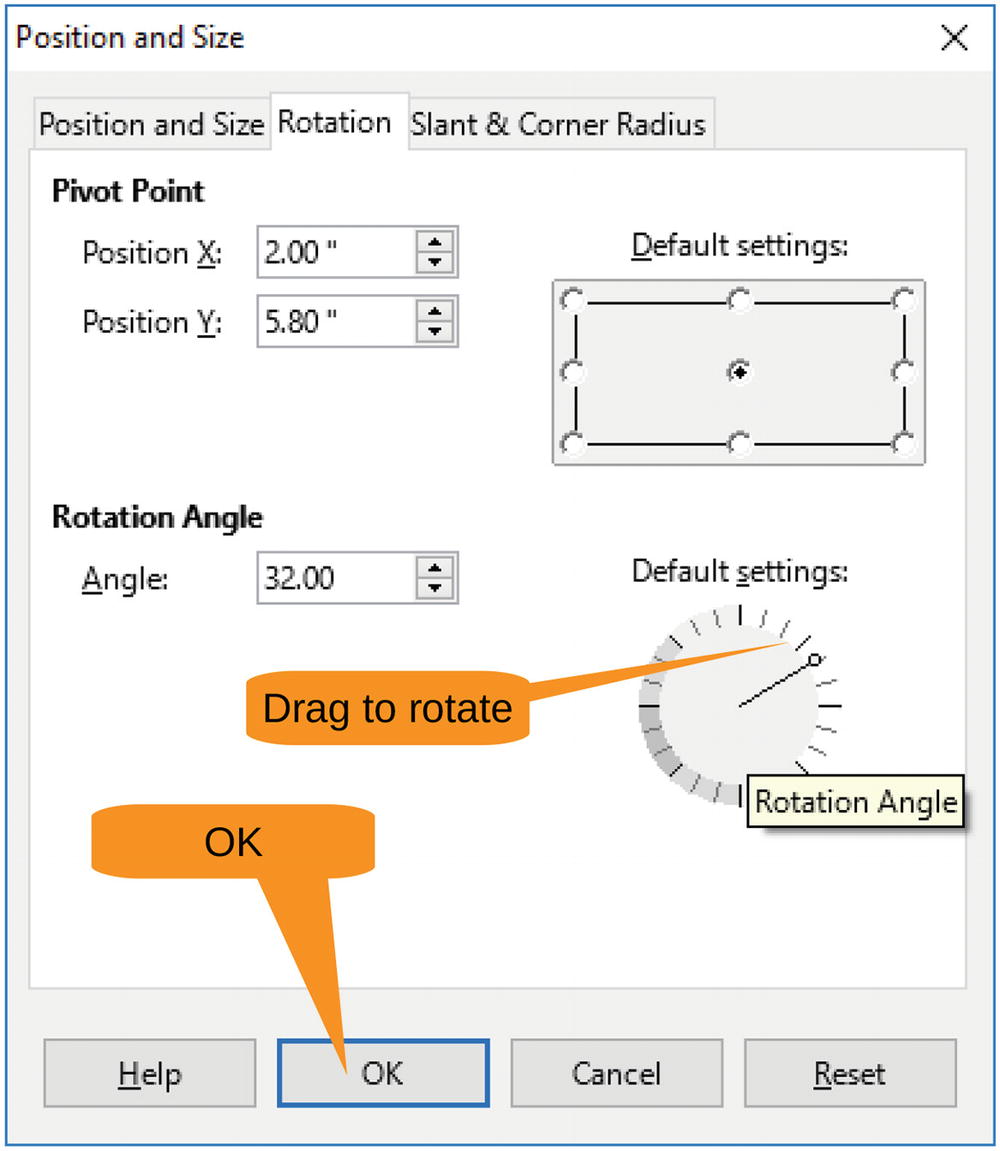
Figure 6-7 Changing the rotation
As you can see in Figure 6-8, the arrow now points to the title. Let’s now click the fill color in the Properties panel’s Area section and change the color to orange. The title is starting to look a little exciting.

Figure 6-8 Title with arrow
You want three more arrows, so let’s copy and paste, paste, paste. Then move the arrows where you want them and change their angles and area colors. The four-arrow version of the title should look like Figure 6-9.
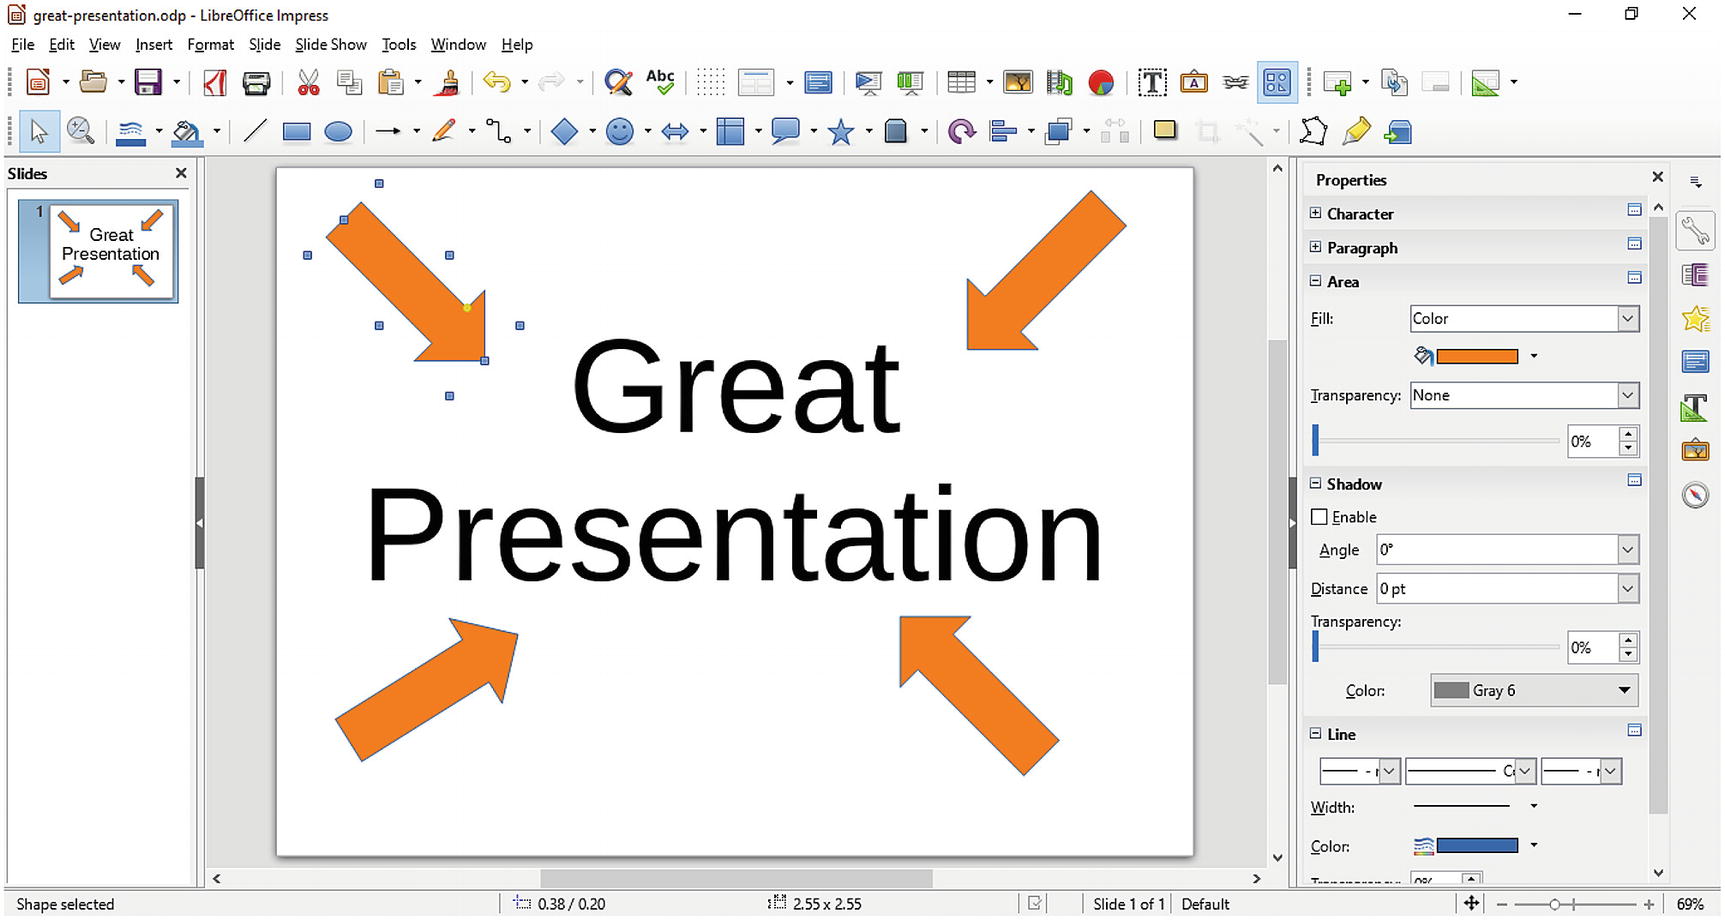
Figure 6-9 Final title page
Let’s start the first content slide by selecting Slide ➤ New. This slide will contain a little content, so click the “Title, Content” slide layout indicated by Figure 6-10.
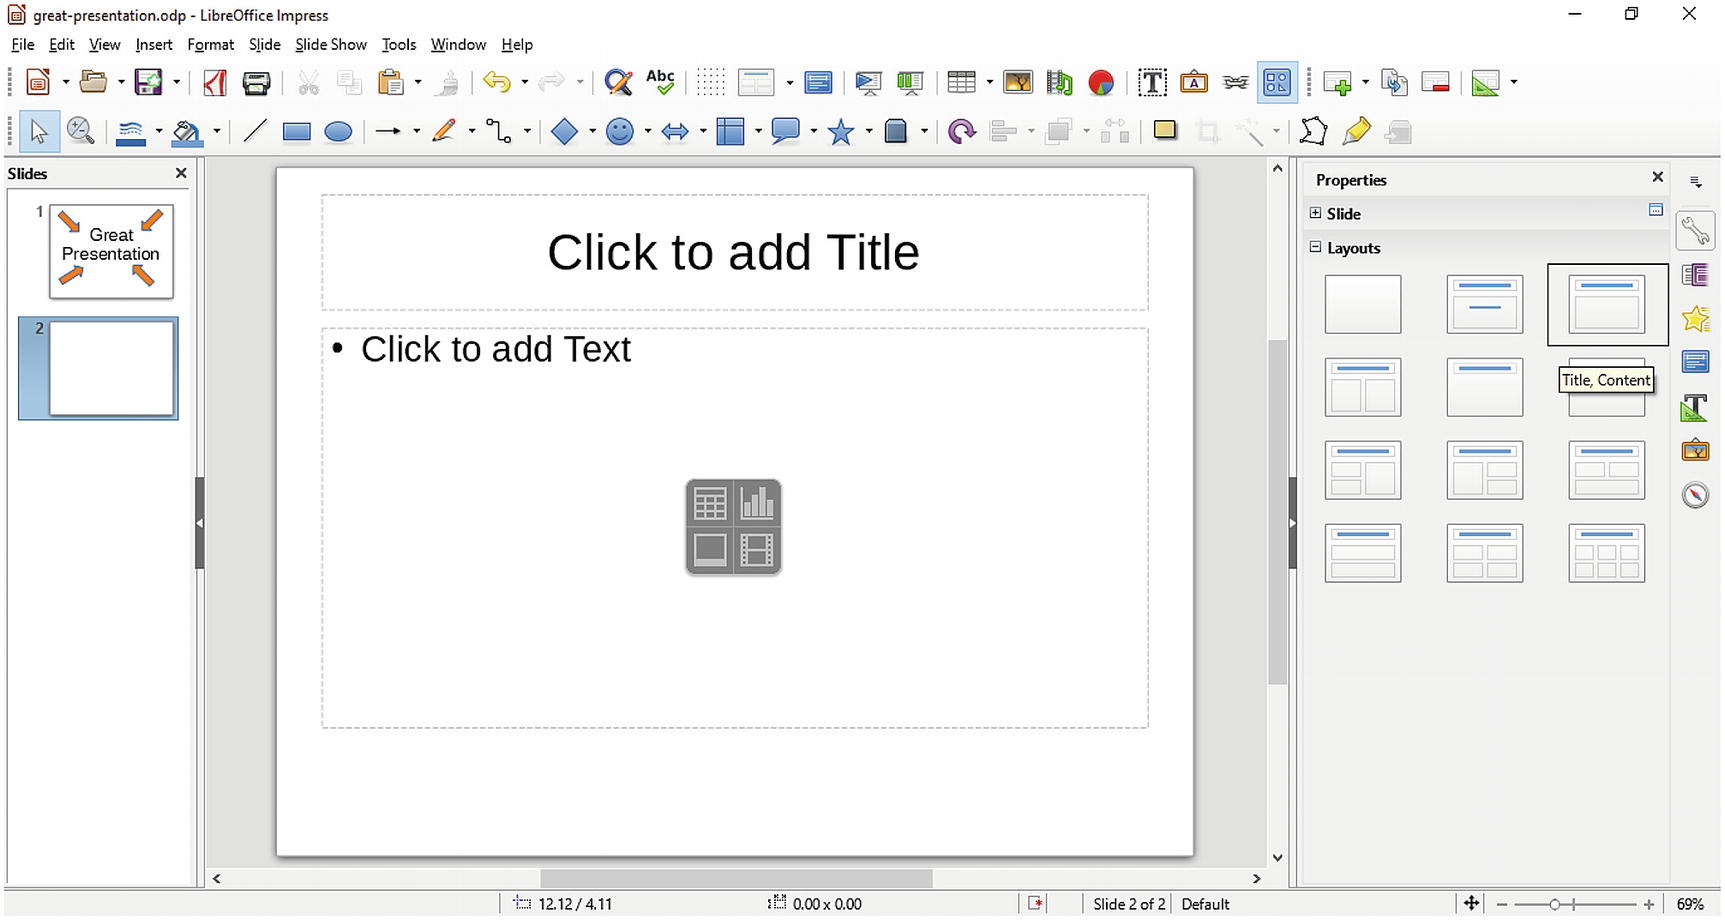
Figure 6-10 Starting a new “Title, Content” slide
For the title, enter A Joke. For the content, enter these lines:
The second best selling type of books are diet books
The best selling type is related—
Cookbooks
With good timing, this joke is actually funny; in print, not so much. Figure 6-11 shows the “funny” slide.
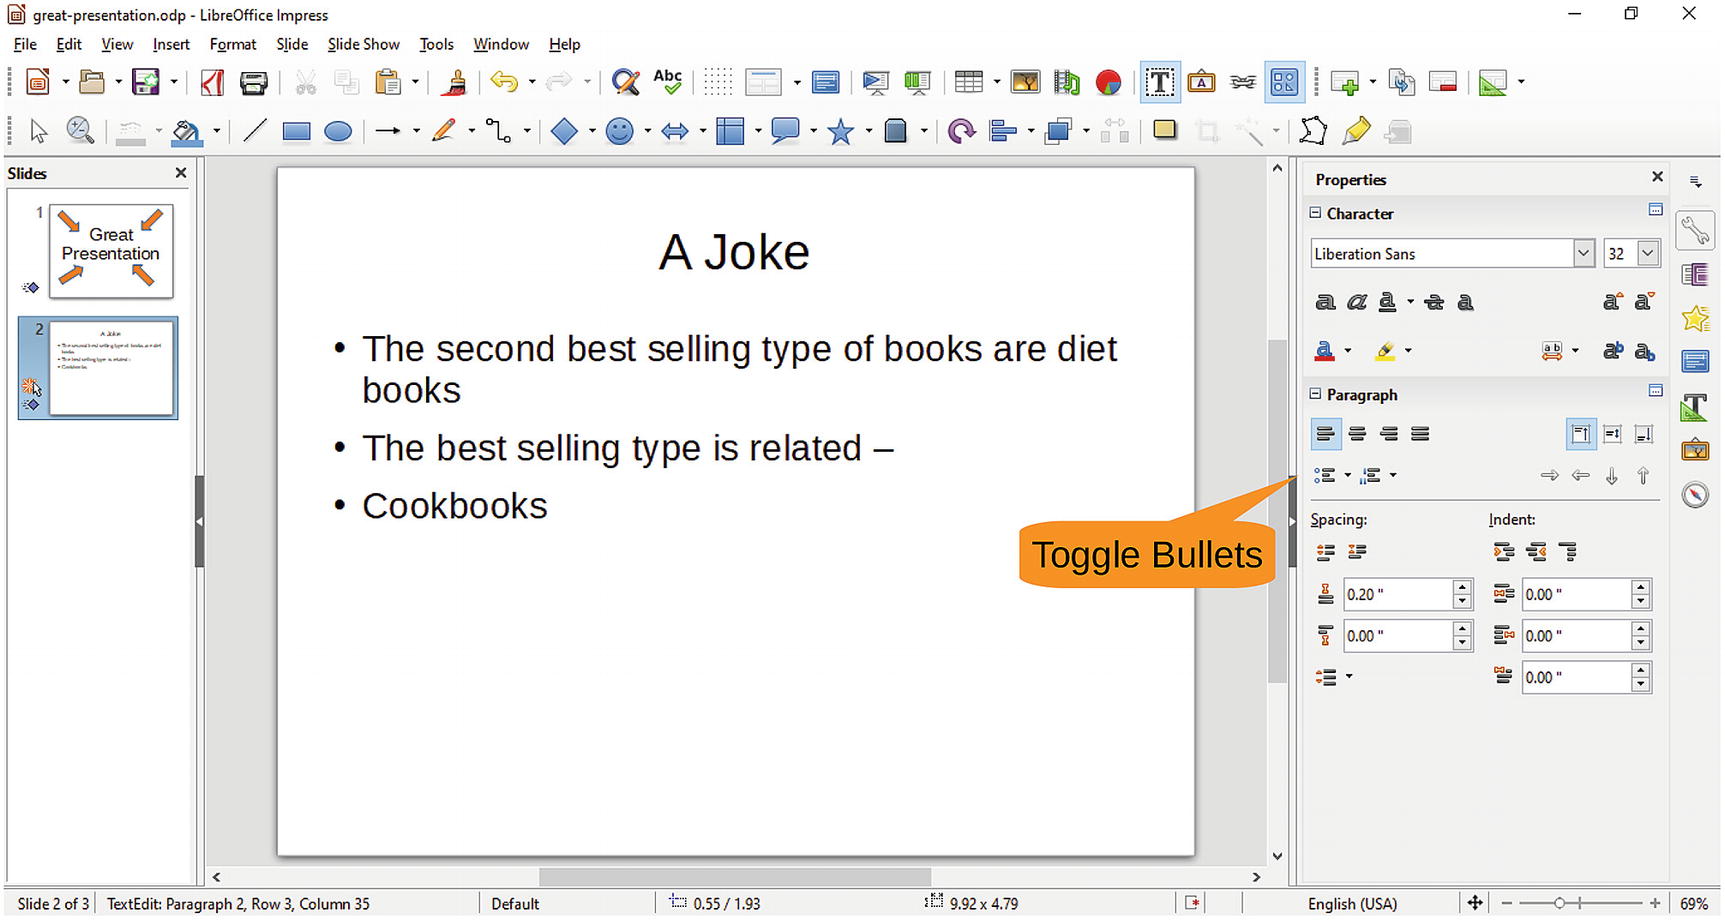
Figure 6-11 Joking
Now let’s get rid of the bullets by selecting the three joke paragraphs and clicking the Toggle Bullet icon in the Paragraph section of the Properties panel.
The way to tell this joke is as follows:
“The second best selling type of books are diet books.”
Wait a couple of beats.
“The best selling type is related…”
Pause.
“…cookbooks.”
If you just show the slide with the text all at once, it loses a lot of its humor. But if you can present it with this comedic timing, you have a much more powerful joke.
What you need to do is to bring in each of the paragraphs one at a time. Motion, or animation, is needed to make the presentation much more effective.
Adding Animation
Drag the cursor over the entire joke to select it. Then click the green plus (+) sign, as shown in Figure 6-12, to add animation to the selected paragraphs.
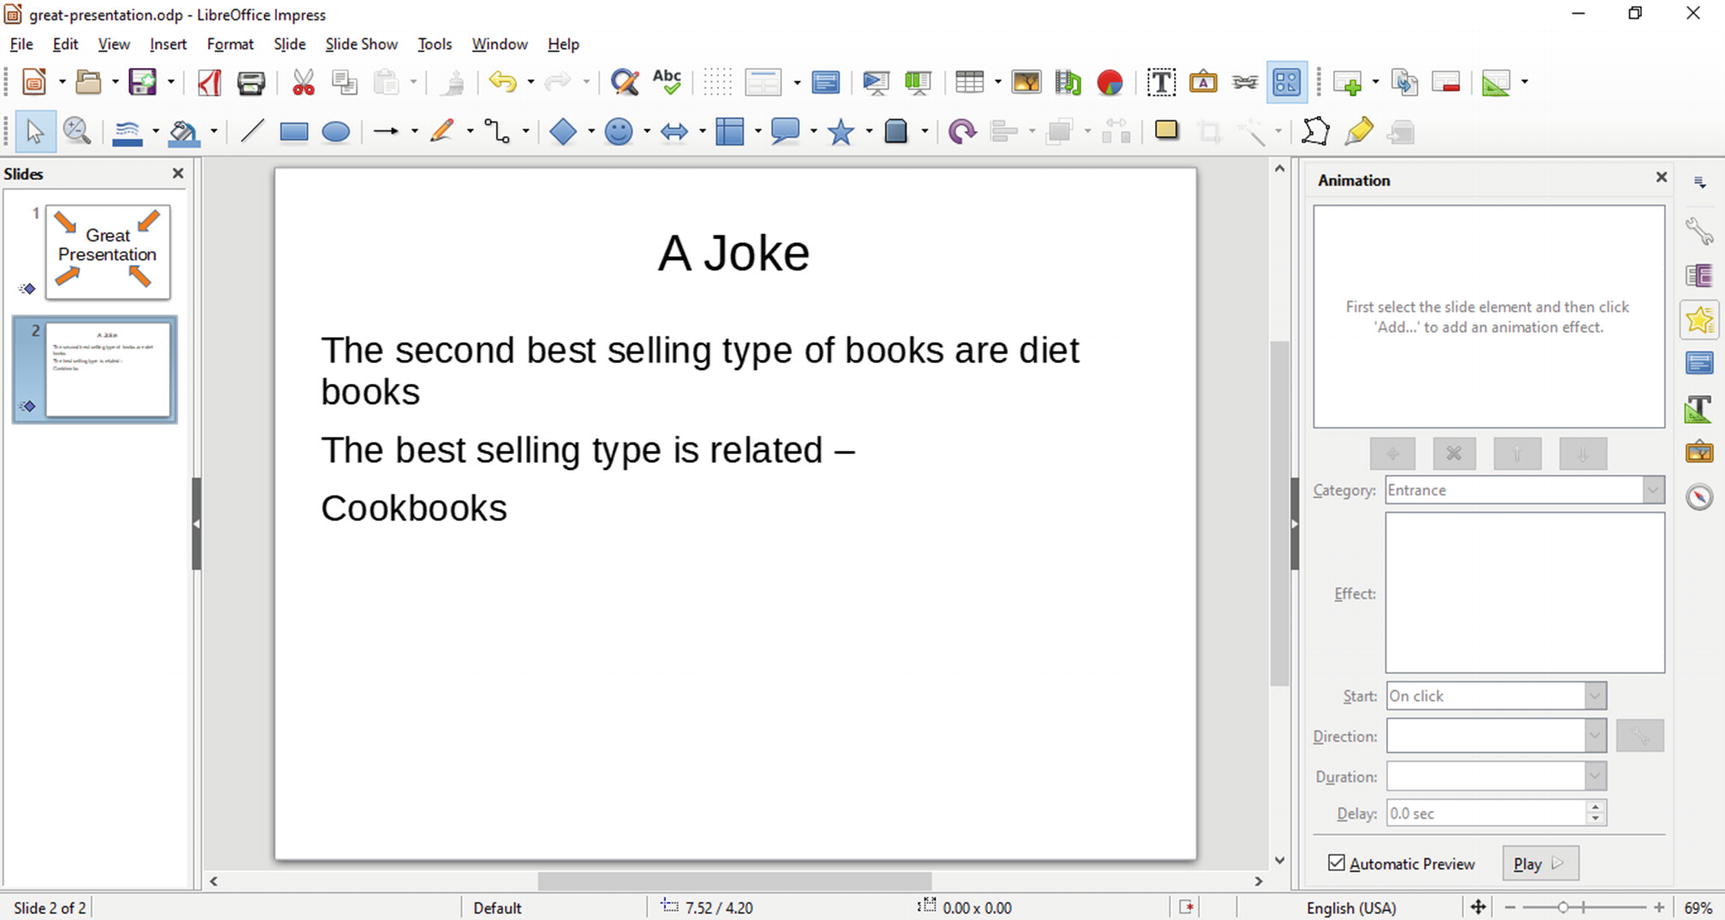
Figure 6-12 Adding animation
The animation sequence and type will be displayed in the Animation panel , as shown in Figure 6-13.
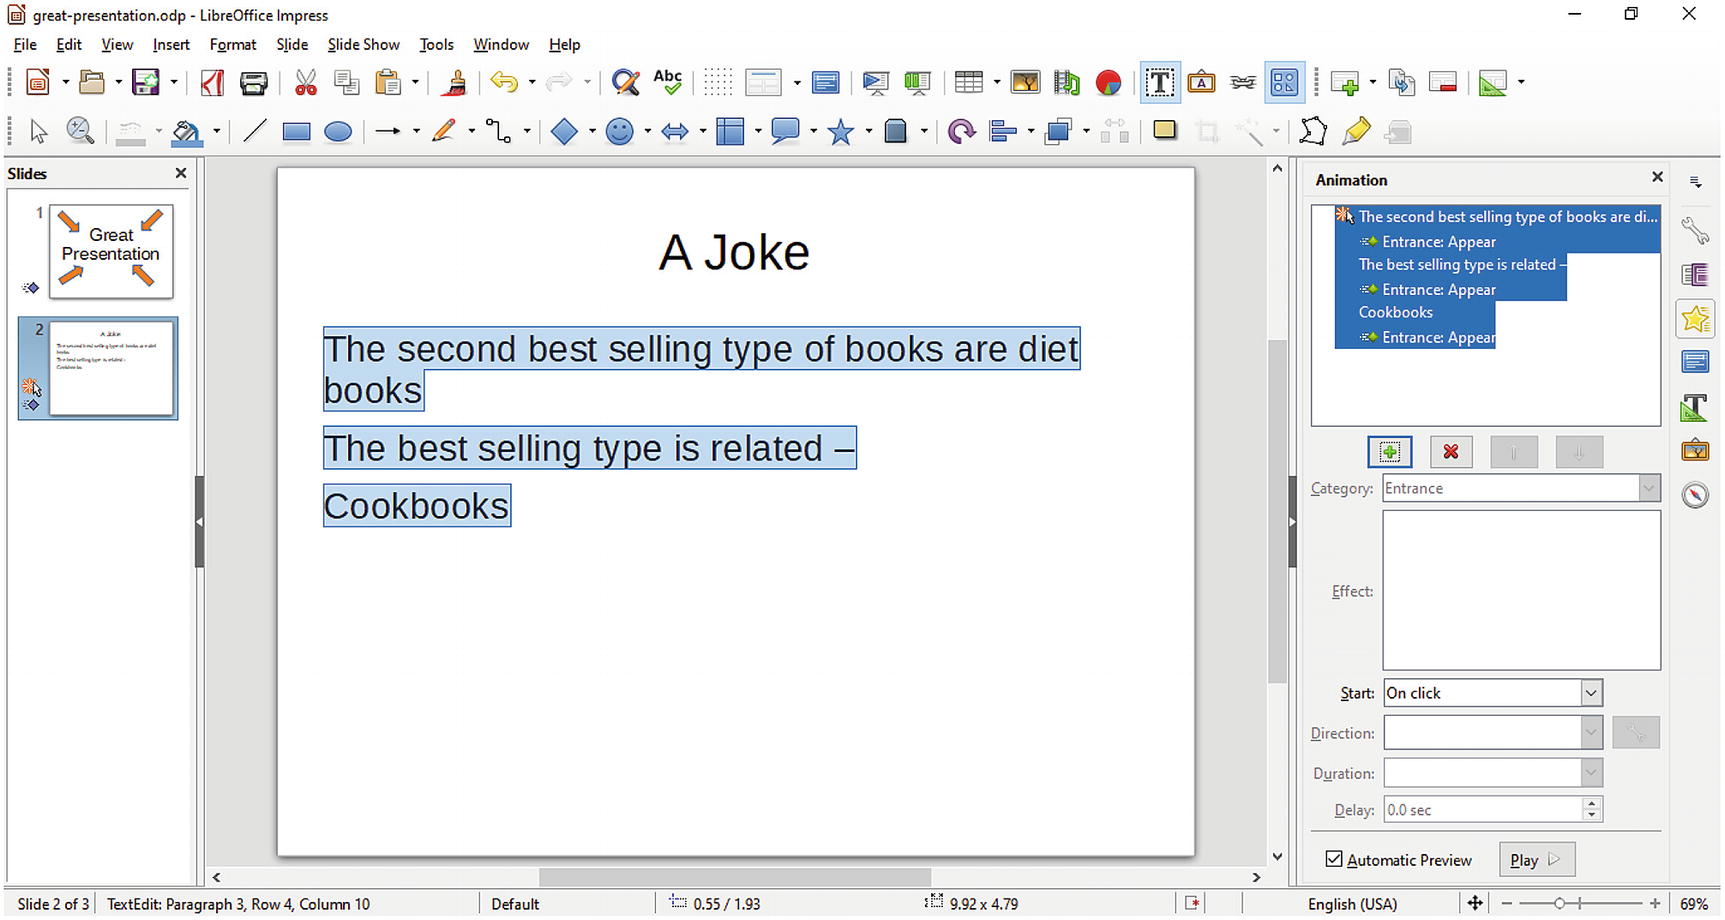
Figure 6-13 Animation panel
Select the first paragraph in the Animation box. Notice that the Effect setting is Basic/Appear. Change this to Basic/Fly In. Leave Start set to “On click” and Direction set to “From bottom.” Figure 6-14 shows you the settings.
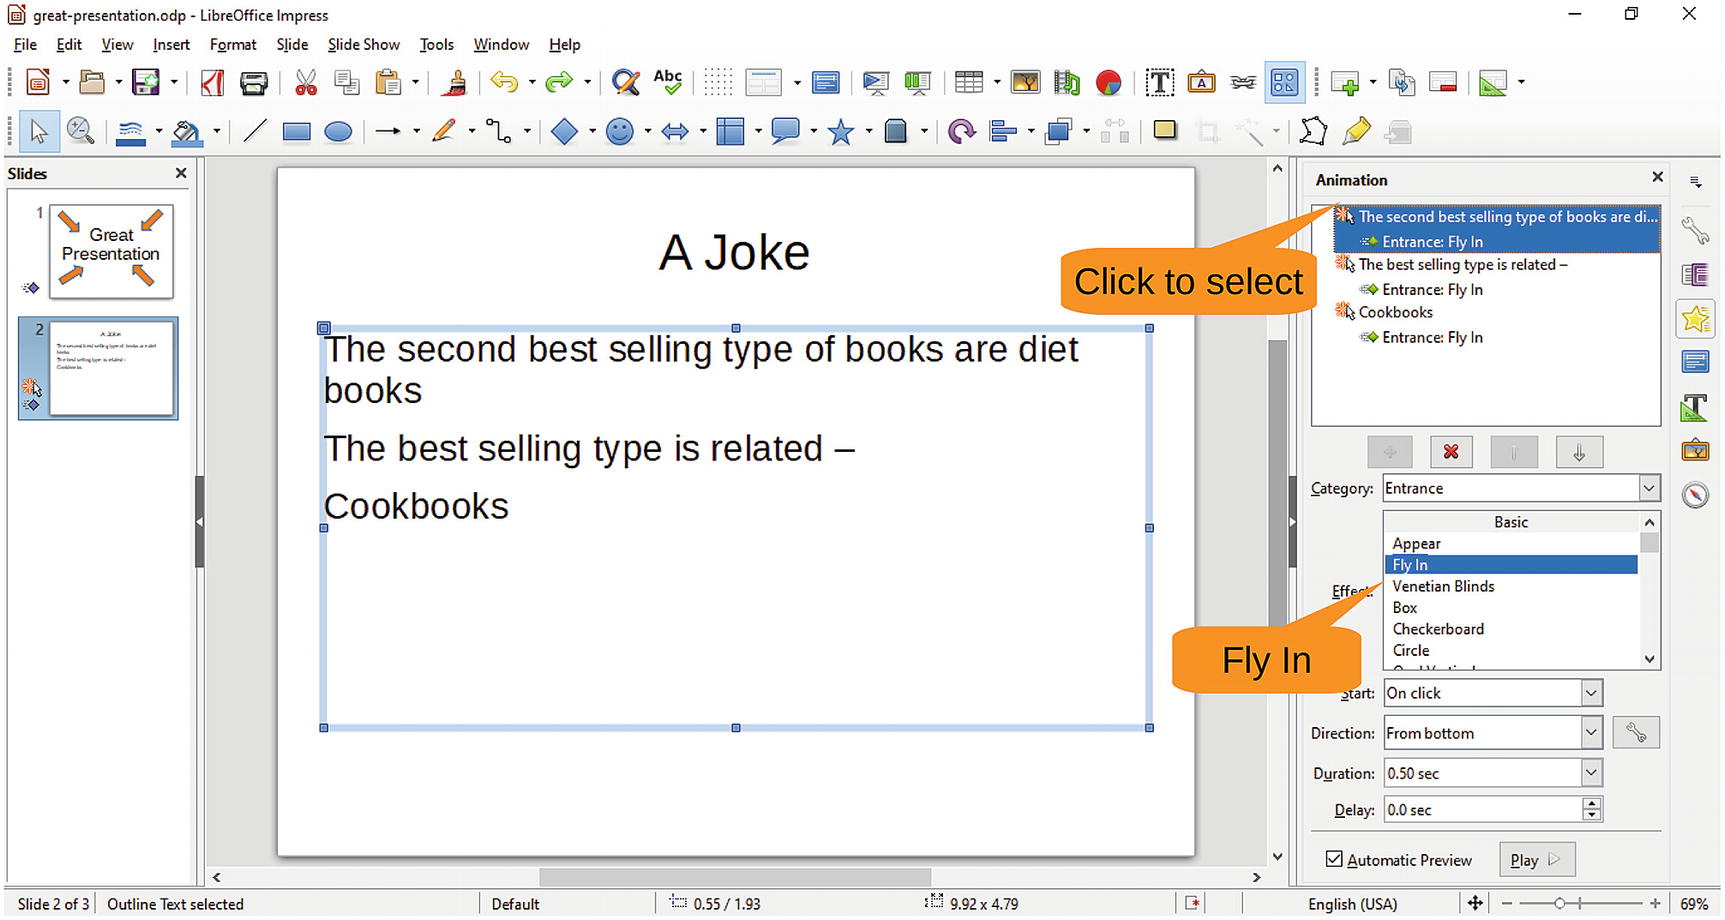
Figure 6-14 Animation settings for the first paragraph
Now click the second paragraph. Change Effect to Basic/Fly In and change Start to “On click.” Do the same thing for the third paragraph. Now select Slide Show ➤ Start from current Slide, as illustrated in Figure 6-15.
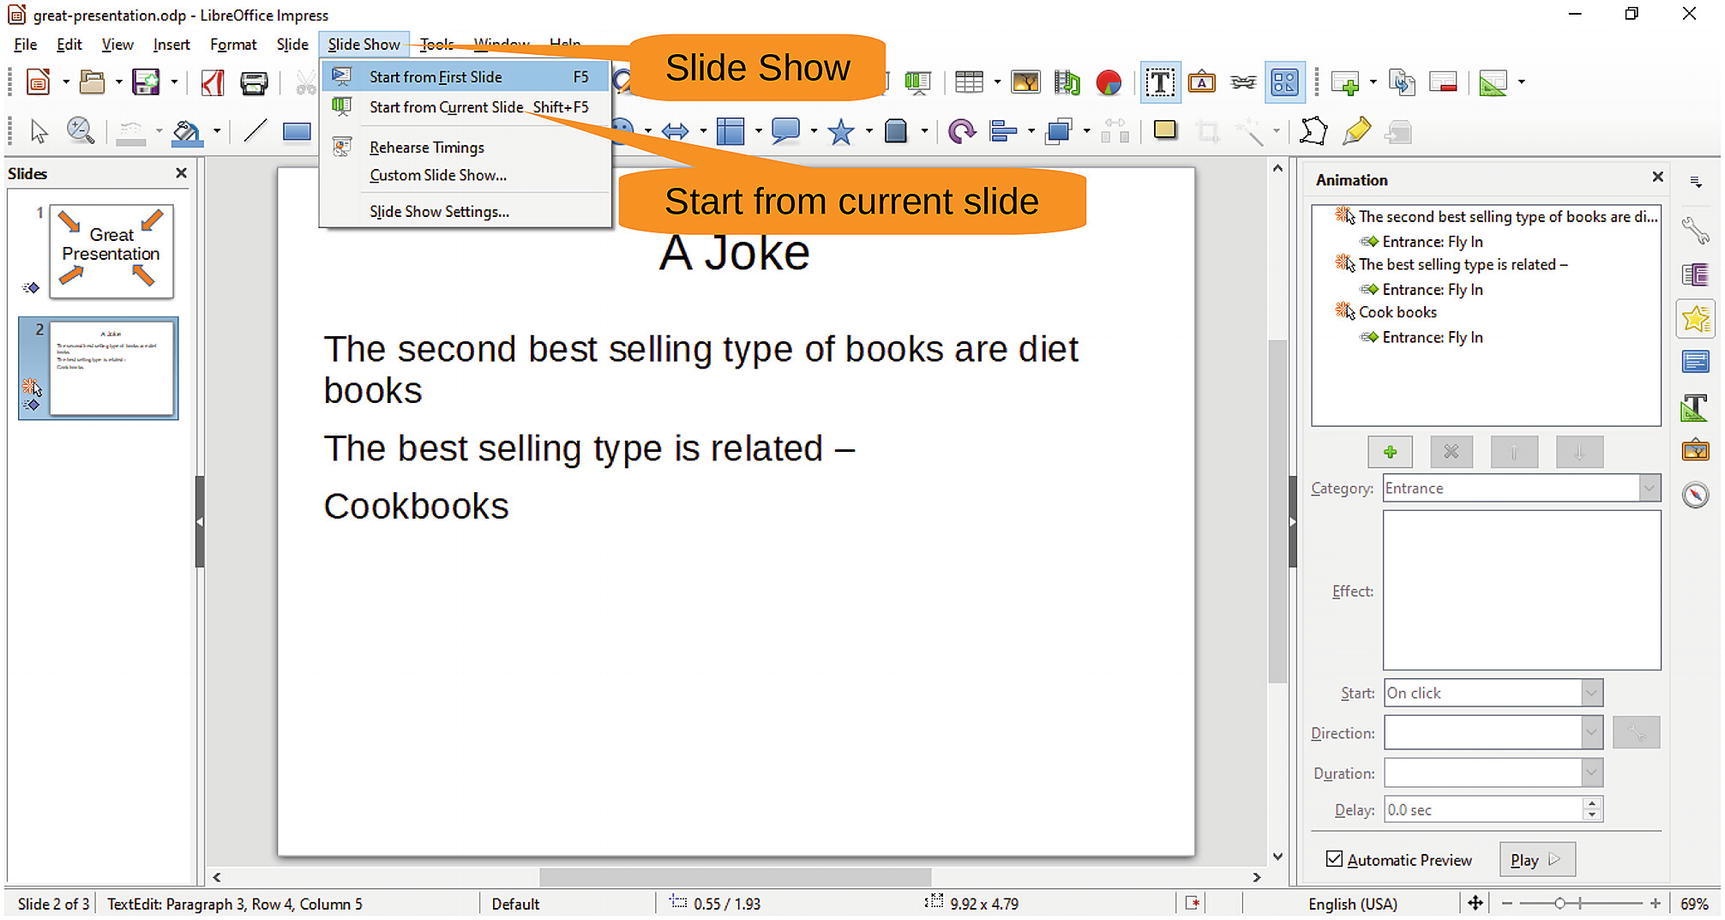
Figure 6-15 Starting the slide show
A slide will be displayed, but only the title of the slide will appear (see Figure 6-16).

Figure 6-16 Starting the slide
Click to bring up the next part. You’ll see “The second…” fly up the page to its place. Figure 6-17 shows the result.
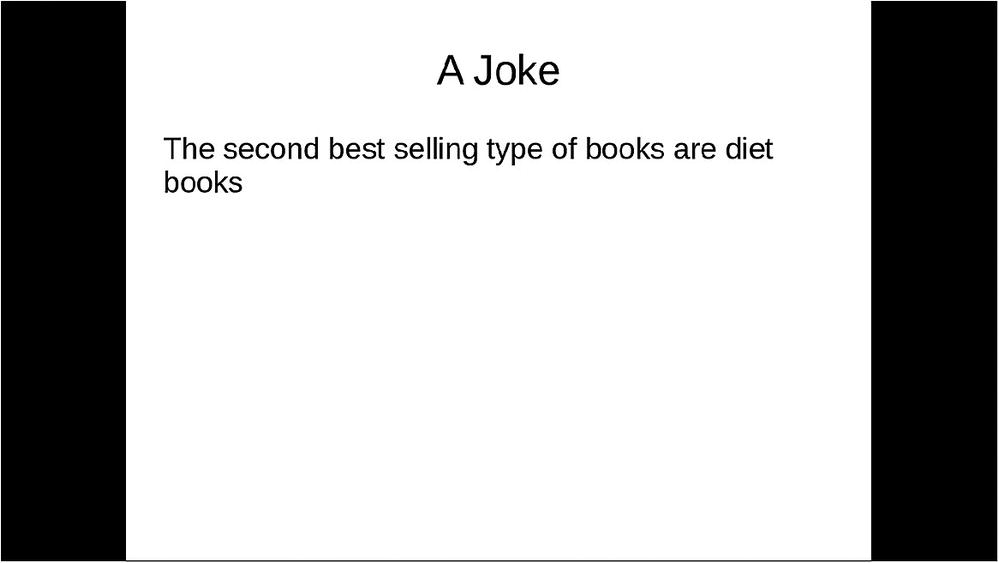
Figure 6-17 After the first click
The next click brings up the “The best…” line, which you can see in Figure 6-18.
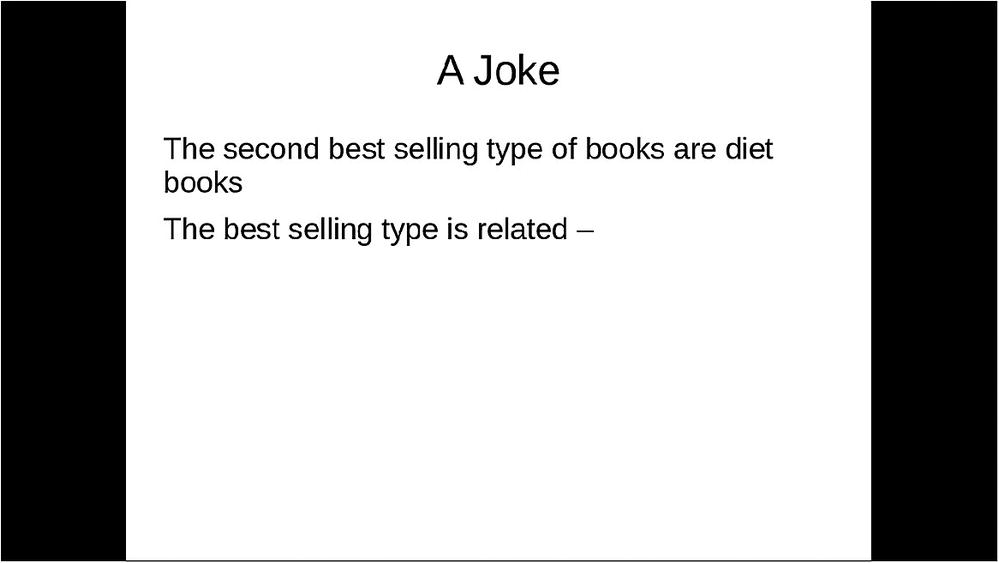
Figure 6-18 The result of the second click
Let’s now pause and give the audience time to guess at what the answer is. Then click one more time to bring up the full joke , as shown in Figure 6-19.
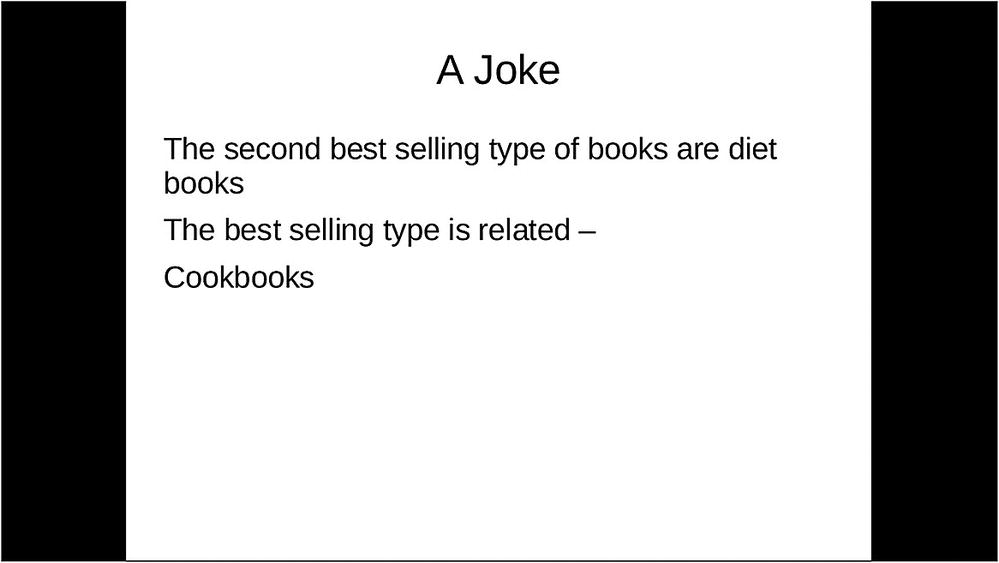
Figure 6-19 Third click and full joke
Feel free to experiment with different types of effects. There are lots to choose from, and most of the animations work with all types of graphics cards. Some require more power and others don’t. But experimentation is the best way of seeing what’s going on, especially because this book is limited to static images.
Clicking the red “X” icon below the animation list will delete the selected animation. Also, there are up and down arrows that allow you to reorder the items in case you feel the joke is better if you tell the punch line first.
Adding Slide Transitions
You have seen how paragraph animations make your presentation more powerful. You’ll now animate the transition between slides, which gives your presentation a bit of zing.
Click the Slide Transition icon on the right (see Figure 6-20).
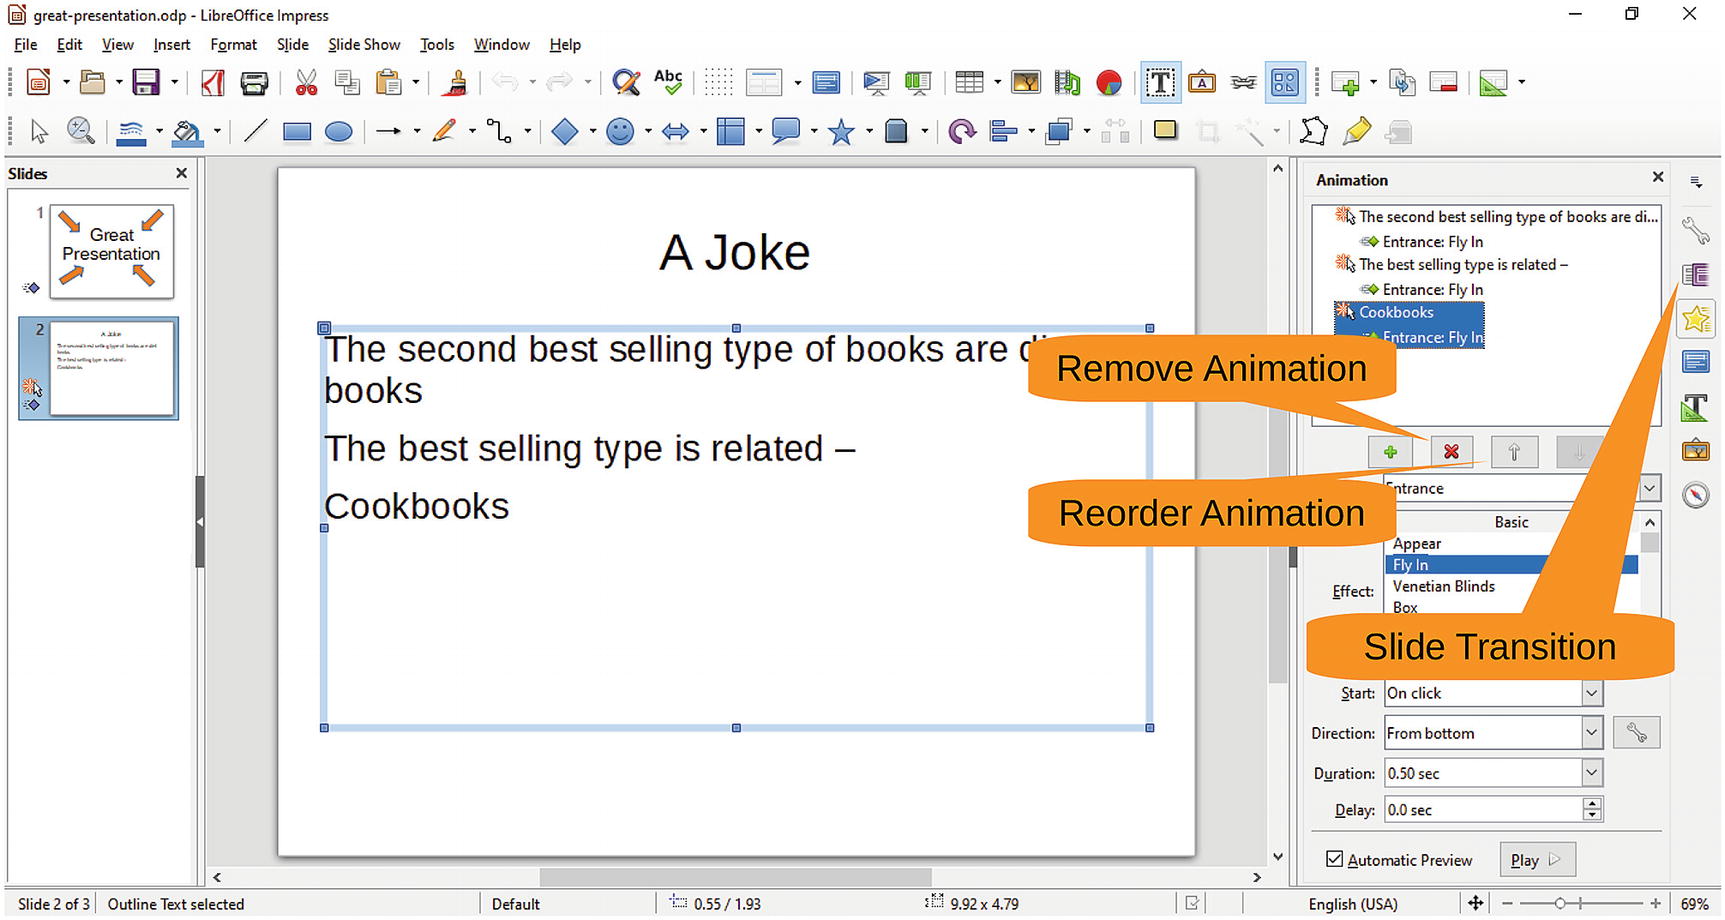
Figure 6-20 Animation controls and Slide Transition icon
In the Slide Transition list, click Wipe to select a slide transition , as shown in Figure 6-21. Impress will show you a preview of the transition. Now when you start the side show from the beginning, the second slide will appear with a “wipe” effect . Play around with the other transitions; the effects are quite interesting.

Figure 6-21 Slide transition
Adding Sound
One way of spicing up a presentation is with sound. In this presentation, you’re going to show a picture of failure with a “wah wah waaah” sound playing. Let’s start by creating a slide called “Mistakes Happen” and then insert a picture of the Tacoma Narrows Bridge that collapsed in 1940. You can see the results in Figure 6-22.
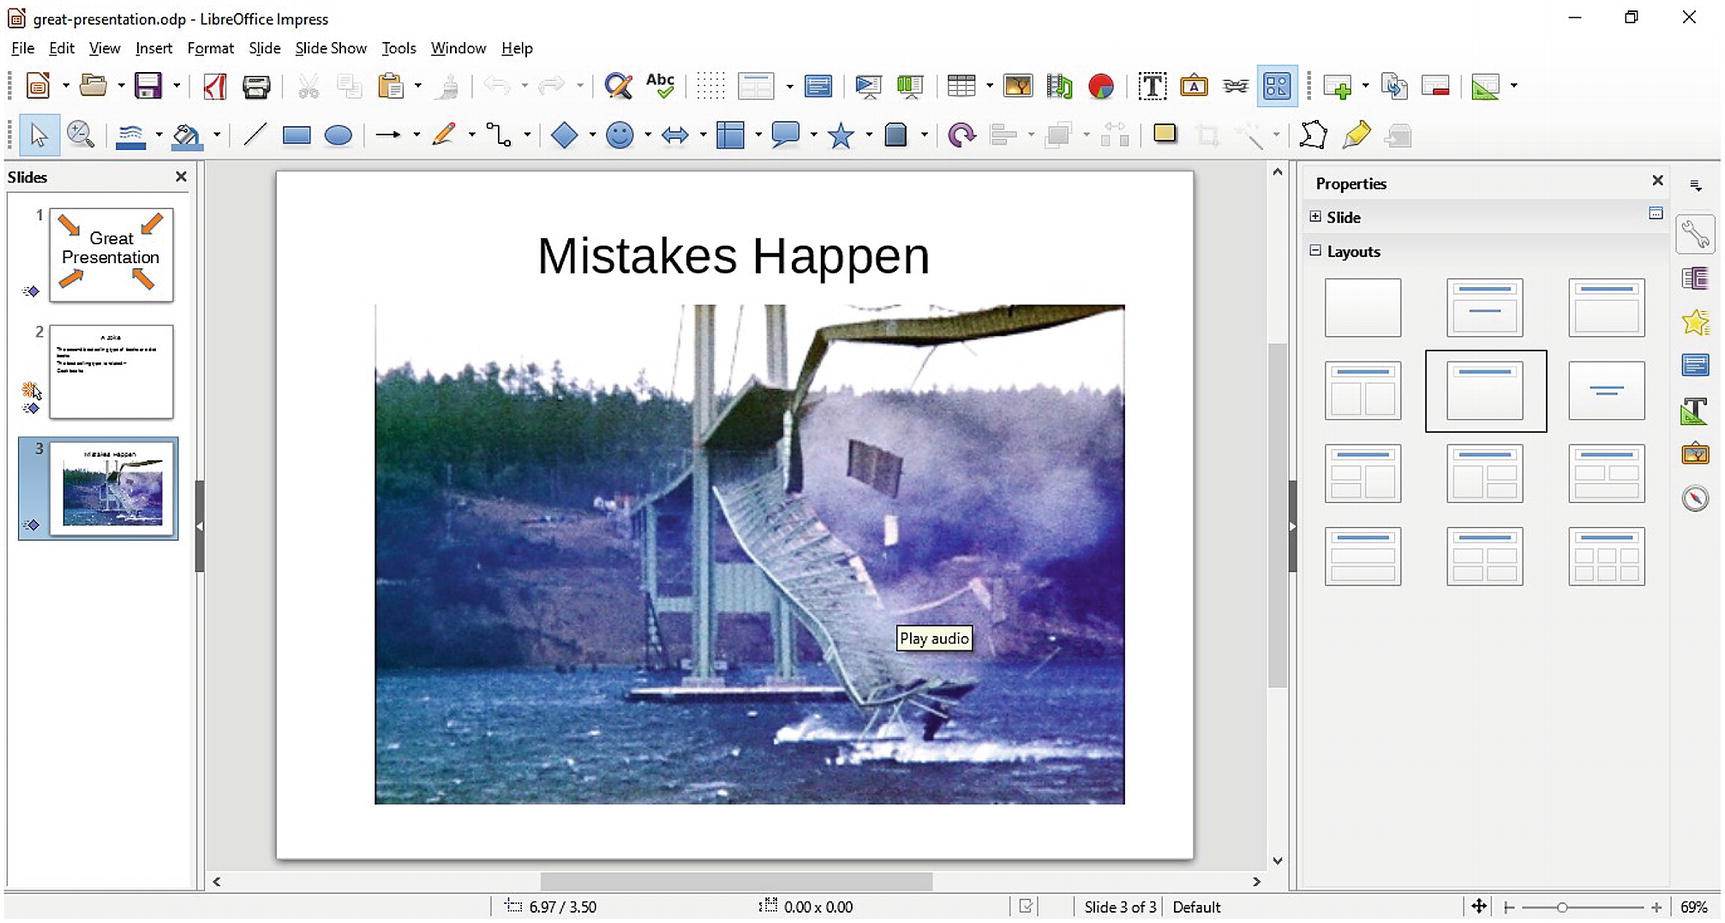
Figure 6-22 A big mistake
Now let’s make the picture interactive. Right-click the image and select Interaction , as shown in Figure 6-23.
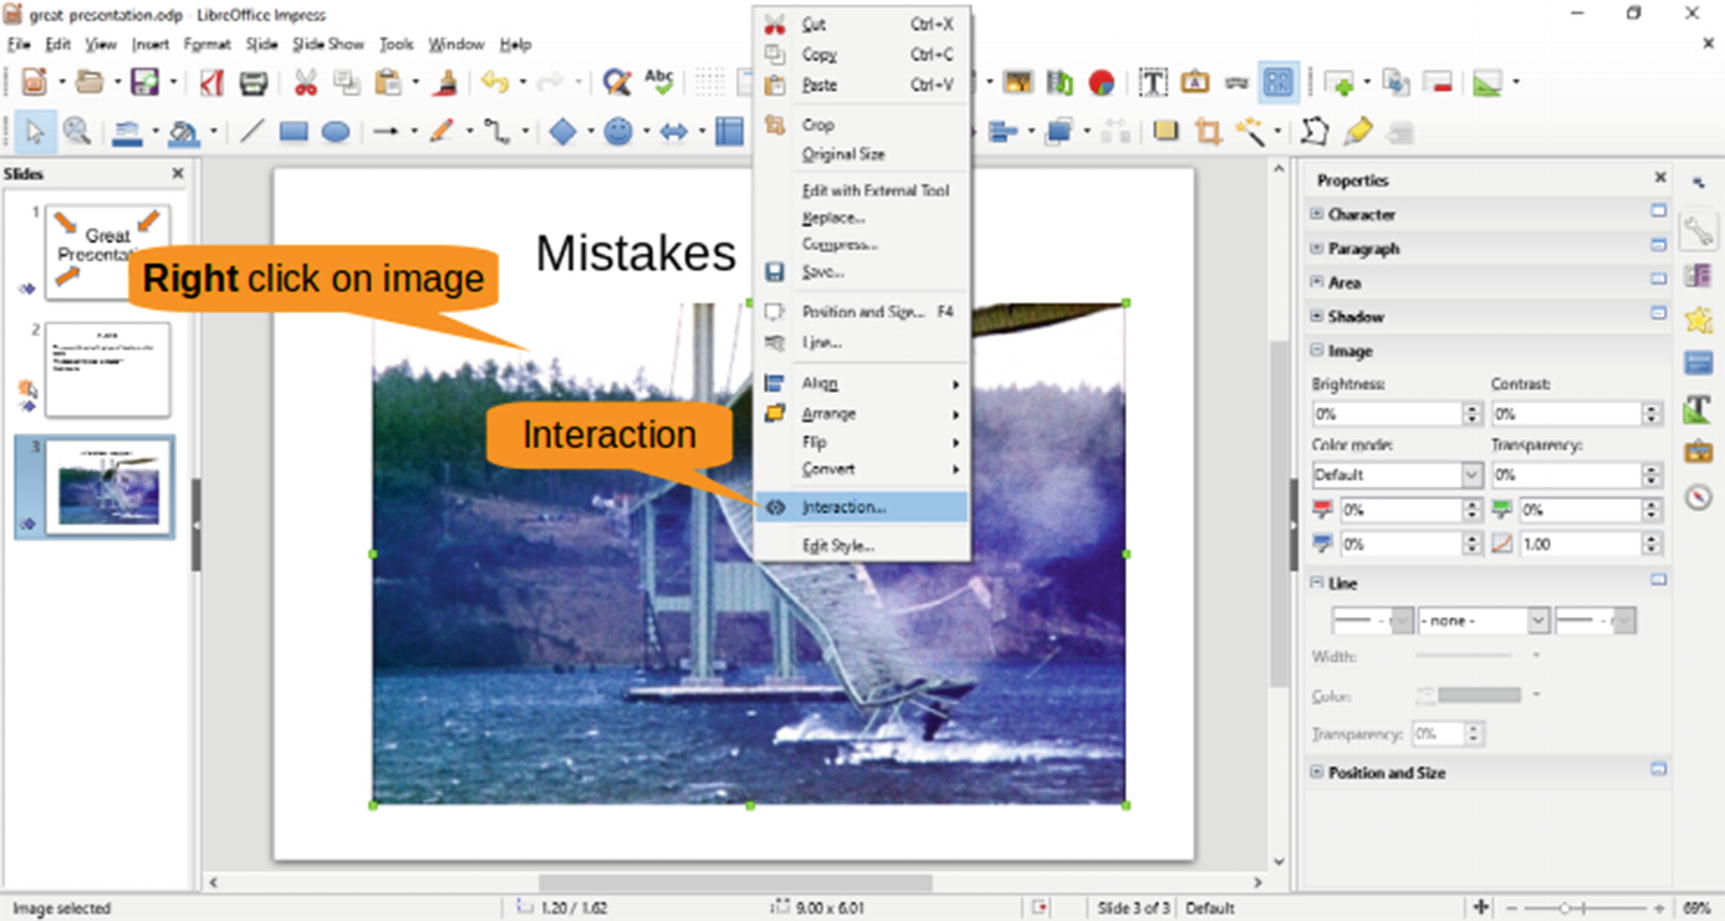
Figure 6-23 Creating an interaction
The Interaction dialog will appear, as shown in Figure 6-24.
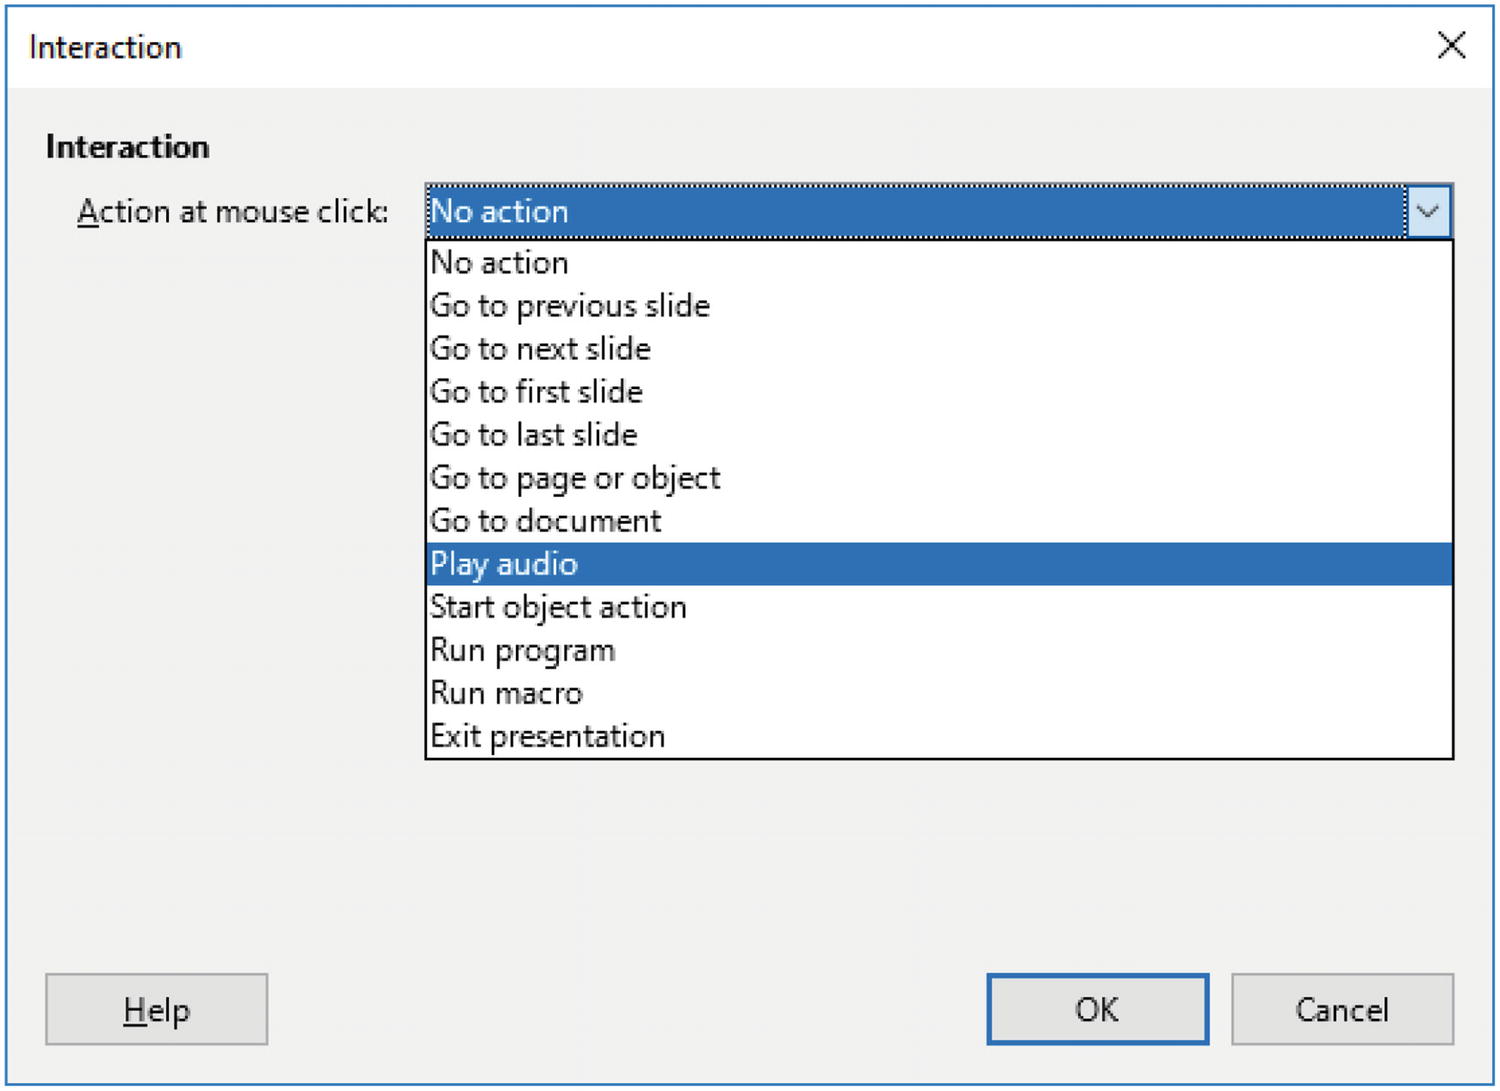
Figure 6-24 Interaction dialog
Select “Play audio.” This causes an Audio field to appear at the bottom, which allows you to select an audio file on your computer, as shown in Figure 6-25 . After selecting a file, click OK to dismiss the dialog.
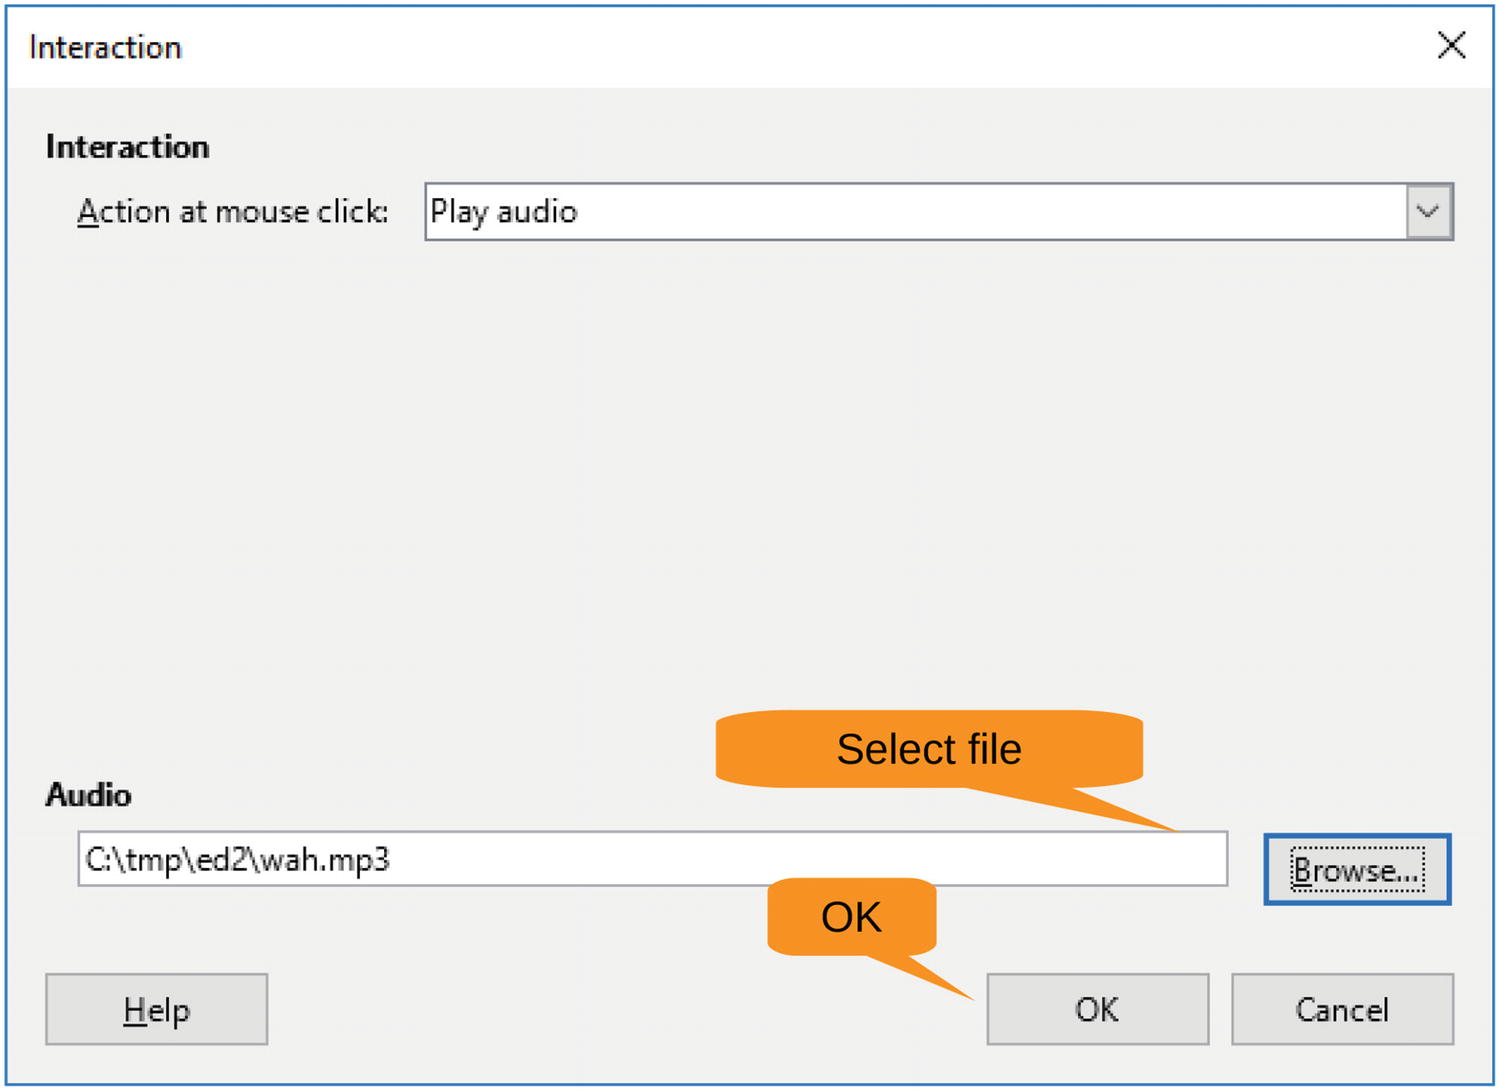
Figure 6-25 Selecting an audio file
Now when you go into the slide show and click the picture, the sound in your audio file will play; we’ve selected a “wah wah waaah” sound for this example.
Note that clicking the image does not advance to the next slide like it normally would. If you want to do that, you need to move the cursor off the image and click the border or title.
Or you can use the handy gadgets in the presenter’s console, which happens to be discussed in the next section.
Working in the Presenter’s Console
The big day has arrived. You are going to give your presentation. First, you get to the room an hour early and spend 59.5 minutes trying to debug the projector system. Connecting the projector to the computer gives you two monitors. One, the small one, is built into your laptop. The other is the projector that is going to display your work to thousands of people.
LibreOffice Impress can make use of both projectors. Let’s start the slide show with Slide Show ➤ Start from first Slide, as illustrated in Figure 6-26.
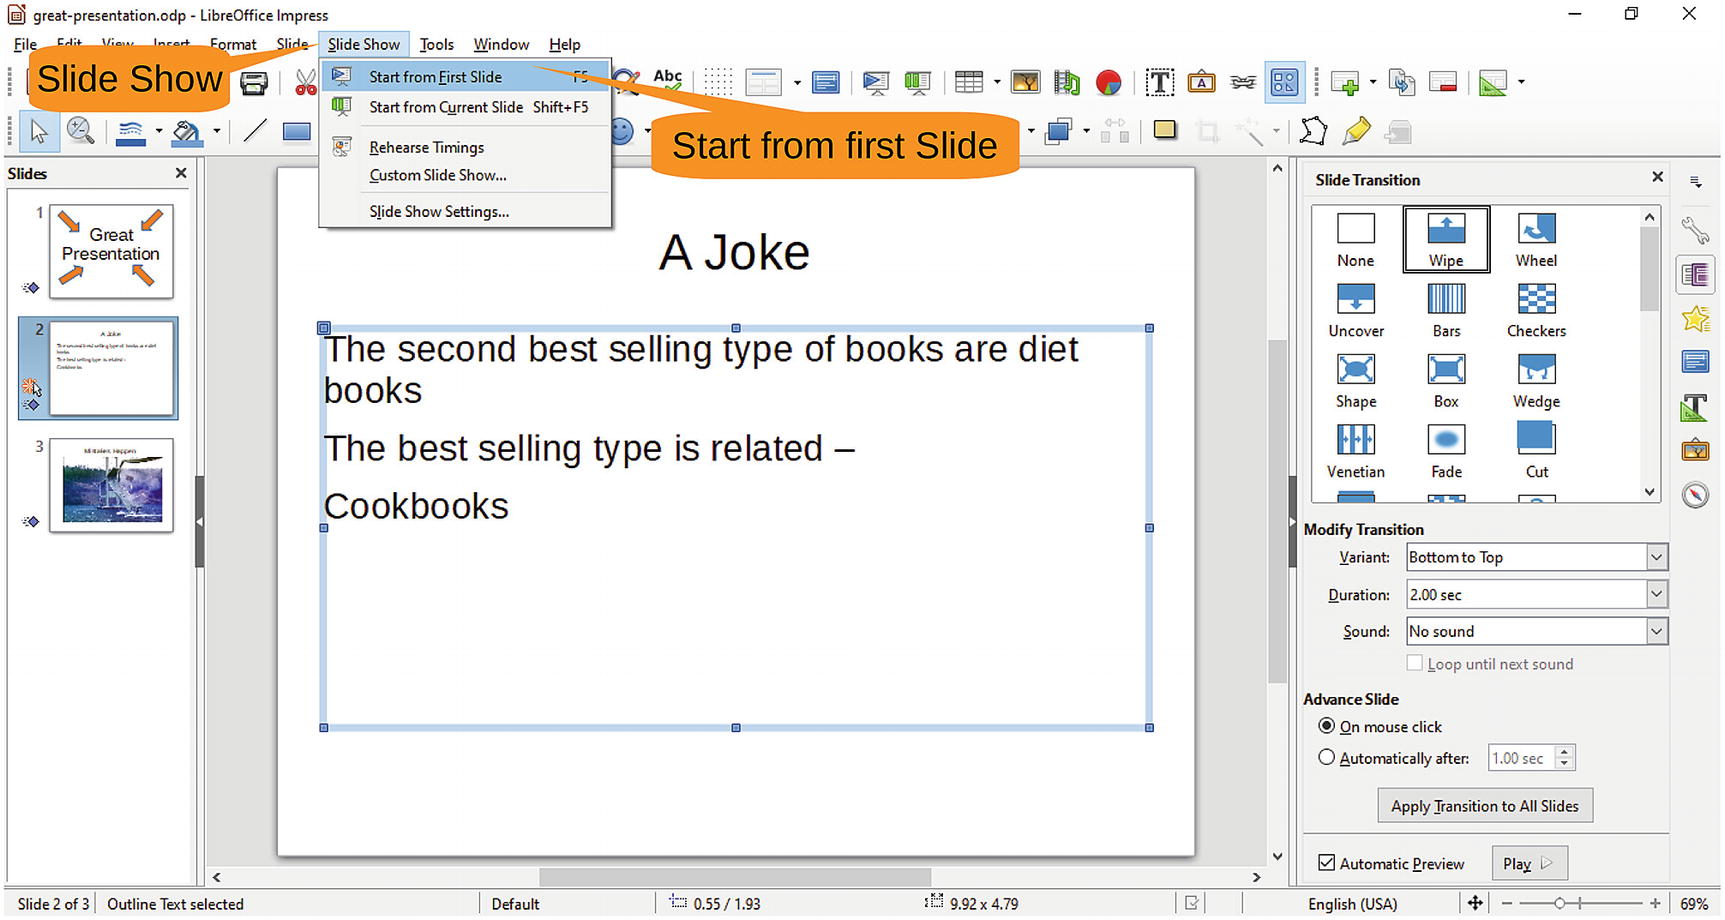
Figure 6-26 Starting the slide show
The first slide will be displayed on the projector . On the laptop screen, you’ll get the presenter’s console, as shown in Figure 6-27.
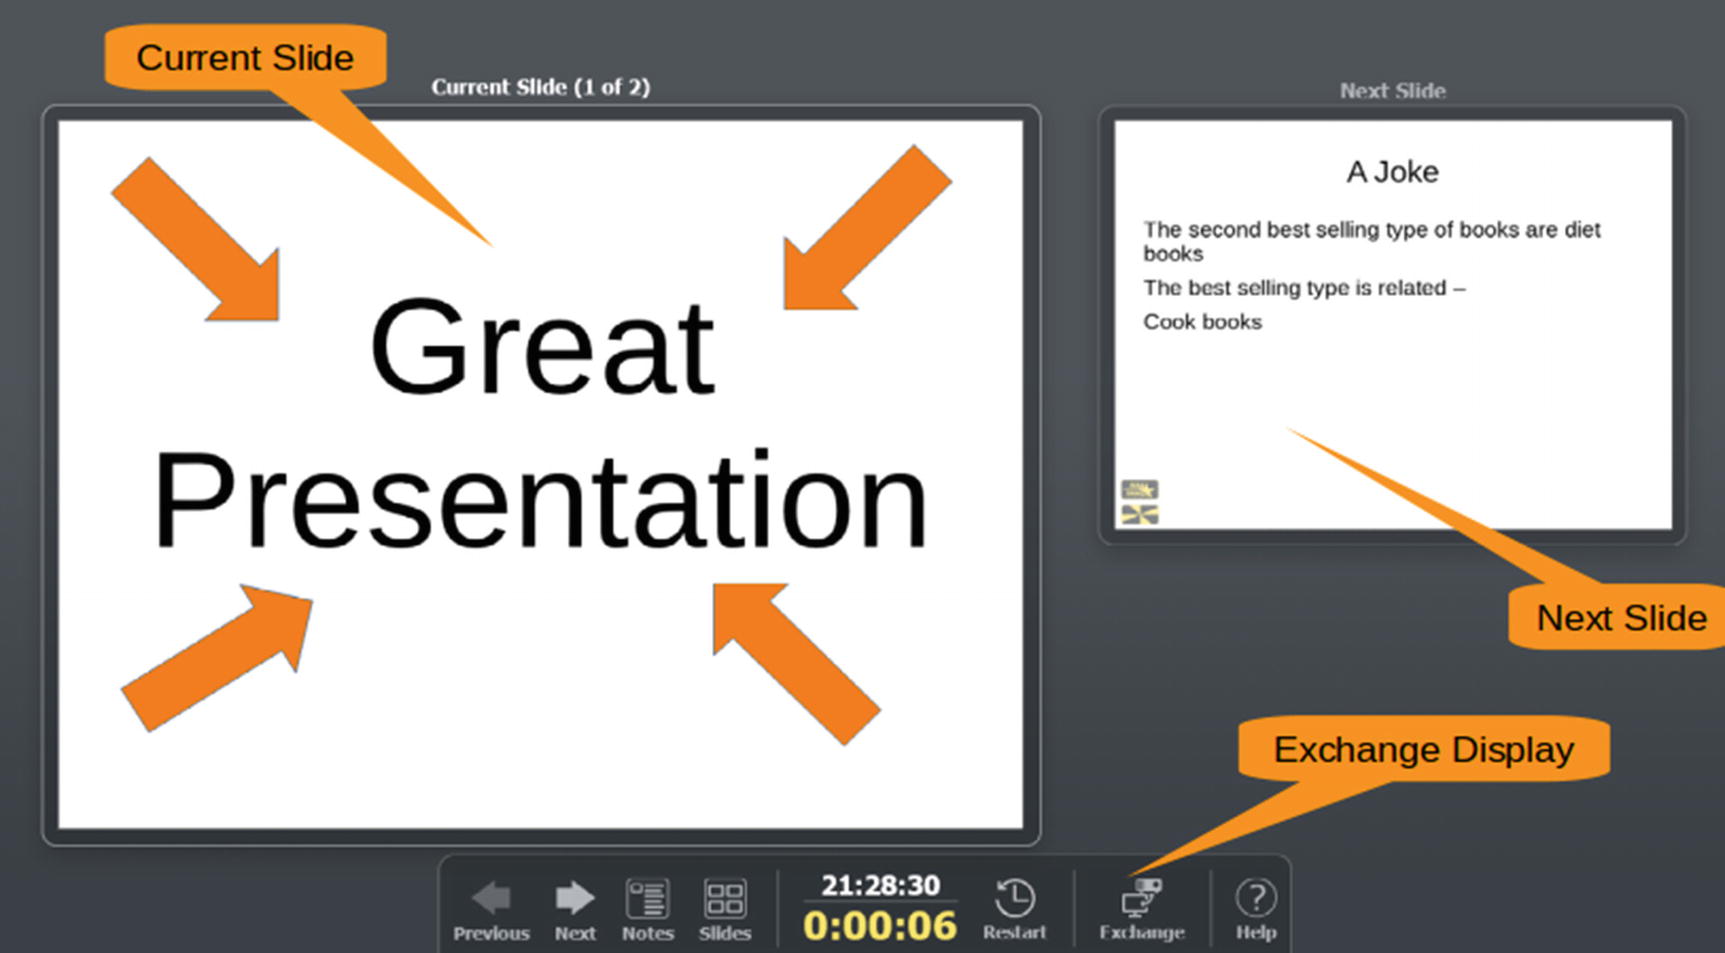
Figure 6-27 Presenter’s console
The majority of the screen is taken up with the current slide. This is the same thing the audience is seeing now. On the right you have the next slide. That way, you can get ready what you will say next.
LibreOffice may sometimes pick the wrong screen. In other words it will put the presentation on the laptop screen and the presenter’s screen on the projector. If this happens there is an Exchange button that will switch the views so the audience sees the presentation and the presenter sees the Presenter’s console.
Most of the other controls are simple. There’s an elapsed timer showing you how long you’ve been talking, a couple of buttons to change the layout, and a Help button.
Summary
You now have all the elements of a great presentation. It has a beautiful title screen with stunning slide transitions. This is followed by an amazing joke to break the ice that uses animation to deliver the punch line. In fact, you have just about everything…except any real content. Well, this book would not be any fun if we didn’t leave something for you to do.