
Changing the Logo Globally Using Only CSS
In most cases, your site's logo is the corporate logo and should always be visible for every site and page. The manual way of changing it is to click on Site Actions ![]() Site Settings
Site Settings ![]() Title and description
Title and description ![]() Type in URL path to the logo
Type in URL path to the logo ![]() Click on Ok. You could create some script to do this through code but why waste all of that time when you can just do it with CSS. The first step is to create your logo and optimize it for the web. It should be saved as a GIF, JPG, or PNG file. Once you have created the image, depending on your implementation method, upload the file to where all users have read access. Then simply update the following CSS in Listing 8-9 with your own path and logo name. You also need to change the height and width to match the image dimensions of your logo.
Click on Ok. You could create some script to do this through code but why waste all of that time when you can just do it with CSS. The first step is to create your logo and optimize it for the web. It should be saved as a GIF, JPG, or PNG file. Once you have created the image, depending on your implementation method, upload the file to where all users have read access. Then simply update the following CSS in Listing 8-9 with your own path and logo name. You also need to change the height and width to match the image dimensions of your logo.
Listing 8-9. CSS to Change the Site Logo
.s4-titlelogo{

background-image: url(/_layouts/images/centraladmin_security_48x48.png);

background-position:left center;

background-repeat: no-repeat;

}

.s4-titlelogo > a > img{

visibility: hidden;

width: 48px;

height: 48px;

}
If you used the example CSS in Listing 8-8 as is you will see that the site logo has changed from the standard SharePoint logo icon to what is shown in Figure 8-27.
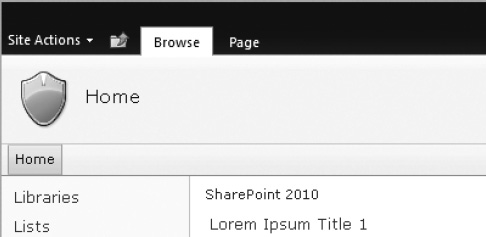
Figure 8-27. Site logo modifed using only CSS
The next tip is used quite frequently to hide the left-side navigation and provide a full space for the content to expand into.