With the TypoScript changes saved we can create an example page inside of the Newsletters folder from the contextual menus in the page tree to test our template. Because we set the default template as Newsletter [Template] for all pages inside the Newsletter folder, we will already have the newsletter template applied, and we can see our new sections for content elements in the Page view:
If we choose the View button from the sidebar, we can see that the template has already filled in a lot of our information from the TypoScript objects and HTML that we already mapped before we even start adding our own content:
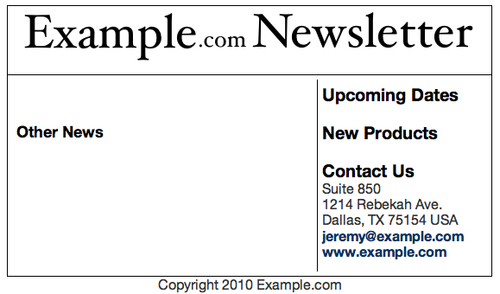
When we see this much information already included in the template that means that we designed a bulletproof template. All of the output we see here is information that our editors do not have to fill in by hand for every newsletter from now on. We're already making their lives easier, and we can go ahead and finish creating an example page for them.
Now that we have a blank example page, we can add some content. We want to show the editors an example of the formatting that they should use, so we'll just go through and fill in every dynamic field with some information.
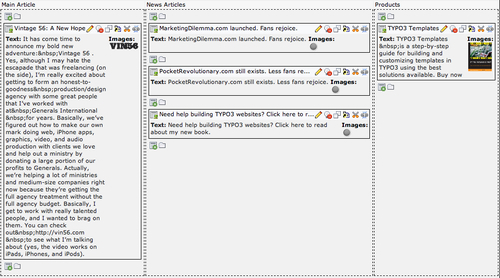
First, we can add some content elements to each column in the TemplaVoila page module. We have already worked with page content elements, so we are not going to go through this step-by-step, but you can add some basic elements with graphics to your example newsletter now. This is what our page module looks like after we have added some content:
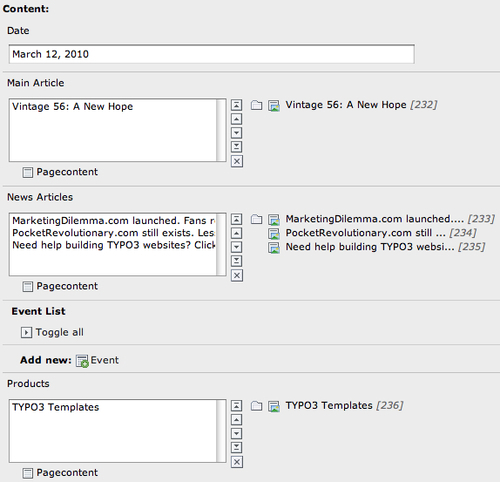
Next, we can add the date and event information to our newsletter. Our new fields are available in the Extended tab of the page properties. We can see the new columns that we created in the data structure in the Content: section; the Main Article, News, and Products will show the elements that we just created in the first three steps. Now, we can fill out the date of our newsletter:
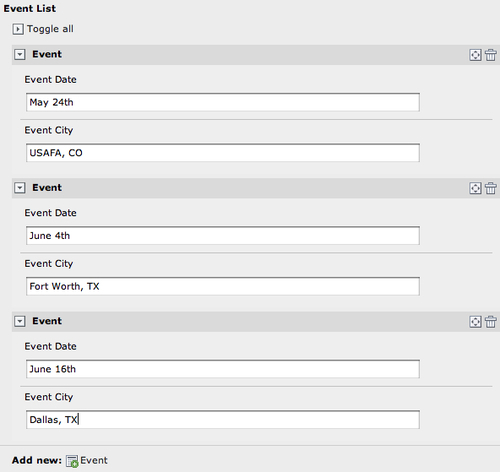
Finally, we can add events to the calendar by clicking on the Add new: Event button in the Event List section of the page properties. We can add as many events as we need by clicking on the Event button for each new event, and we can use the arrows and trash can icons to move our events around in the list or delete them entirely. We could do something like this with flexible-content elements, which we will learn about in a couple chapters, but doing it this way can help structure our template to make sure that editors never forget to include the upcoming events in our pages and is faster than creating multiple content elements. Let's go ahead and add a few events as shown in the following screenshot and save our changes.