
Lens Correction
Photoshop has a filter called Lens Correction that is designed to deal with problems that can occur when you take photographs, such as geometric distortion, vignetting, and chromatic aberration. This filter is great for correcting one photo, but it can be a tedious way to correct a folder fill of images. That’s where the Lens Correction command under File > Automate comes in (Figure 1.12).

Figure 1.12 Lens Correction dialog.
As with most automated commands, you choose a folder or specific files for the image source (Figure 1.13). Then, under Destination Folder, choose the location for the resulting files and the file type: jpg, png, psd, or tiff.
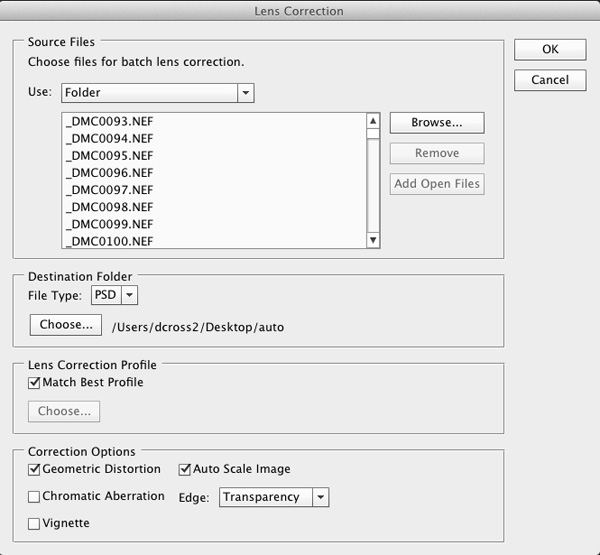
Figure 1.13 Selecting source files for use with the Lens Correction feature.
Under Lens Correction, you can choose either Match Best Profile or, if you know you have a specific lens profile, browse for it. Lens profiles can be found here:
LibraryApplication SupportAdobeCameraRawCameraProfilesLensProfiles[your camera manufacturer]