
Crop and Straighten Photos
The Crop and Straighten Photos command automatically detects multiple images on a page, and then separates and straighten them. This function is designed for use with a scanner. You place multiple photos on a scanner, scan them all at once, and then open the file in Photoshop. You don’t even have to worry about placing them carefully or straight—Photoshop takes care of that. The only things you have to worry about is leaving space between the photos so Photoshop can detect the edges. (If necessary, place a darker piece of paper behind the photos to create enough contrast to detect the edges.)
Figure 1.4 shows a scan of several photos; notice how I didn’t even worry about trying to straighten the photos.
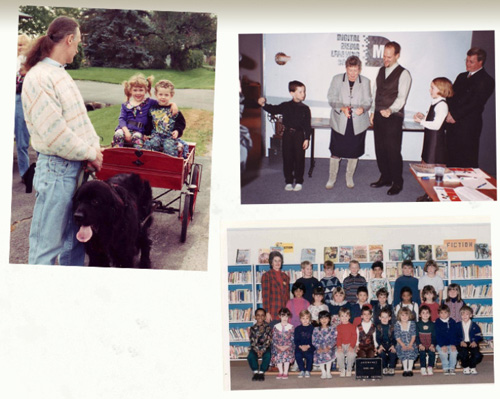
Figure 1.4 A quick scan of multiple photos.
Once you open the scan in Photoshop, choose File > Automate > Crop and Straighten Photos. That’s it—Photoshop does the rest, creating separate files from the images it detects (Figure 1.5).
Usually, the results are pretty good, although occasionally you’ll get an odd result with an unusual crop. This happens when the edge of a photo isn’t detected properly. Also, you may need to do some additional cropping or straightening because sometimes Photoshop uses the outer edge of the photo (the border) rather than the image area. Still, even when it doesn’t work perfectly and the results need some tweaking, it’s still better...compared to the alternative.

Figure 1.5 The three photos straightened and separated into individual documents.