
Creating a New Panel
Configurator is a standalone application that lets you create custom panels for Photoshop. After downloading and launching the application, use the File menu to create a New Panel. In the dialog, name the panel and indicate the product for which the panel is intended (Figure 4.1).
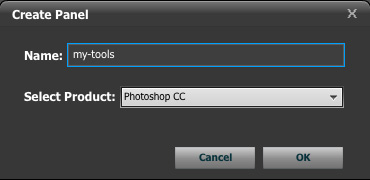
Figure 4.1 Create Panel dialog.
Use the options on the right side of the Configurator to specify the panel’s size and author name (Figure 4.2).
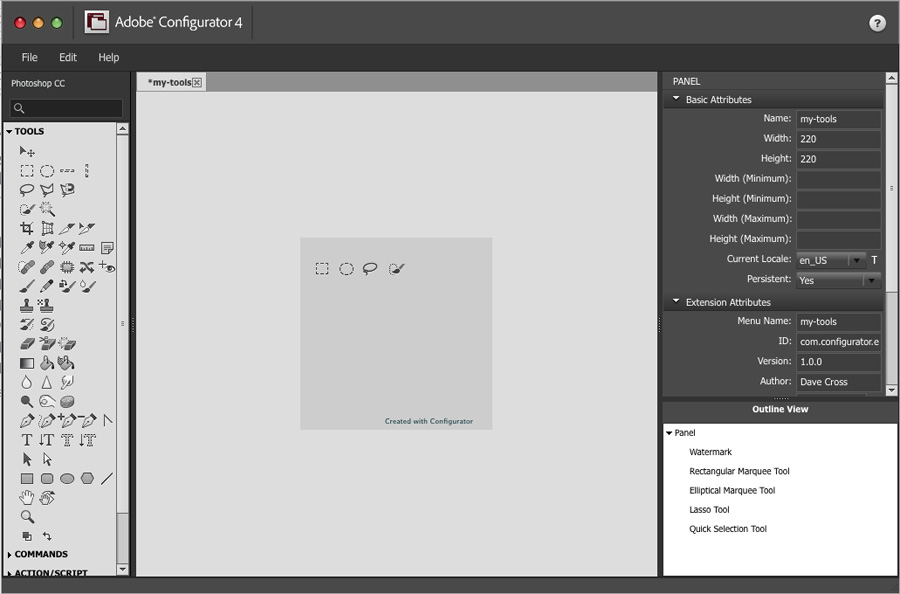
Figure 4.2 In the Configurator, use the options at right to customize your panel.
To configure the panel, drag the tools and commands from the left area onto the panel creation area (Figure 4.3). Take advantage of the smart guides to line up the icons and buttons.
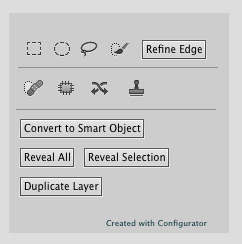
Figure 4.3 Drag the tools you want to your panel.
Once you’re ready to create a panel, you just need to do two steps:
1. Use the Save Panel command to save the configurator file so you can continue to edit the panel.
2. Use the Export Panel command to create the panel into Adobe Photoshop XX > Plug-ins > Panels.