
Merge to HDR Pro
Because many sources are available for learning about HDR imaging (including The HDR Book: Unlocking the Pros' Hottest Post-Processing Techniques by my friend RC Concepcion), I won’t go into much detail about HDR processing. Instead, we’ll just look at the basics of preparing for and accessing the Merge to HDR Pro command.
The idea behind HDR (High Dynamic Range) is to combine multiple exposures of the same photo to create an image with a greater range than is possible with one photo. For example, trying to capture both the interior of a room and the light coming in the window is next to impossible with one photo. Instead, you can capture several exposures of the same scene, typically using the bracketing function on the camera.
After capturing a series of images with different exposures, use File > Automate > Merge to HDR Pro to choose the files (Figure 1.14).
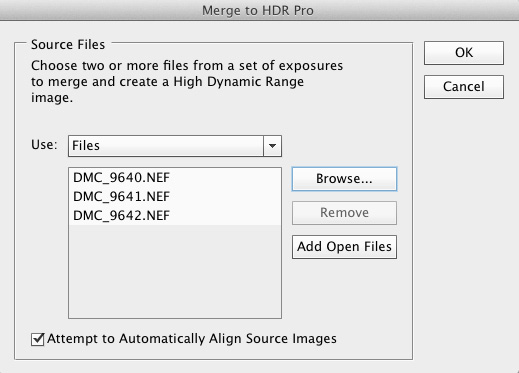
Figure 1.14 Merge to HDR Pro dialog.
After you click OK, the selected files are merged together and opened in the Merge to HDR Pro dialog (Figure 1.15).
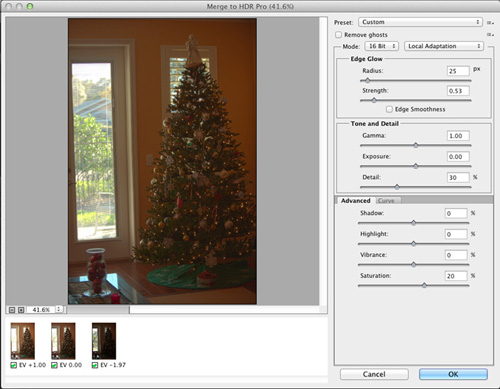
Figure 1.15 Merging the three source images.
In this dialog you can make a variety of adjustments and/or apply presets. (Once again, my purpose here is not to review all the options, but just to provide an overview of the process.) Usually, it is possible to create an image that combines the best from each exposure as you can see in Figure 1.16.

Figure 1.16 The result of merging the three different exposures of the same image.
Photoshop CC also offers the option of completing the processing in Adobe Camera Raw. To do that, change the mode to 32 Bit and check the Complete Toning in Adobe Camera Raw option (Figure 1.17).
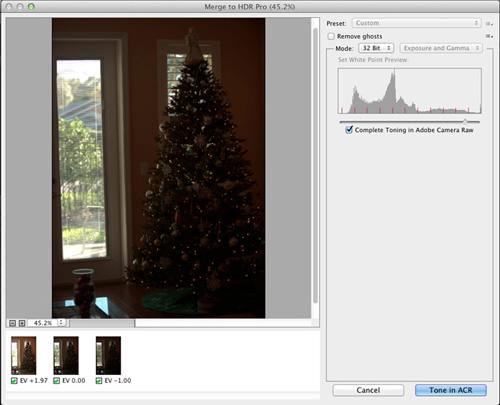
Figure 1.17 The Complete Toning in Adobe Camera Raw checkbox.
When you make adjustments in Camera Raw and click OK, the result is a Smart Object with the Camera Raw filter applied (Figure 1.18). This means you can continue to edit the results.
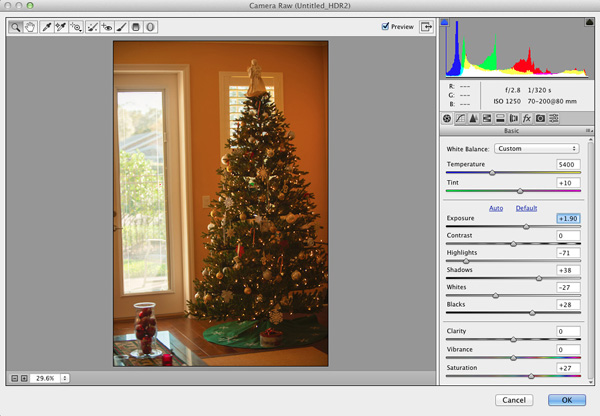
Figure 1.18 Making adjustments in the Camera Raw dialog.