
Similar to other vendors (Google, Apple, and others), Microsoft has designated their Windows Store to the preferred method of distributing apps to their users. Corporate developers can utilize company-specific areas, and sideloading is available in special circumstances, but the typical way the average user will obtain your app is through the Windows Store.
Certification is the process by which Microsoft ensures that the apps available in the Windows Store meet certain performance and quality standards. As a developer, the Windows Store makes it easy for customers to obtain and install your app. A user obtaining an app from the Windows Store can be reasonably confident that anything they download will behave according to the capabilities it has declared, and can be easily installed or uninstalled as desired without unexpected consequences.
In this recipe, we'll look at how the certification process works. We will take a look at how your candidate UWP app can be submitted to the Windows Store, and made available to your potential customers.
To start, you need to be using Windows 10, and either VS Express for Windows 10, or the Community Edition or higher of VS2015. If you have been following along in this chapter, you may continue to use the RSSReader app. Otherwise, feel free to use one of your own choice. Since we are focusing on the registration process, a blank UWP app is used for this recipe.
To submit an app to the Windows Store, we will perform the following steps:
- Start a new Visual C# | Windows | Universal | Blank App (Universal Windows) project.
- From the menu, select Project | Store | Open Developer Account. (For VS Express, the menu is Store | Open Developer Account.)
Tip
There are two types of Developer Accounts—individual and company. If you are an independent developer or just experimenting, the individual account will work fine. Before registering, be sure to sign in with the Microsoft account that you intend to associate with your Windows Store submissions. You can find more information in the article Account types, locations, and fees located at https://msdn.microsoft.com/en-us/library/windows/apps/jj863494.aspx.
- A browser window opens, and you can apply for a developer account using the process as outlined on the page. Windows Store accounts may require a payment of a small license fee, so have a credit card handy when you perform this step.
- From the Visual Studio menu, select Project | Store | Edit App Manifest, and use the information from the app name reservation to populate the appropriate fields. Take particular note of the fields in the Packaging tab.
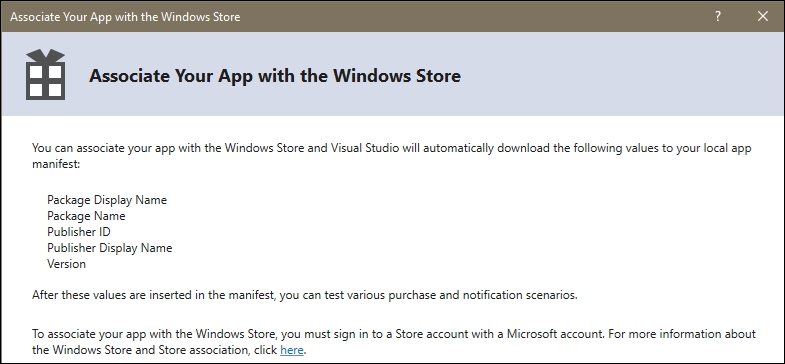
- Then select Project | Store | Associate App with the Store, and follow the steps of the wizard to automatically populate the Packaging tab with the appropriate values. This option will let you choose from a reserved app name, as well as reserve a new name if needed:
- At this point, you are ready to write your application.
- Package your application for uploading to the store by choosing Project | Store | Create App Package...
- Verify your application using the Windows App Certification Kit. Refer to the Validating your Windows Store app recipe to learn how to do this.
- Then upload the resulting package to the store by selecting Project | Store | Upload App Package from the menu, and following the steps presented in the ensuing upload wizard. Note that your packages have to pass validation before they can be uploaded.
- Once the upload completes, you can monitor the progress of your package through the approval process using the tools provided by the store. (Your Developer Dashboard available through your Microsoft Developer account is a good place to do this.)
The Store submenu is only available when running Visual Studio on Windows 10, and when you have opened the solution for a UWP app. When you upload a package to the store, there are a number of basic sanity checks to verify your package is acceptable, and meets the requirements of the Windows Store. These checks include running the certification toolkit on your app and verifying the manifest information against the information you supplied when you registered the app name. Using Visual Studio's Associate app with the store wizard is an easy way to make sure you don't have any typographical errors in your manifest, and it improves the chances of a successful first time submission.
Earning money with Windows Store apps is not limited solely to upfront purchase revenues. You may also distribute your app using a trial mode that encourages a try-before-you-buy approach. Apps may include the ability to support in-app purchases, in-app advertising using your choice of ad platforms, and it may implement a custom transaction system if you so desire.
Tip
For in-app purchases and trial versions of your product, Microsoft bundles supporting functionality in the Windows.ApplicationModel.Store namespace to make it easier for you to build applications with these features, as well as to simulate the Windows Store functions prior to official submission. A sample app using these features is available here: https://github.com/Microsoft/Windows-universalsamples/tree/master/Samples/Store.
If you want to confirm the details of the Windows Store Policies, refer to the Microsoft documentation on the subject at https://msdn.microsoft.com/en-us/library/windows/apps/dn764944.aspx.