
C++ and DirectX are being promoted by Microsoft as the primary way to build high-performance games in Windows 10.
Tip
Developers looking for the spiritual (if not outright) successor to the popular XNA Framework are encouraged to check out MonoGame, an open source implementation of XNA at http://www.monogame.net/.
As a DirectX developer, you will be pleased to know that there is no longer a separate DirectX download required for Windows 10. The DirectX SDK is now incorporated into the Windows SDK, and the DirectX runtime is built into the Windows 10 operating system. For older versions of Windows, the current requirement to download a separate SDK and runtime remains in place.
Windows 10 includes two major versions of DirectX—DirectX 11.x representing the latest evolution of a higher-level API, and the new DirectX 12, which is a lower-level API providing much greater control in an effort to provide greater performance. When designing a project, you will have to choose the one that best fits the goals of your project. A project based around reusing an existing DirectX code could probably stick to the DirectX 11 series, while one being created from scratch may take advantage of DirectX 12's focus on greater performance.
If you have used previous versions of DirectX and C++, then you will find VS2015 somewhat different, as you will be using C++/CX. Many of the DirectX calls have differences in them, not only due to the use of ref pointers but also in the way displays are referenced, and restrictions are enforced by the UWP app sandbox. It will most likely require some tweaking to the approaches you may have used in the past.
For this recipe, we'll use the default application template to display a rotating cube on the screen, and then alter the code to stop and start the rotation when we touch the screen, click the mouse, or press a key.
Start VS2015 with update on Windows 10, and you're ready to go. You will need to use VS2015 Community or one of the premium editions, as we are creating a UWP app.
Create the app by performing the following steps:
- Create a new DirectX App project by navigating to Visual C++ | Windows | DirectX 11 App (Universal Windows), and name it
RotatingCube. - The default project template includes all the code to display a cube, apply shaders to it, and then rotate it. Before you go any further, ensure that the application works by compiling and running it. You should see a screen similar to the following screenshot:

- Stop the application by pressing Alt + F4, and then switch back to Visual Studio. In the
App.hfile, add the following code block to the protected event handler declarations:void OnPointerReleased(Windows::UI::Core::CoreWindow^ sender, Windows::UI::Core::PointerEventArgs^ args); void OnKeyDown(Windows::UI::Core::CoreWindow^ sender, Windows::UI::Core::KeyEventArgs^ args);
- To the private variables in that same header file, add the
bool m_isRotating;statement. - In the
RotatingCubeMain.cppfile, locate theRotatingCubeMainmethod. Add the following highlighted code to register the event handlers for the user input events and to set them_isRotatingflag:// Start receiving touch/mouse events and keyboard events window->PointerReleased += ref new TypedEventHandler<CoreWindow^, PointerEventArgs^>(this, &App::OnPointerReleased); window->KeyDown += ref new TypedEventHandler<CoreWindow^, KeyEventArgs^>(this, &App::OnKeyDown); m_isRotating = true;
- Now add the following code for the event handlers at the end of the
App.cppfile. The handlers simply toggle them_isRotatingflag to indicate whether to rotate the cube or not:void App::OnPointerReleased(Windows::UI::Core::CoreWindow^ sender, Windows::UI::Core::PointerEventArgs^ args) { m_isRotating = !m_isRotating; } void App::OnKeyDown(Windows::UI::Core::CoreWindow^ sender, Windows::UI::Core::KeyEventArgs^ args) { m_isRotating = !m_isRotating; } - While still in the
App.cppfile, locate theApp::Run()method, and wrap them_main->Update();call in anifstatement that checks them_isRotatingflag, as shown in the following code snippet:if (m_isRotating) { m_main->Update(); } - Run the application, and notice that you can start and stop the rotation by pressing any key, clicking with the mouse, or tapping on the screen.
- Stop the application when you have finished testing.
- The colors on the cube are determined by a combination of a vertex shader and a pixel shader. The vertex shader uses the color assigned to each vertex in the cube's definition, in the
Sample3DSceneRenderer::CreateDeviceDependentResources()method. Each pixel shader is shaded based on blending the colors of the vertices nearest to it. Open theSamplePixelShader.hlslfile in the project'sContentfolder to look at the pixel shader. - At the moment, the shader simply takes the color passed to it, and sets the alpha channel to
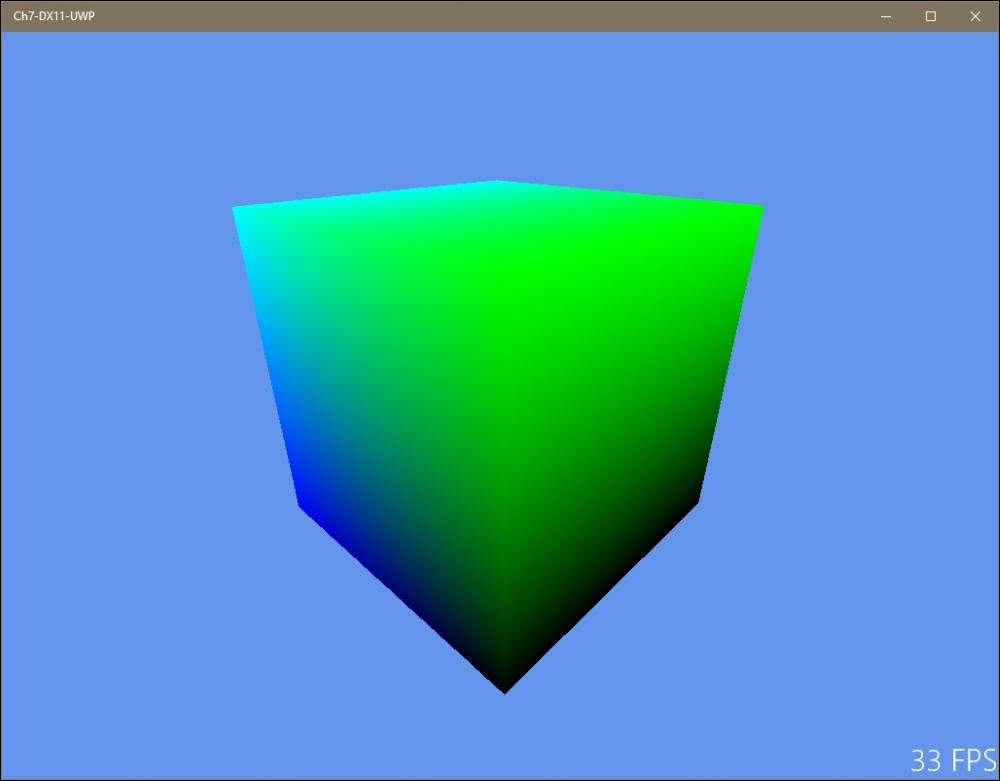
1.0f, making it opaque. Alter the shader to remove all traces of red from the cube by changing the body of themain()method to the following code snippet:float4 main(PixelShaderInput input) : SV_TARGET { float3 removedRed; removedRed = float3(0.0f, input.color.g, input.color.b); return float4(removedRed, 1.0f); } - Rebuild and run the application. The cube should now look similar to the following screenshot, with no red color visible:
The key areas to focus on in this application involve creating the drawing surface and the handling of the user input. You saw how the user input can be handled via the event listeners, and that the PointerEventArgs class is used for both touch- and mouse-based input.
Most of the work done while creating the rendering surface is encapsulated in the Direct3DBase class (DeviceResources). It is in here that the call to the D3D11CreateDevice method is made as is the call to the CreateSwapChainForCoreWindow method, which is needed in order to get DirectX up and running correctly.
It is also useful to note that an application manifest is included in the project, and that the linker has prepopulated references to the required DirectX libraries so that you don't have to remember to add them yourself.
The pixel and vertex shaders used in the application are written using High-Level Shading Language (HLSL), a C++ style Domain Specific Language (DSL) for describing how the color should be calculated for each rendered pixel in an object.
When the compiler sees an HLSL file, it compiles it into a .cso file that you can then use in your application. You can see this in the Sample3DSceneRenderer::CreateDeviceDependentResources() method where the .cso files of the two shaders are read into memory, and then passed to the DirectX calls to create shader instances. The shaders are then used later in the Sample3DSceneRenderer::Render() method, with the vertex shader being called before the pixel shader to ensure that the cube renders correctly.
Microsoft's suggested approach is to use C++ with DirectX 11 or 12 on Windows 10, and this recipe shows one way to do that. But this isn't the only way, and third-party libraries exist that enable using DirectX with a managed language such as C#. If you are interested in accessing DirectX in this fashion, you may want to keep an eye on open source projects such as SharpDX (http://sharpdx.org/).
Just keep in mind that this approach is not supported by Microsoft, and that DirectX applications written in .NET will run a little slower than native C++ applications; but in many cases, the benefits of using C# outweigh these concerns. In any event, applications built using third-party libraries should still be able to pass the verification process, and be listed in the store.
- The Creating a UWP app recipe in Chapter 2, Getting Started with Universal Windows Platform Apps
- The Creating a shader using DGSL recipe
- The Using the Visual Studio Graphics Diagnostics recipe