
IN THIS APPENDIX, YOU WILL LEARN HOW TO
Transferring your data to Windows 8.1 by using Windows Easy Transfer
Use Easy Transfer.
If you bought a new computer or device that’s running Windows 8.1, you might be interested in moving your data and settings from your older computer. If you you were running an earlier version of Windows on that computer, you can use one of many tools to do this job.
One of the best available tools is the free Windows Easy Transfer. In a nutshell, you make a backup of your data and settings on your older computer and then restore that backup on your new Windows 8.1 computer or device.
In this appendix, you’ll learn how to use Windows Easy Transfer to restore your backed-up data and settings on your new Windows 8.1–based computer or device.
Practice Files
You do not need any practice files for this Appendix. A complete list of practice files is provided in the section “Using the practice files” in the Introduction of this book.
Windows Easy Transfer is a tool that was first introduced with Windows XP. You can use it to switch files and settings between Windows-based computers or devices. You can use this tool to migrate your files and settings to Windows 8.1 from Windows 7, Windows 8 and Windows RT, or from other Windows 8.1 installations. Unfortunately, backups created on older versions of Windows like Windows XP or Windows Vista are not supported by the version of Windows Easy Transfer existing in Windows 8.1.
If you have upgraded to Windows 8.1 from an earlier version of Windows on the same computer or device, you don’t need to use this tool because your data and settings have been migrated.
If you purchased a new computer or device with Windows 8.1 and you want to transfer files and settings from your old computer to the new one, Windows Easy Transfer is the tool for the job. Before you go ahead, there’s another important restriction you should keep in mind: if your old computer is using a 64-bit operating system, you will be able to migrate your data and settings only to a 64-bit edition of Windows 8.1. You cannot migrate it to a 32-bit edition.
The tool can transfer items by using an external hard disk or USB flash drive. To use Windows Easy Transfer, you need to log on with a user account that is set as Administrator. Without an administrative account, you cannot start this tool successfully.
First, on the older computer or device, back up your data by using Windows Easy Transfer. This data is stored in a file with the .mig extension (for migration). The file is password protected to prevent unauthorized access.
On the computer or device to which you want to transfer your data, select the same file and type the password you have set.
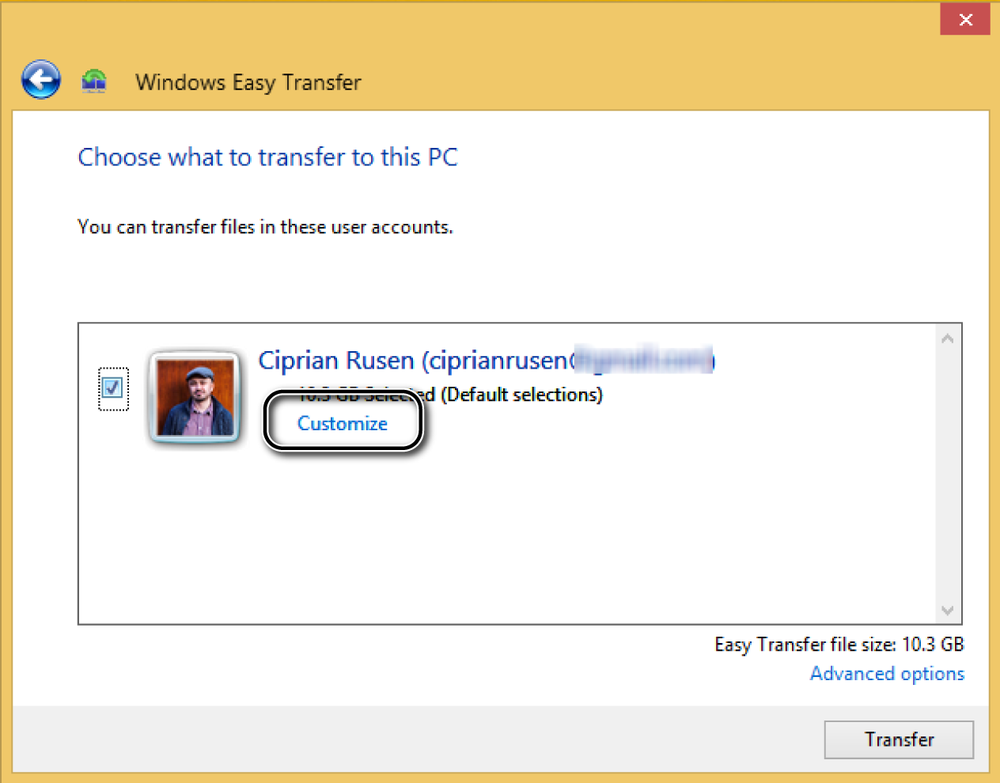
Before transferring your data to the new computer or device, you can customize the items that will be migrated. By default, Windows Easy Transfer will transfer all the data included in the migration file. If you click Customize, you can select the type of items that you want to transfer.
Clicking Advanced Options gives you even more precise control over the items to be transferred. For example, you can set the storage device to which the data will be migrated.
In this exercise, you’ll learn how to migrate your files and settings to Windows 8.1 by using Windows Easy Transfer.
Set Up
On the older computer, back up your data by using Windows Easy Transfer. Then, on your new Windows 8.1 computer or device, log on with a user that has Administrator permissions. Go to the Start screen and type windows transfer. Click the Windows Easy Transfer search result to open Windows Easy Transfer. Plug in the external hard disk on which the Windows Easy Transfer backup file is stored.
Click Next.
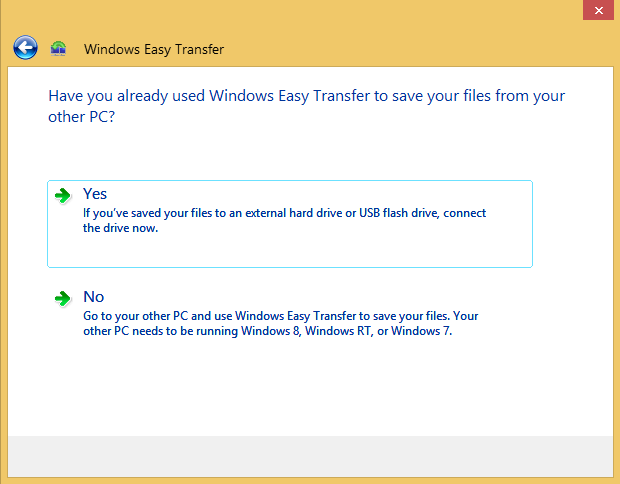
You are asked if you have already used Windows Easy Transfer to save your files from your other computer.
Click Yes.
The Open An Easy Transfer File window opens, in which you need to select the file where you saved your data from the other computer.
Select the appropriate transfer file (with the .mig file extension) and then click Open.
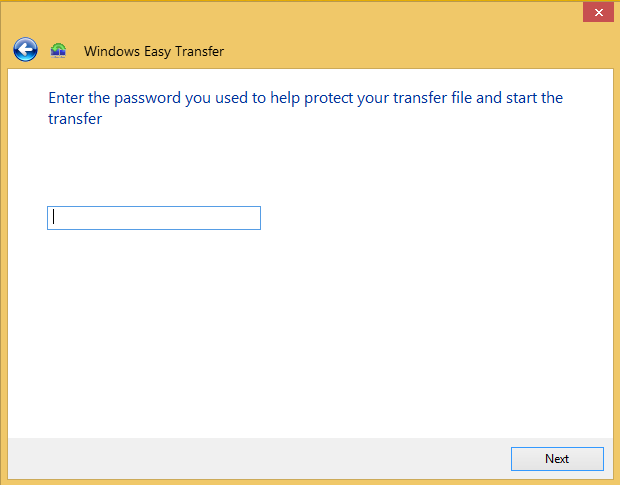
You are asked to enter the password you used to protect the transfer file.
Type the password and then click Next.
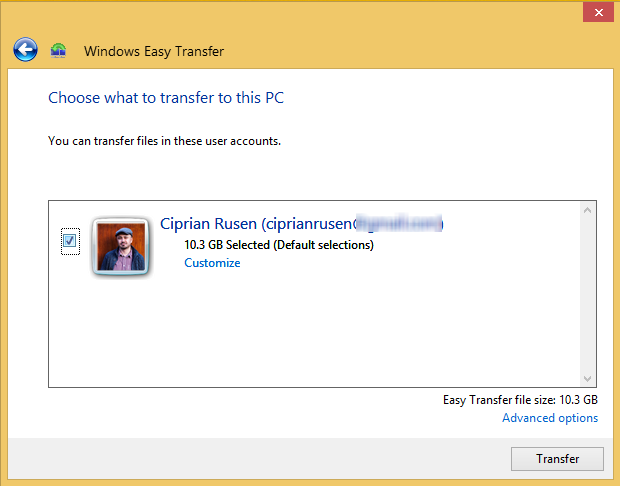
You are asked to choose what to transfer to the new computer.
Click Customize and then clear the items you do not want transferred, if any.
Click Save and then click Transfer. Wait for the transfer to finish.
Windows Easy Transfer informs you that your transfer is complete.
Click Close.


Clean Up
Eject and then unplug the external hard disk drive in which the Windows Easy Transfer data is stored.
The selected data and settings have been transferred to your new Windows 8.1 computer or device.