Chapter Goal: In Photoshop, it is possible to manipulate or twist a graphic using the Puppet Warp smart filter on a Smart Object layer, as will be seen later in the chapter. However, for now we will practice that similar effect using the Puppet Warp tool in Illustrator before briefly comparing it against how that file would appear in Photoshop.
At the same time, we’ll look at the differences and similarities between using it in the two applications with vector art and logos.
You can find the projects for this chapter in the Chapter 4 folder.
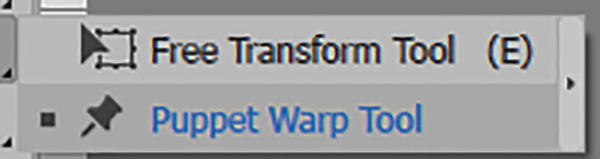
Puppet Warp Tool

Toolbars panel, Puppet Warp tool
To use this tool correctly, you need to have a shape, a grouped object of shapes or paths, or a symbol present on the artboard. We will look at symbols in more detail in Chapters 6 and 12.
Let’s try working with the Puppet Warp tool now.
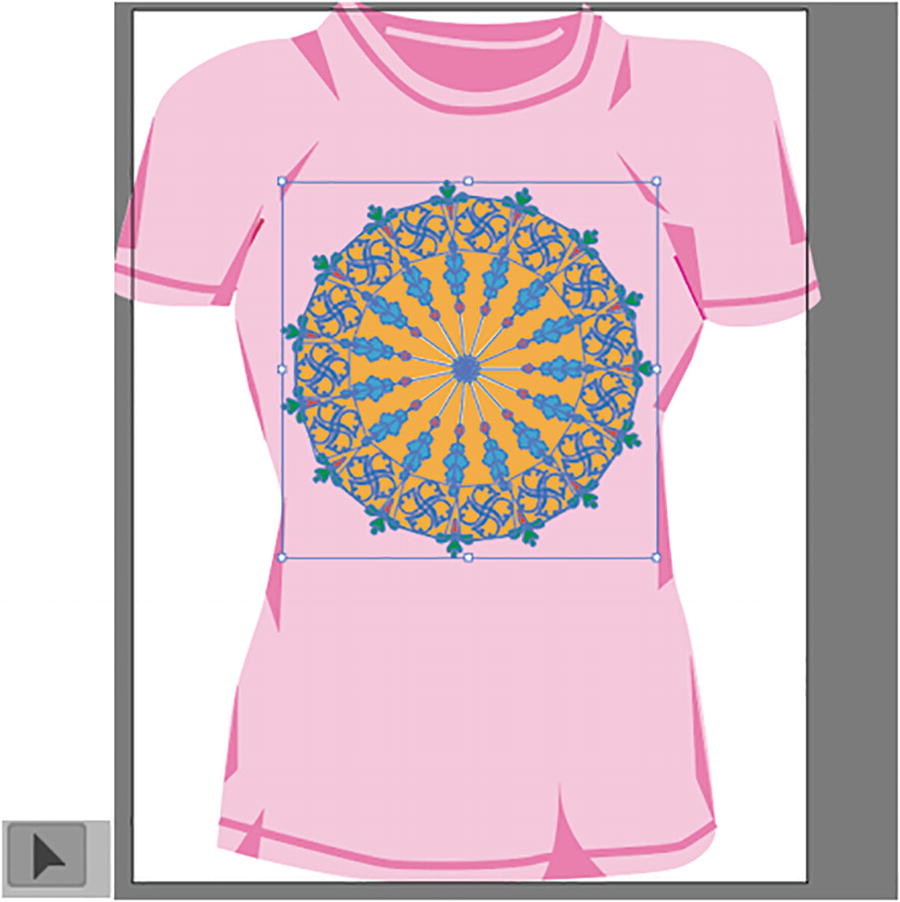
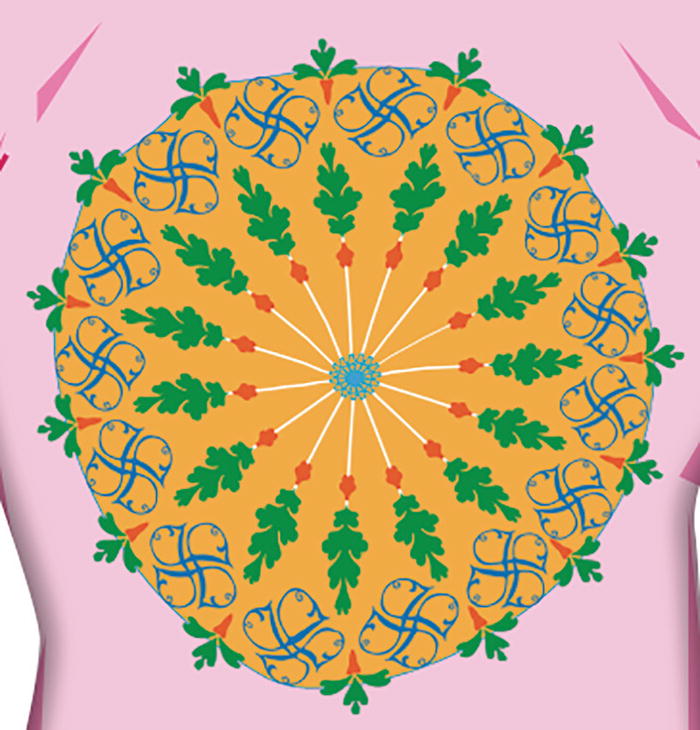
Project: Warped Mandala T-Shirt Art
Go to File ➤ Open ➤ puppet_warp_start.ai. Then go to File ➤ Save As and make a copy if you want to practice.
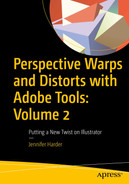
The Layers panel has two layers: one with a T-shirt illustration and the other with a mandala design
The T-shirt layer is locked so that when I move my mandala pattern, I do not move the shirt along with it. This is a good way of practicing fashion design to see how your designs will look on clothing.
Designing a Mandala
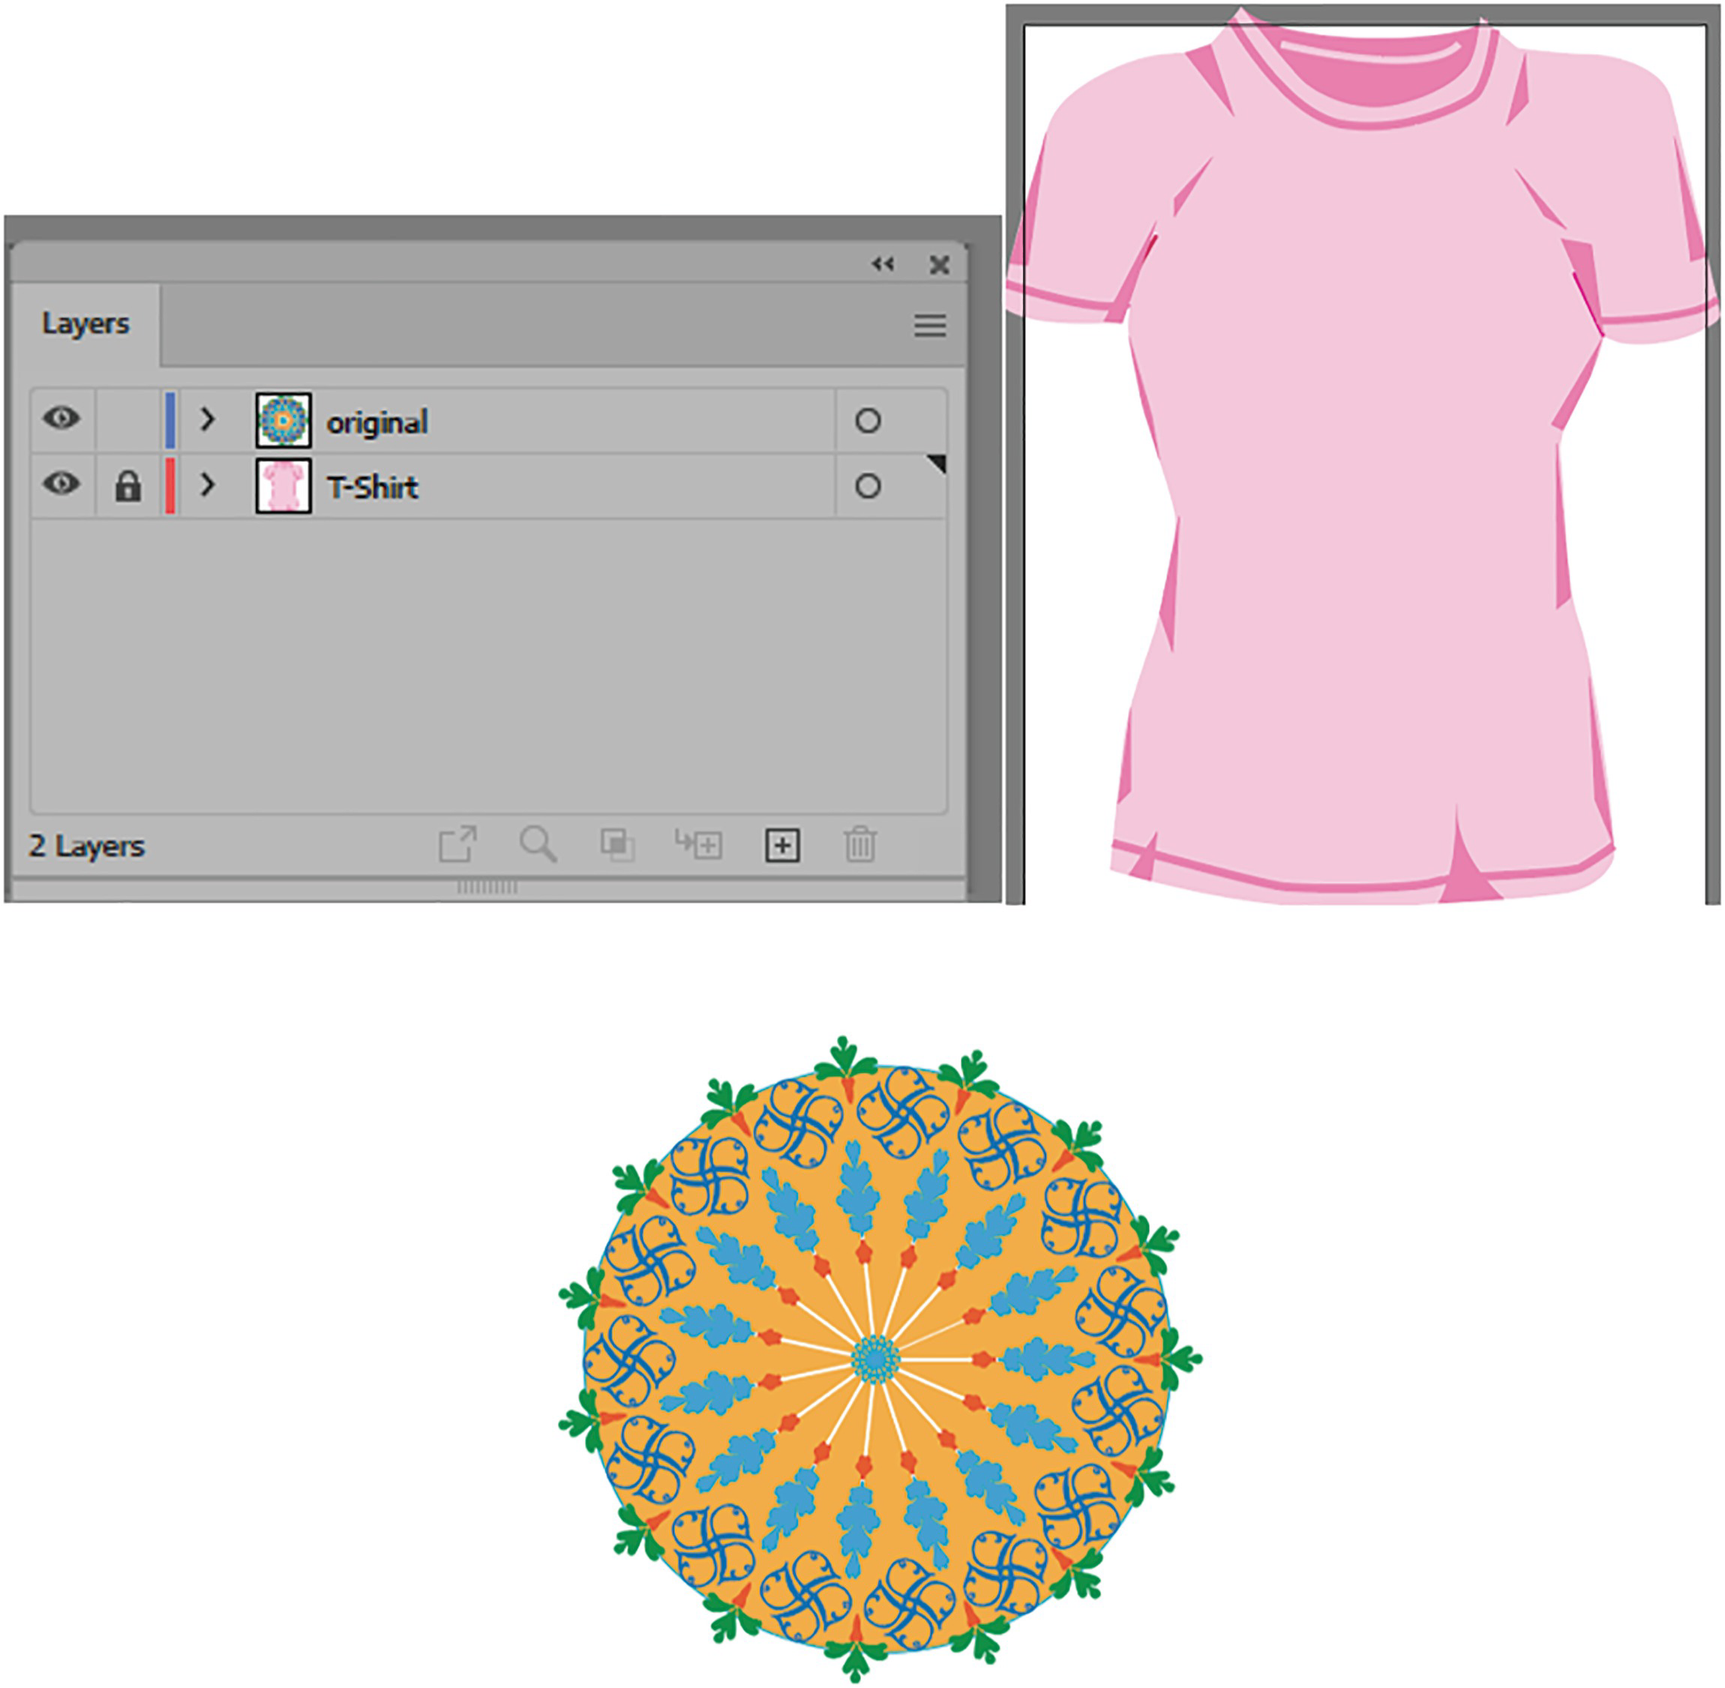
Locate unique pieces of clip art from the Brushes panel that you can use to create your own patterns
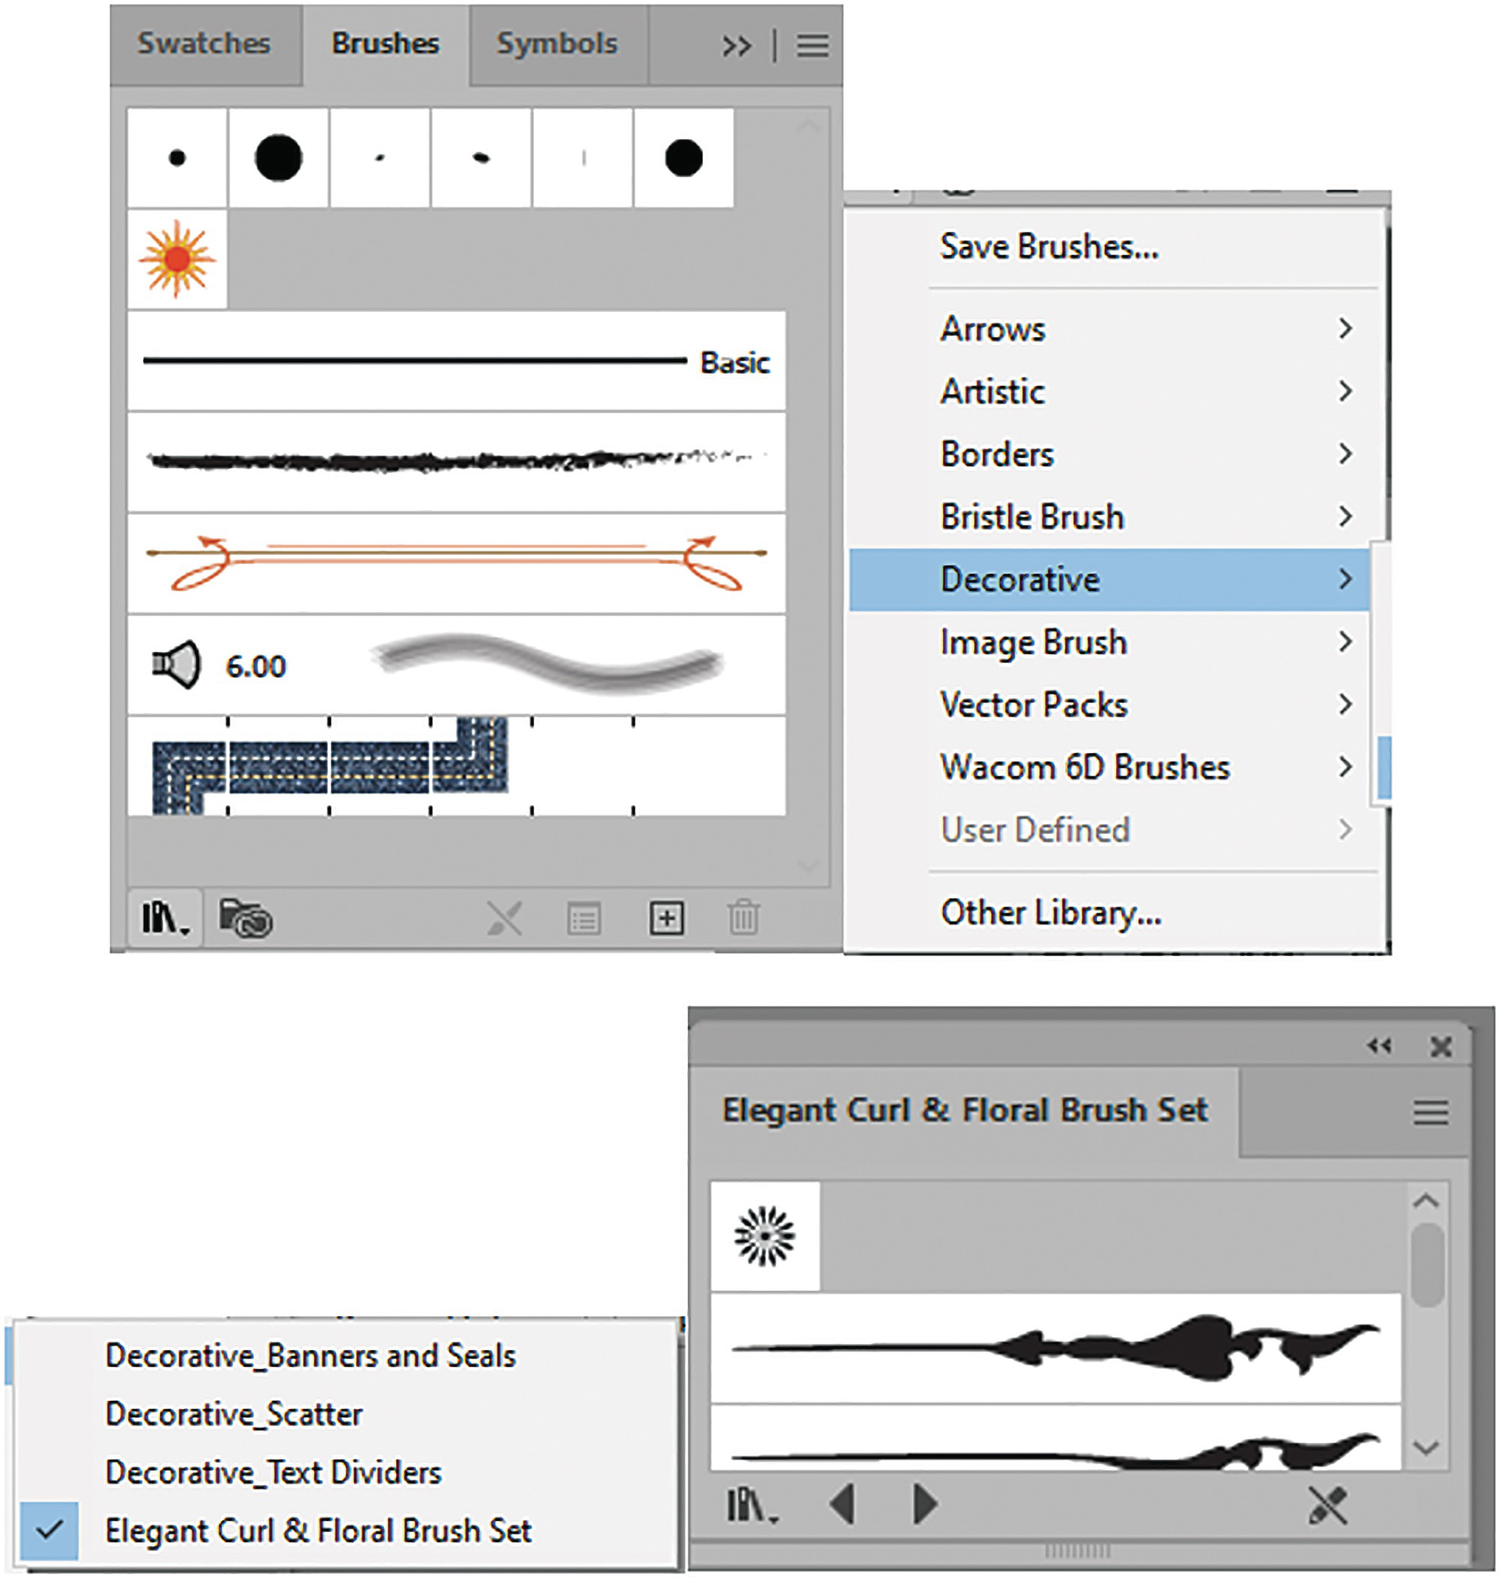
Brushes panel library of pattern arrows has many unique vector shapes
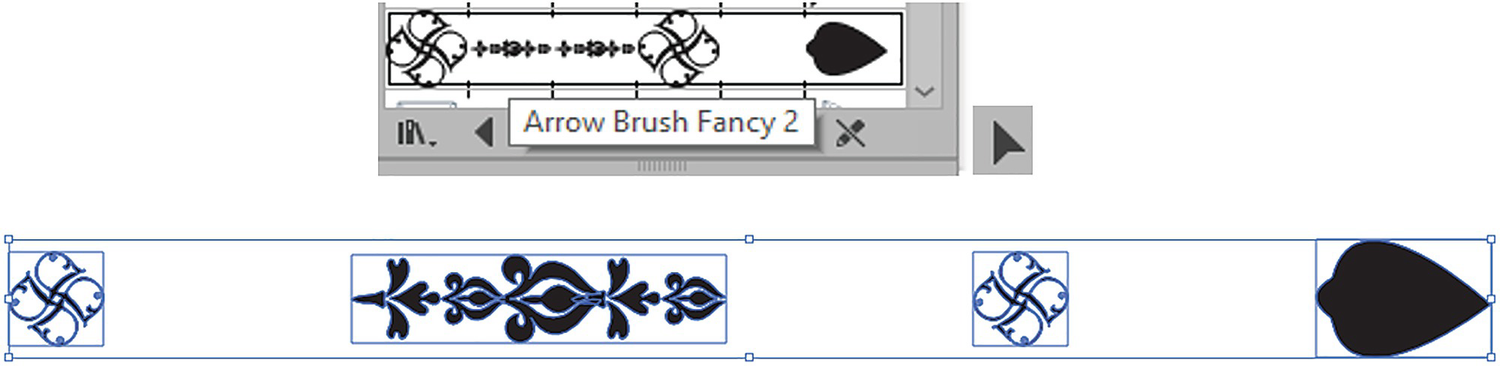
Drag a pattern out of the Brushes library and onto the artboard and ungroup the pattern from the invisible boxes (Stroke and Fill of none)
Then select Object ➤ Ungroup, twice, so that the objects are separate from their invisible boxes.
Drag the parts of the pattern you want away from the invisible boxes and use the Control panel or Swatches panel to colorize your selected object
Make sure to select your invisible box later with the Selection tool and press the Backspace/Delete key to remove the box path so that it does not get added back to your design by mistake. If you can’t locate the box path then, as we did in Chapter 2, use View ➤ Outline (Ctrl/CMD+Y) so that you can find it and delete it, and then use View ➤ Preview to return to normal viewing mode. Refer to Figure 4-7.

Use View ➤ Outline mode if you have difficulty finding the invisible boxes so you can delete them
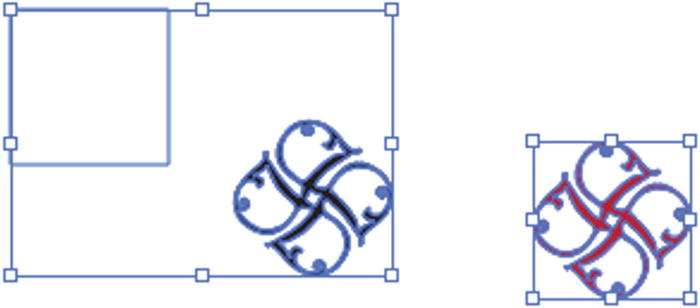
Acquiring shapes and paths from the Brushes library is a great way to practice building repeating patterns. Afterward, as you saw in Chapter 3, with your selected path you can use your Rotate tool to click a reference point.
Then click Alt/Option and drag your mouse to make a copy of your paths. Click the reference point again to keep it in the same location and then repeat the Alt/Option and drag step to place more copies around a circle.
Use the Rotate tool and its reference point to help rotate copies of the object around a circle to create a pattern

After creating your modified pattern, use the Selection tool to select all parts of the pattern and group it as one object
We will look at more pattern-creation options in Chapter 5 and Chapter 7.
Working with the Puppet Warp Tool
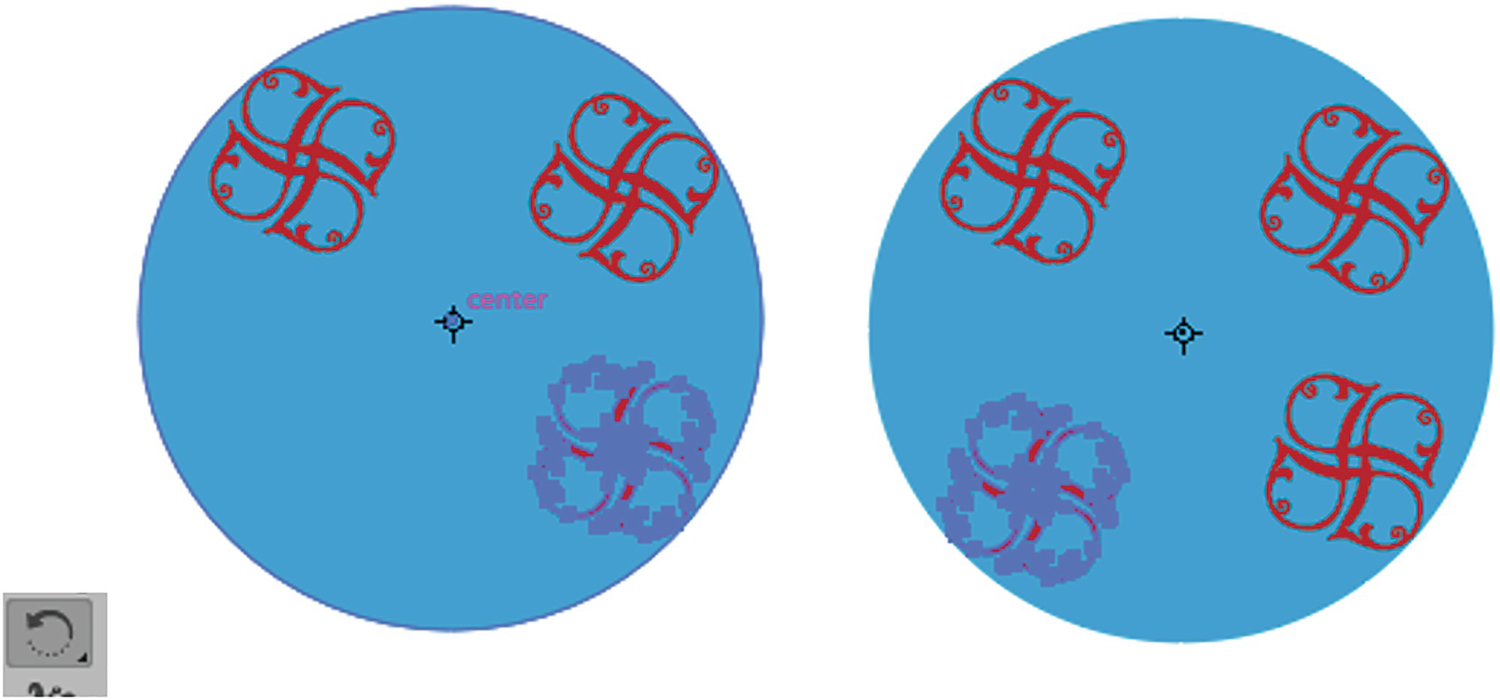
Once your grouped pattern is complete, you will want to make sure that you keep a backup of the original for other projects, as the Puppet Warp tool in Illustrator is a bit destructive compared to that in Photoshop. I will explain a workaround later in the chapter.

Make a copy of your pattern on a new layer so that you can preserve the original for other projects

Lock the original layer so that you can work on the copy and not move the original by accident
Use your Selection tool to scale the copy
Select the Puppet Warp tool from the Toolbars panel

Pins and mesh in Puppet Warp tool
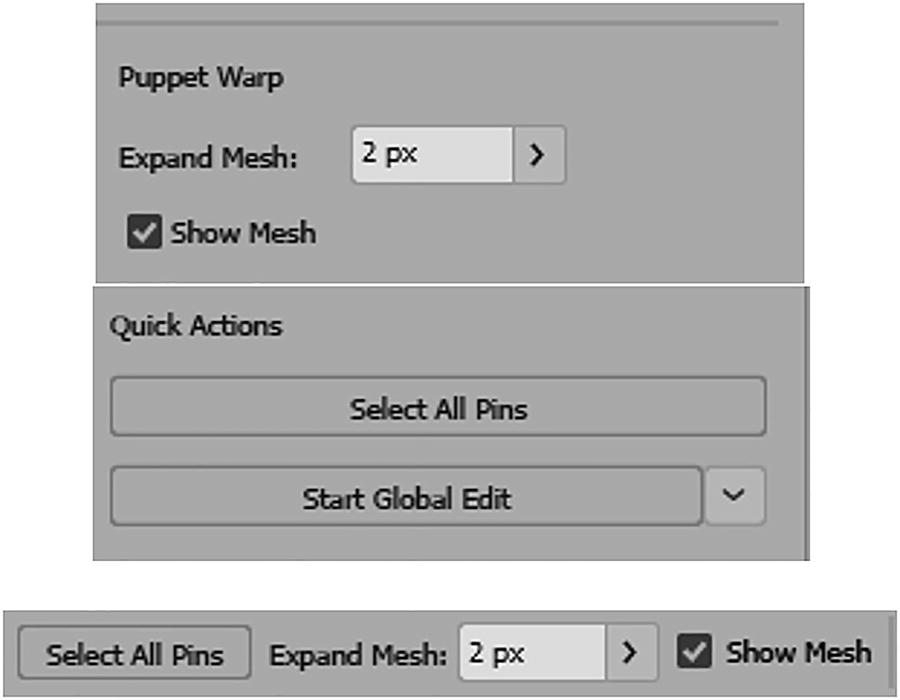
Options for Puppet Warp can be found in the Properties and Control panels

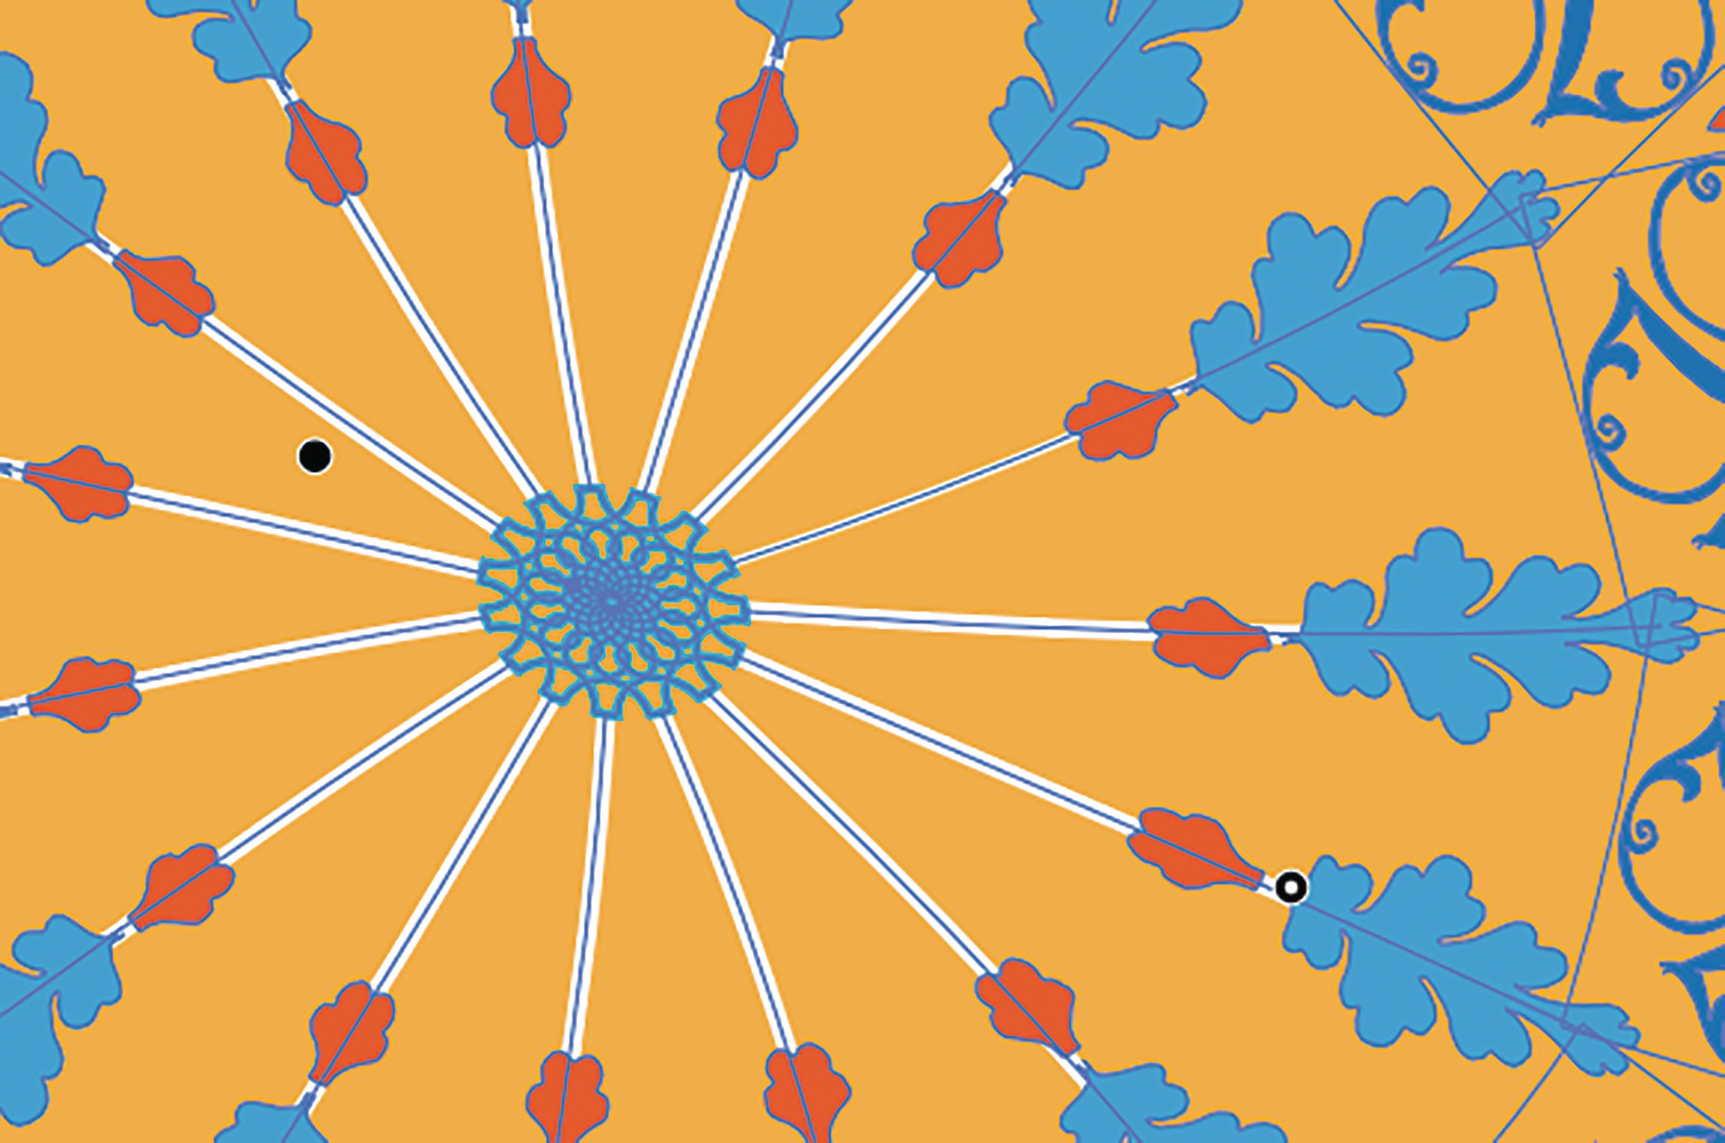
Expanding the mesh, and the mesh at 2px
In this case, I will leave the Expand Mesh field at the default of 2px.
Also, there is only one mesh mode and density. But the mesh becomes more complex as pins are added.
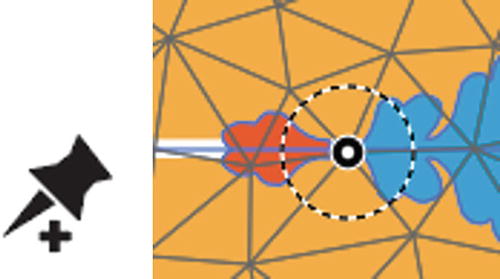
Adding a pin to the mesh when you click on a point

You can rotate the pin when you hover over the rotation circle and the mouse pointer changes, then drag
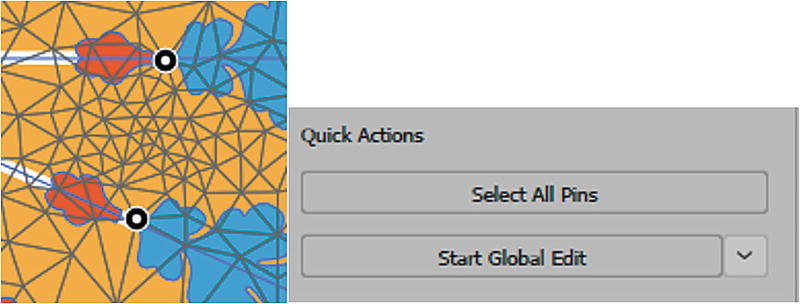
Click Shift and select multiple points in the mesh, or use your Properties panel’s Quick Actions to choose Select All Pins
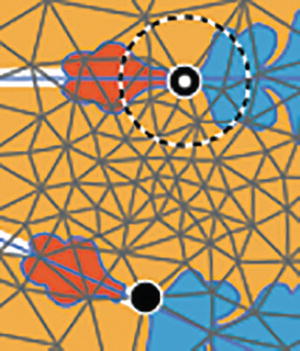
Select only one pin when you want to rotate
Hollow pins are selected, while solid pins are deselected.
Delete a pin using the Delete/Backspace key
Drag the pin to edit the warp
If you need to undo a drag that you just made, use Edit ➤ Undo or Ctrl/CMD+Z, or use the History panel.
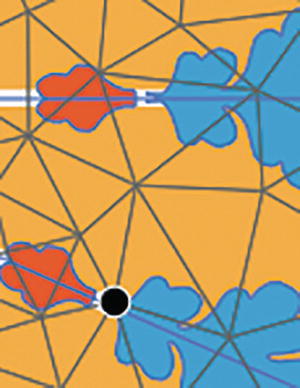
Multiple pins added to the mesh and seen with the mesh hidden

The current Puppet Warp deselected
While you are in the copy of your file puppet_warp_start.ai, you can continue to work with the Puppet Warp tool to adjust the warp for the shape. But other than removing pins, there is no way to reset the warp back to its original design after you have saved and closed the file.
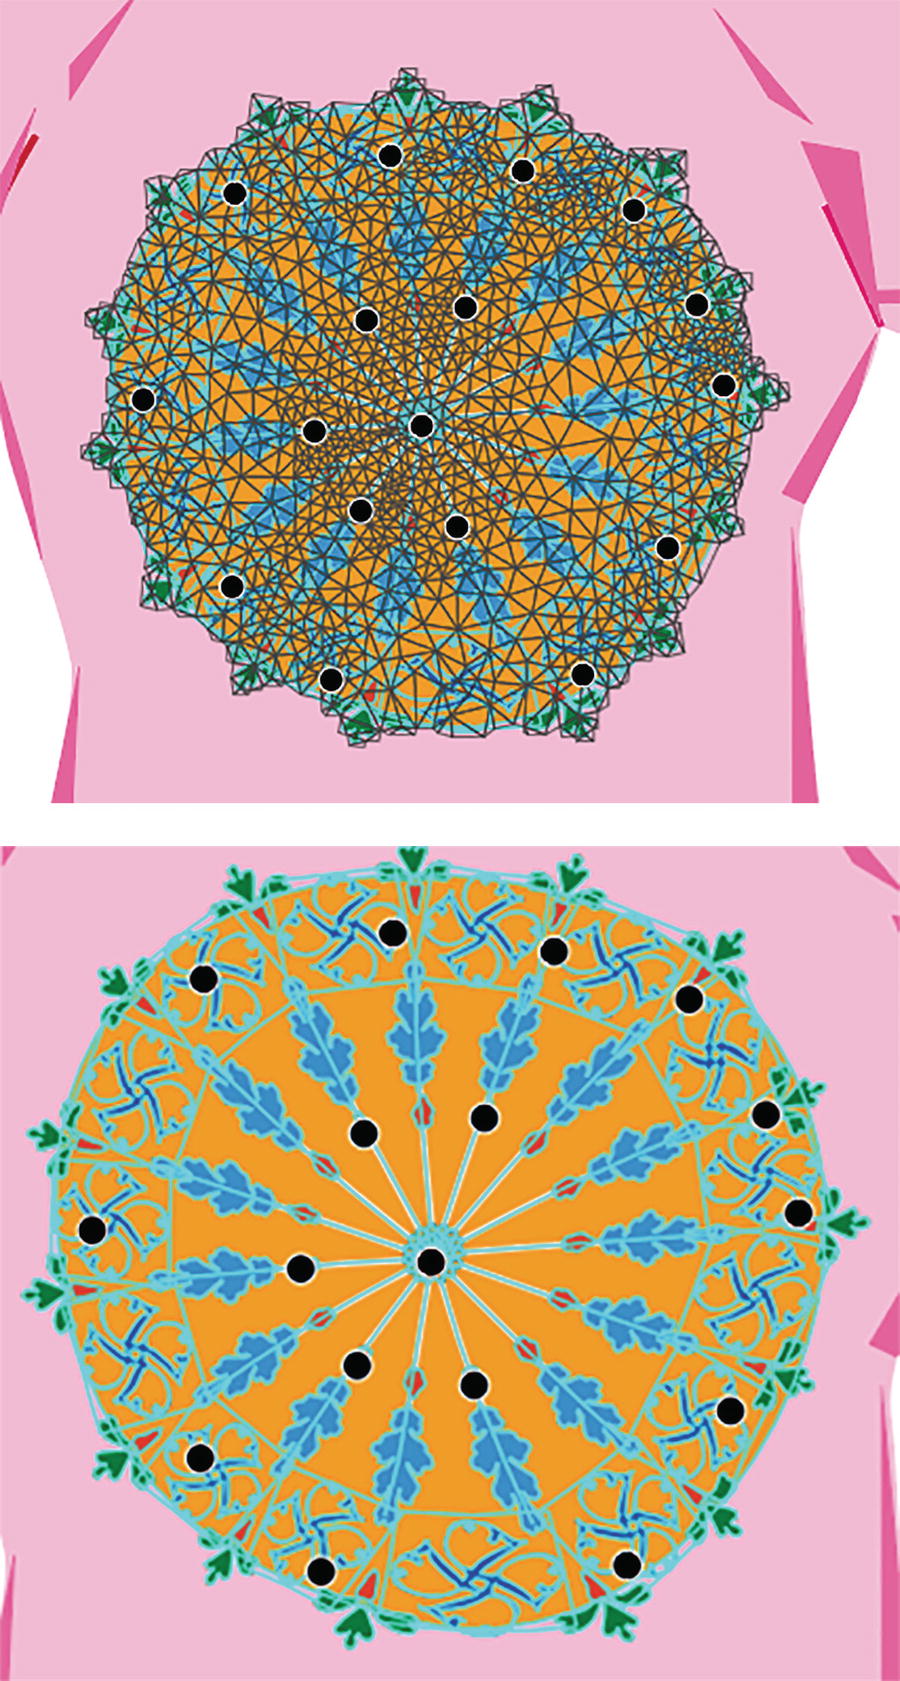
It should be mentioned, you can use an Illustrator symbol, which is similar to a Photoshop Smart Object layer. However, upon clicking on the symbol the Puppet Warp is fully applied, breaking the symbol and turning it into a grouped object. An informational message will appear indicating the expansion. Refer to Figure 4-25.
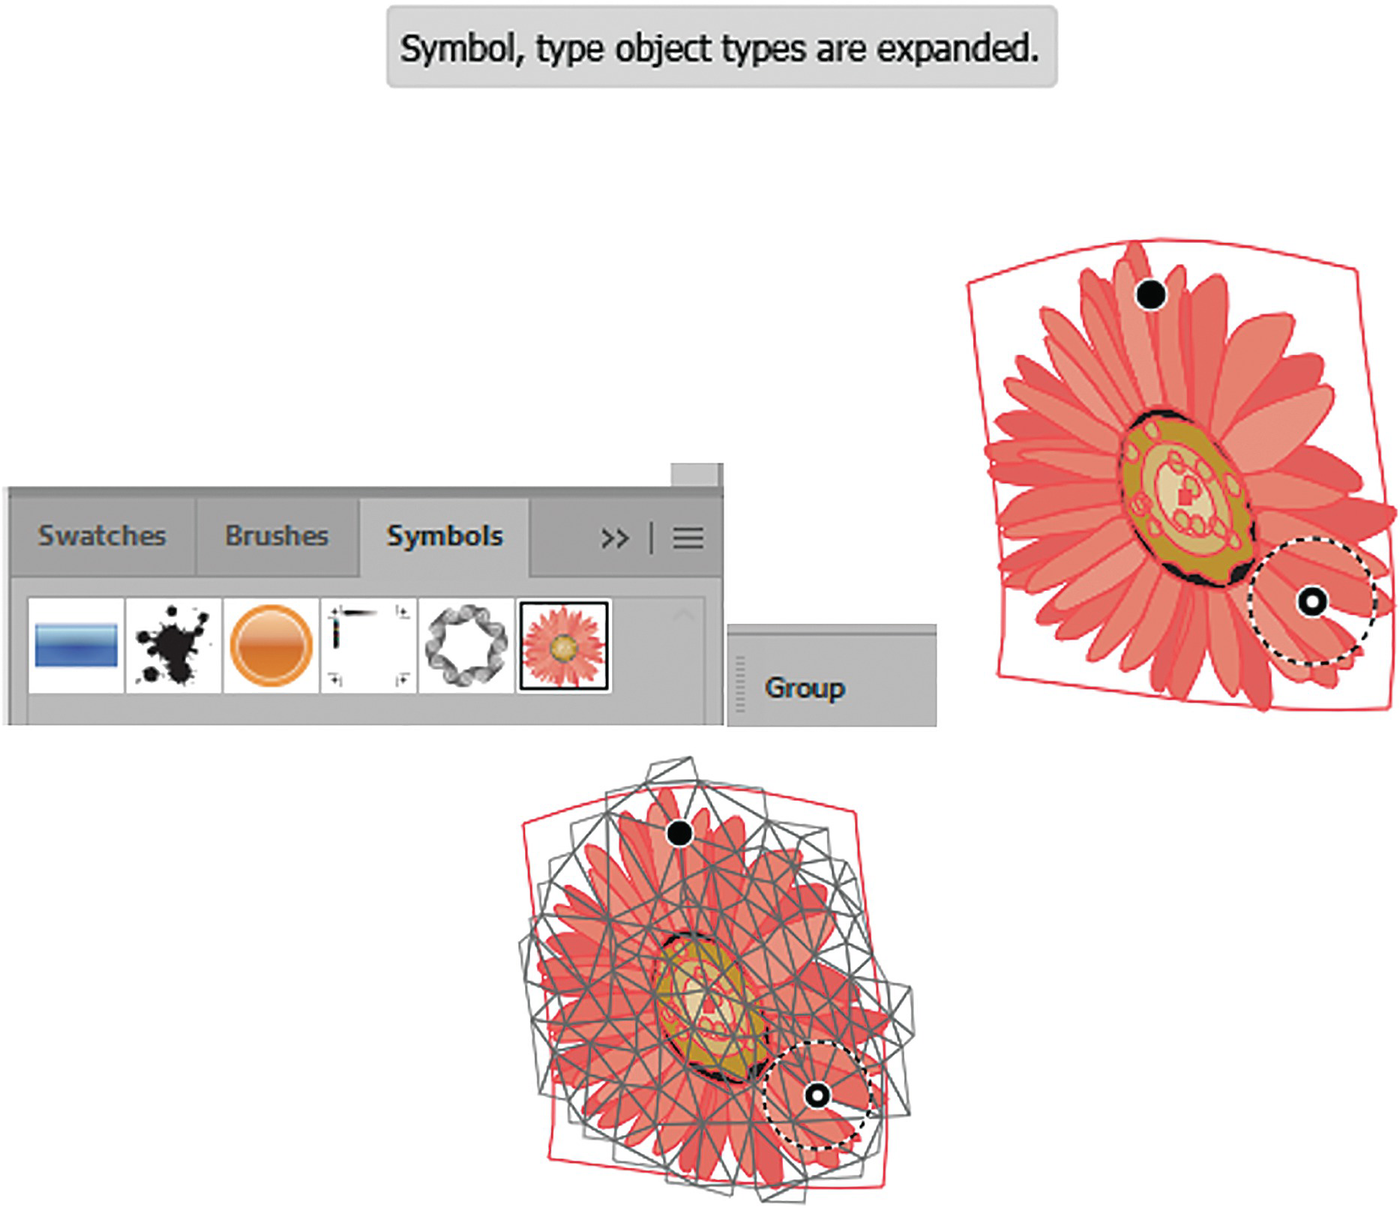
Symbols that are puppet warped on the artboard become broken from the original symbol and become a grouped object
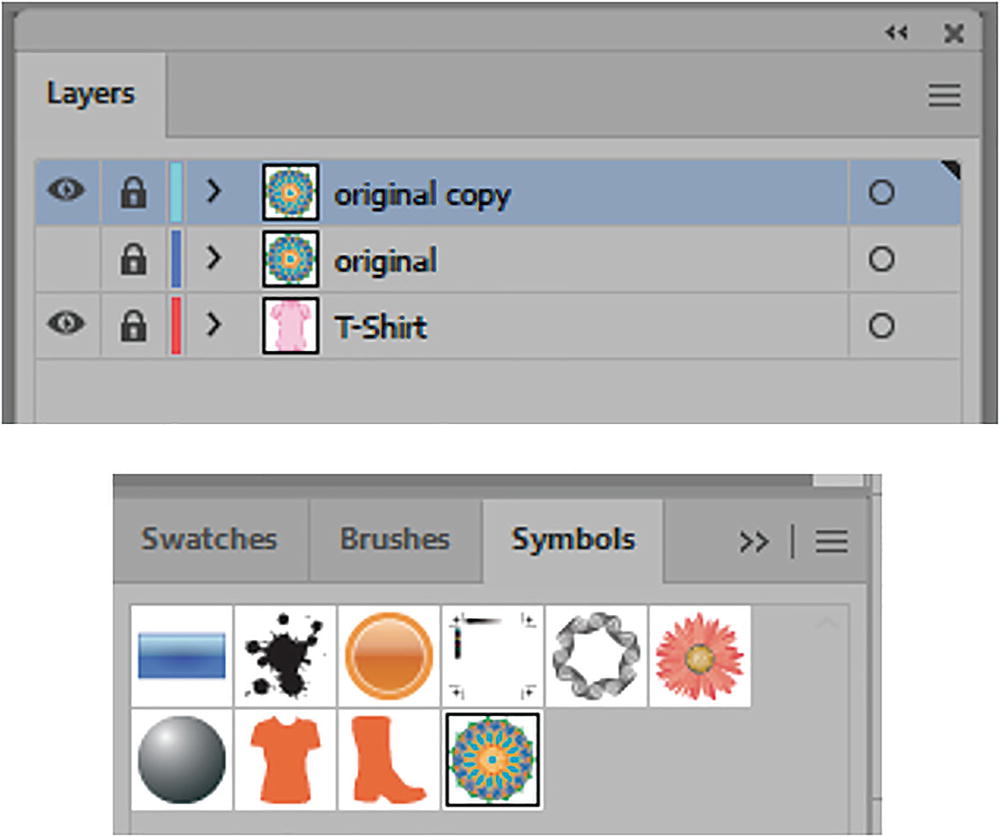
Always store a copy of your original pattern in the Layers panel on its own layer or in the Symbols panel
As mentioned, we will discover more about symbols in Chapters 6, 12, and 13.
Save your document at this point, and you can compare this Puppet Warp to the mandala pattern in my file puppet_warp_final.ai.
If you try to Puppet Warp text in Illustrator, it expands as a shape and becomes an outline and group object, and you can then move each grouped letter freely. We’ll look at type in more detail in Chapters 9 and 10. Refer to Figure 4-27.

Type can be warped with the Puppet Warp tool, but it ceases to be editable text, only an outline
Workaround with Puppet Warp and Photoshop

Puppet Warp and Illustrator can distort parts of your pattern in unexpected ways
While I enjoy using the Puppet Warp tool in Illustrator, I think that using it on a Smart Object layer in Photoshop is a much less destructive option.
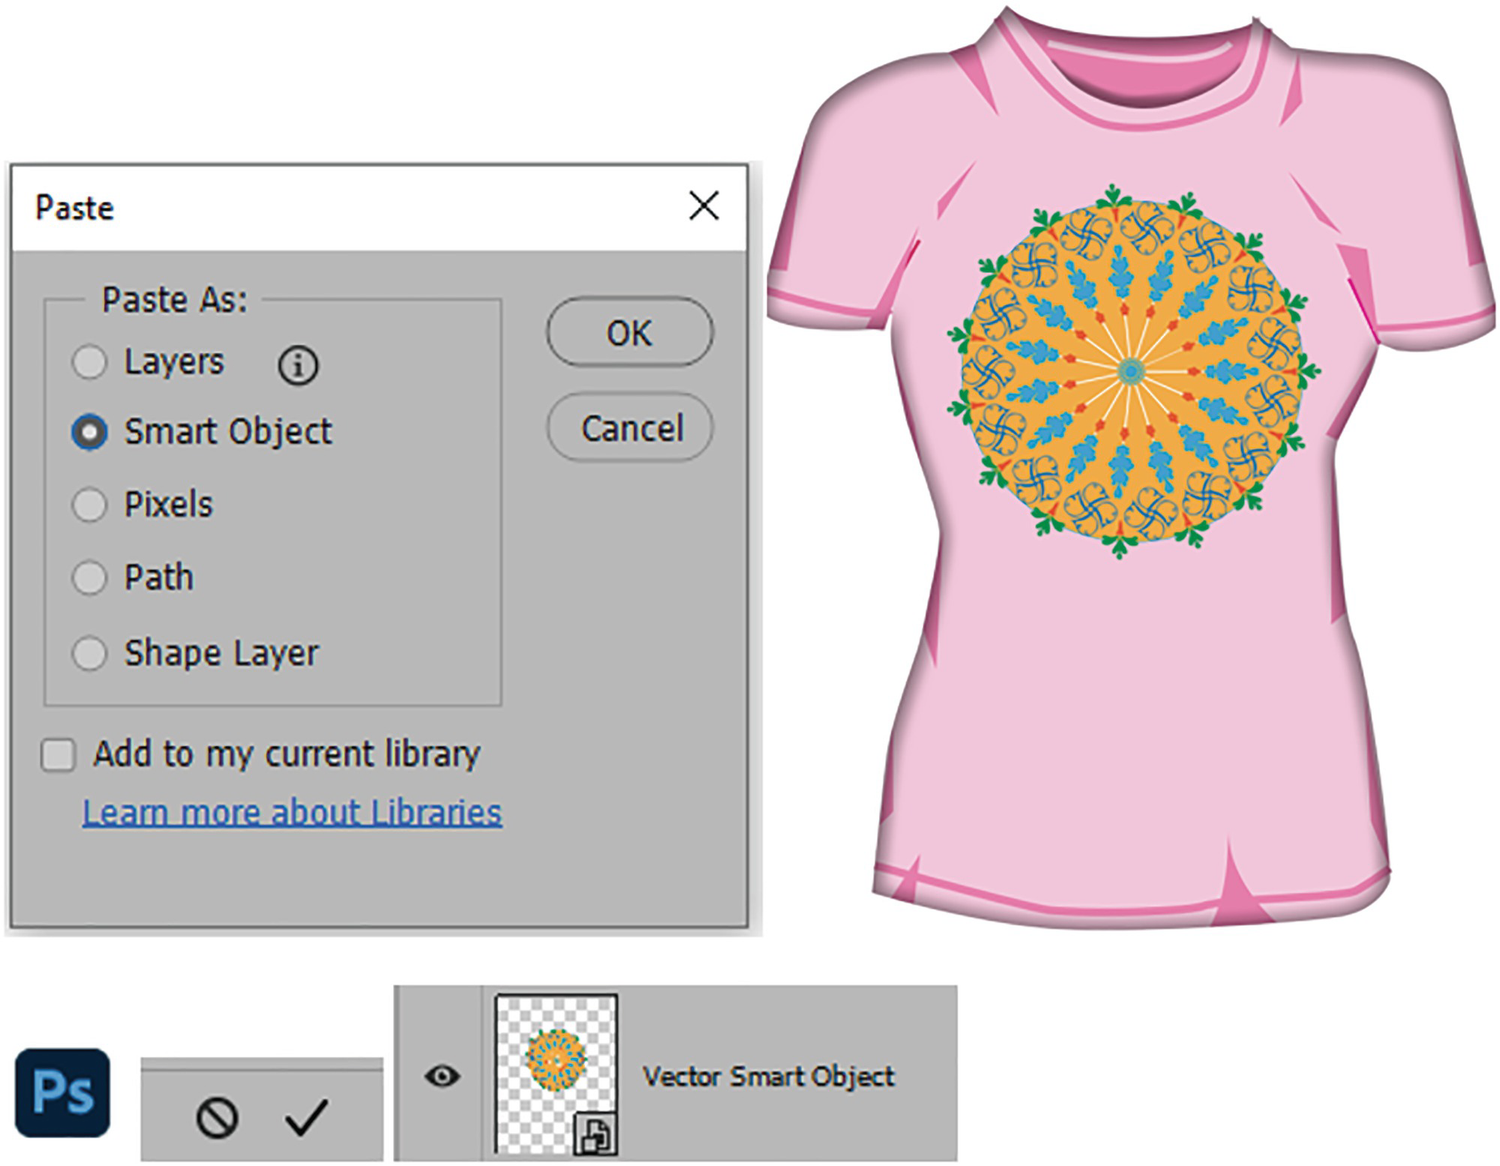
Paste a copy of your Illustrator pattern into Photoshop as a Smart Object layer
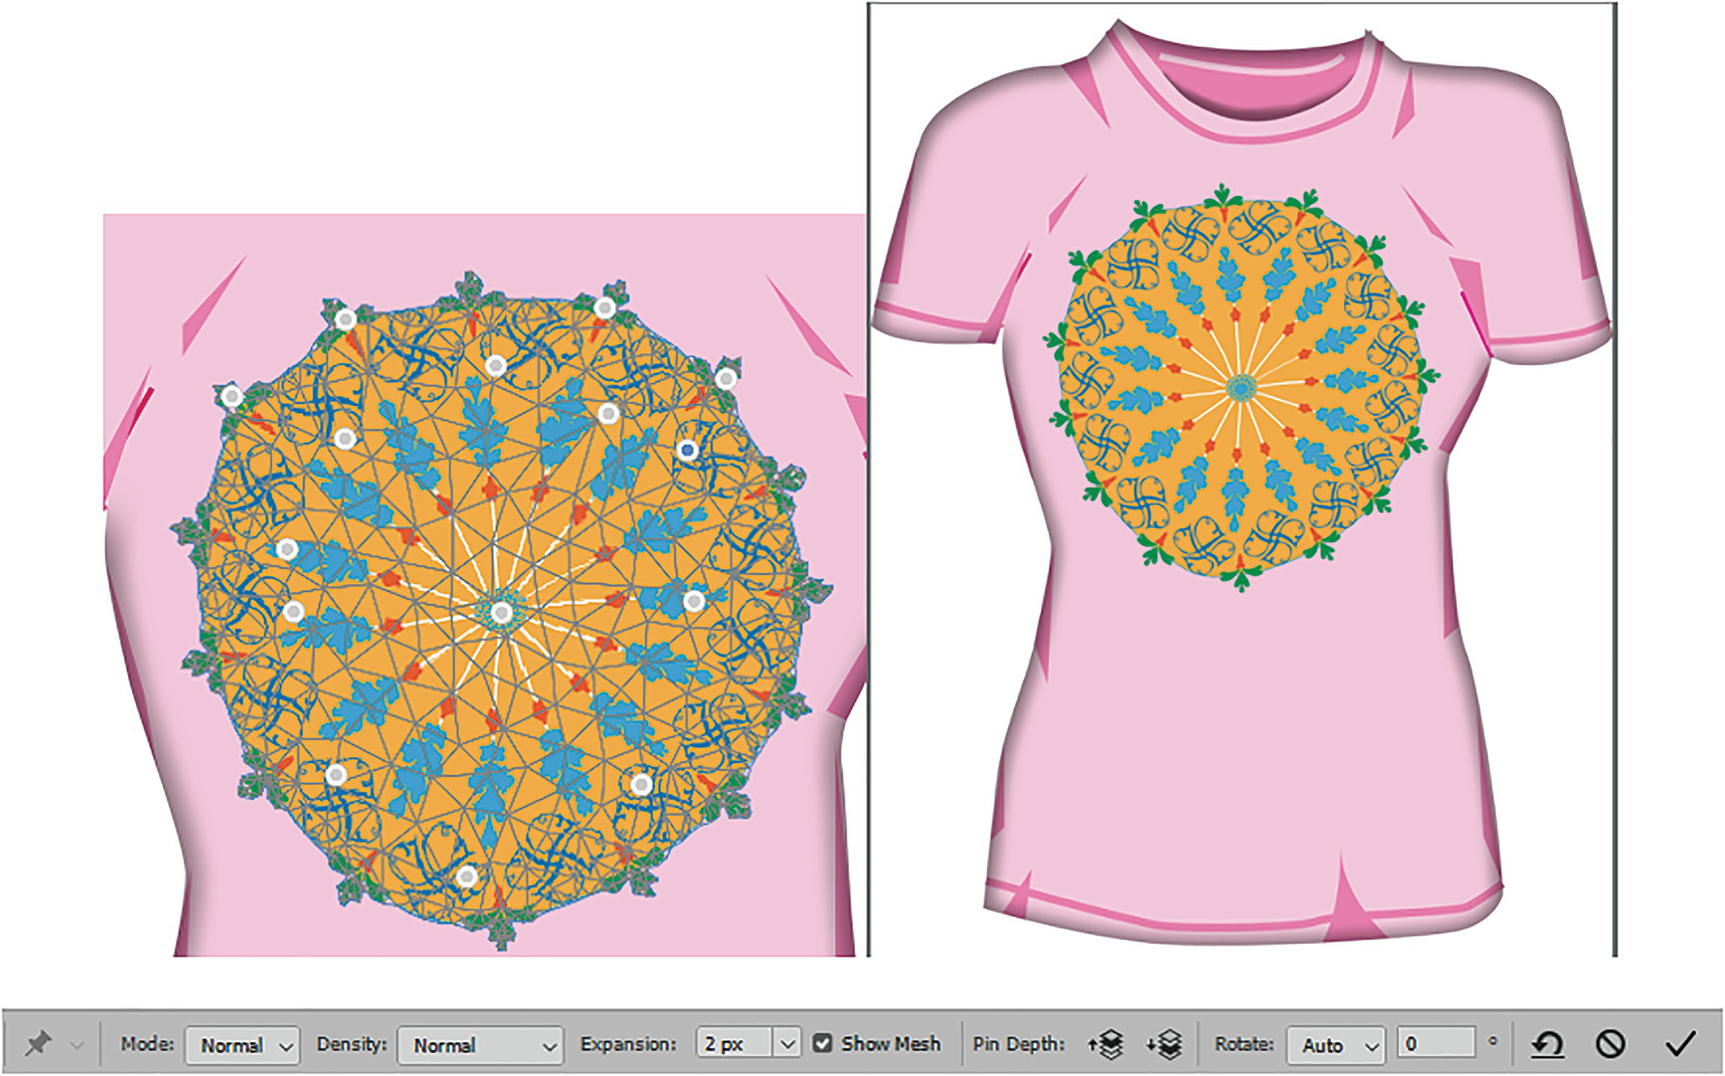
Use Photoshop to Puppet Warp your pattern instead, to better control the pins
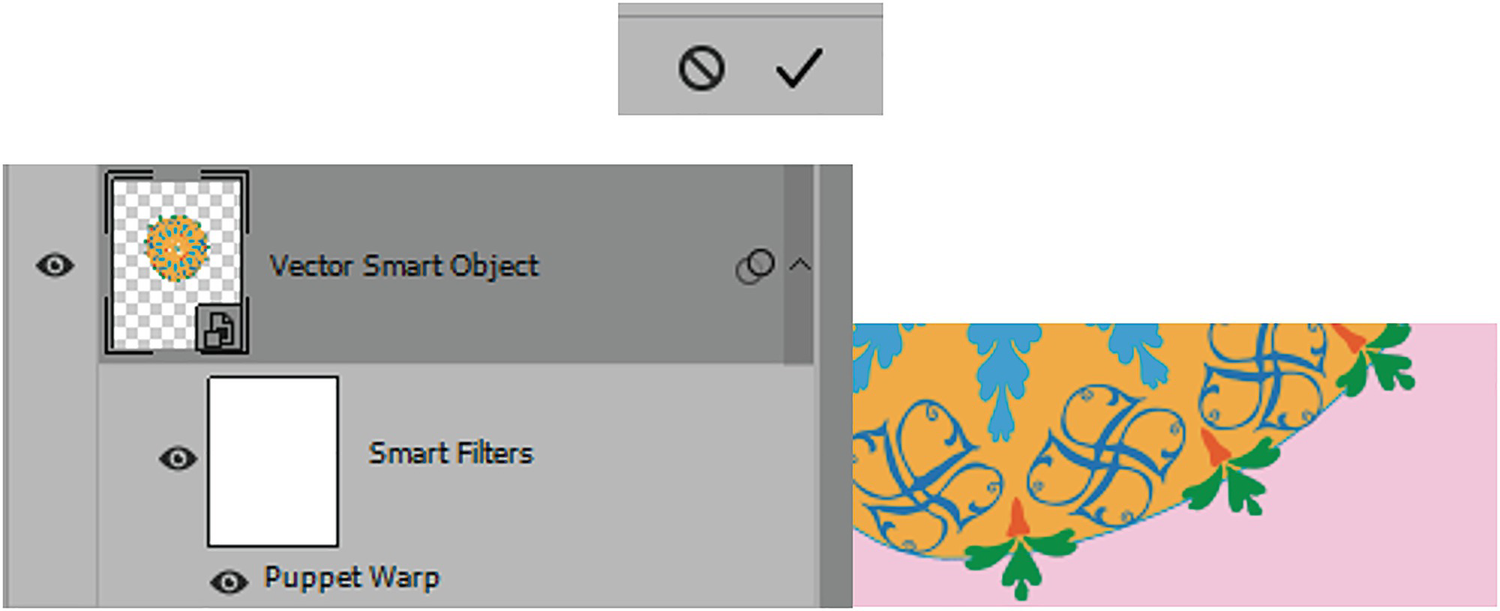
Pins added and the warp committed in Photoshop Layers panel with Puppet Warp Smart Object Filter applied, and the pattern is maintained
The other benefit is that with Photoshop’s Puppet Warp you can go to File ➤ Save and close the file and return to editing, scaling, or deleting the warp smart filter at any time without destroying the original Smart Object layer; you can double-click to enter the filter at any time.

Enter the Smart Object layer and use Illustrator to alter colors in your pattern
Return to Photoshop, and the colors of the mandala are updated but the Puppet Warp is maintained
You would then save the .psd file to commit the change.
Though not required for this book, for more detail on using Puppet Warp in Photoshop, refer to the following link: https://helpx.adobe.com/photoshop/using/warp-images-shapes-paths.html
In this example, I was using an .ai file in CMYK mode inside of an RGB mode Photoshop file. However, if you are concerned about there being a major color shift, then make sure to change your Illustrator color mode to RGB first before you copy Smart Object layers into Photoshop, as I mentioned in Chapter 1.
So, creating the Puppet Warp later in Photoshop on the Illustrator Vector Smart Object layer might be a better option to keep your artwork preserved and editable, should you need to make changes.
In Chapter 11 we will look at warps that are preserved as Live Effect options in Illustrator.
For further notes on Puppet Warp in Illustrator, visit this link:
Summary
The Puppet Warp tool in Illustrator is useful for stretching parts of basic shapes or grouped objects by using a mesh and pins. The Photoshop Puppet Warp tool when applied to a smart object layer does a better job of preserving the original artwork and makes it easy to edit it anytime. In the next chapter, we’ll be looking at a collection of tools that act similarly to the Liquify Filter found in Photoshop, but this time on vector shapes in Illustrator.